Roger Dunham
Published December 19, 2025
Updated May 18, 2026
8 min
All the View, None of the Risk: Apryse’s View-Only Mode Explained
Roger Dunham
Summary: Apryse WebViewer can be easily configured into a secure view-only mode, ideal for compliance-heavy environments, sensitive documents, or simplified user experiences. Using the WCAG 2.2 AA–compliant Modular UI, developers can hide ribbons, disable editing tools, and tightly control what users can access, all through a single config file or programmatic setup. This gives developers full flexibility: lock down the interface when needed or selectively re-enable features like annotations or search based on user roles or workflows.
Introduction
When it comes to embedding powerful document capabilities into web applications, Apryse WebViewer stands out for its rich feature set and highly customizable interface. Developers can tailor the viewer’s UI to match branding, enable advanced collaboration, or unlock tools like annotation, redaction, and digital signing. But not every use case calls for the full suite of features. In fact, there are many situations where the opposite is true — where an organization needs to restrict access and limit users to viewing documents only. Whether it’s compliance with strict security policies, ensuring read-only distribution of sensitive files, or simply streamlining the user experience, configuring WebViewer in “view-only” mode provides both control and peace of mind.
In this article, we will look at how you can specify that the UI is “view-only” and see what effect that has in practice. We will also see how we can add specific items back into the UI if we need to enable them.
Table of Contents
Let’s dive right in!
Customizing the WebViewer UI
With the introduction of the WCAG 2.2 AA compliant Modular UI, it is now possible to control how the UI should appear by using a config file (alternatively you can configure the UI programmatically). This means that the location, arrangement, and availability of controls is extremely flexible.
For example, you can specify that there should be no ribbons.
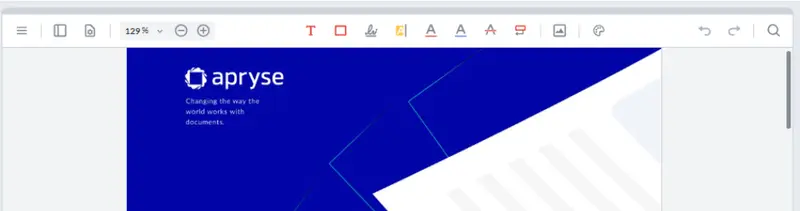
Figure 1: WebViewer Modular UI with no ribbons.
Or you can specify that the headers should be vertical, rather than horizontal.
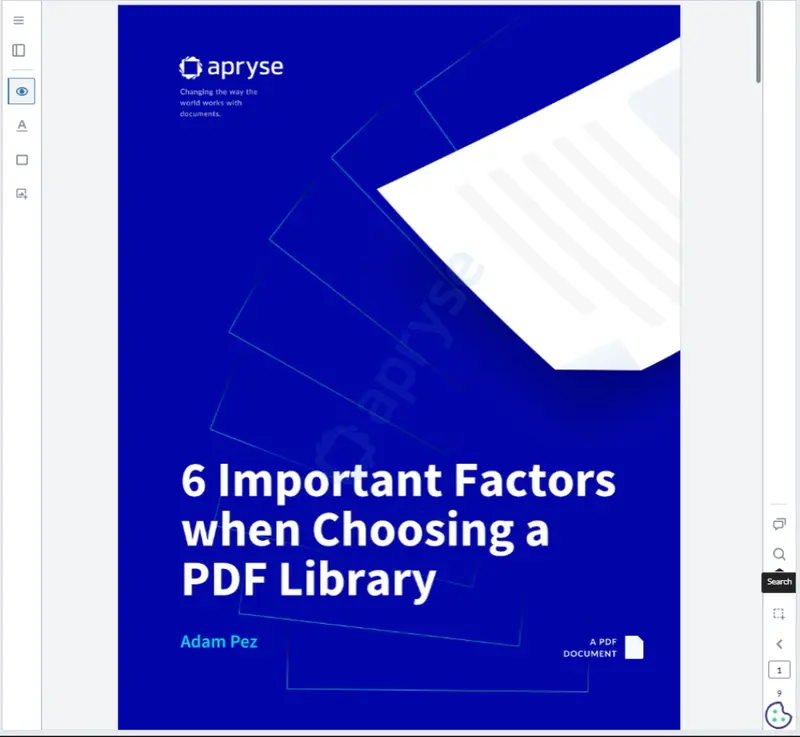
Figure 2: WebViewer Modular UI with vertical headers.
Or you can change the order in which tools are shown, and how they are arranged in the header.
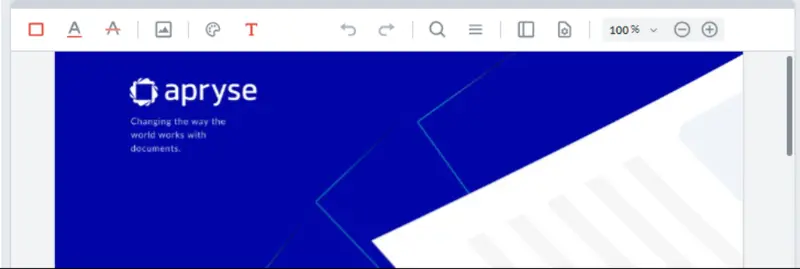
Figure 3: WebViewer Modular UI with rearranged buttons.
That’s both flexible and immensely powerful (and you can check it out for yourself, right now using the Apryse Showcase).
But sometimes you might just want a UI where users can view a PDF (or DOCX file or Spreadsheet) but cannot make changes.
At its simplest, you could create a config file with just the limited selection of tools that don’t edit documents, and that is a perfectly valid option. The risk of course is that it is easy to leave something in the UI by mistake. Manual testing might not even find it – some tools, such as for Digital Signatures only appear when you specify fullAPI:true as an option in the WebViewer constructor, and others such as Redaction require enableRedaction:true to be specified. In both cases, having those options changes what is available in the UI.
That means that even if the UI is perfect today, when someone enables additional functionality, a button might appear that you had overlooked.
You could of course, stop the document from being saved and remove buttons (and menu items) that allow the file to be downloaded, or that use custom code for saving the file to a server or even a Salesforce record.
And that will be fine.
Until your boss tells you that they have just spent lots of time adding annotations to a PDF and then weren’t able to save it – telling them that they weren’t intended to be able to edit the PDF still won’t make you any friends.
That’s where the view-only mode in WebViewer comes in. View-only mode has been available for DOCX files and spreadsheets for a while, and this is a logical extension when working with PDFs.
Check out these guides for more details: DOCX Editor Initial Edit Mode and Spreadsheet Editor View Mode.
Regardless of what is specified in the config file, view-only mode disables UI elements that perform editing actions on the document, while preserving navigation, search, and other read-only features.
Now even if there is an Edit Text button specified in the config file, if WebViewer is in view-only mode, then the UI still won’t display it.
In fact, view-only mode may mean that you don’t actually need two config files – one for when you want users to be able to edit documents, and one for when you don’t. Now you can have just a single file and have the buttons that edit the document shown or hidden just by specifying the mode.
Sounds like half of the work has just disappeared! Awesome.
What is the difference between “read-only” mode and “view-only” mode?
There has been a WebViewerOption called isReadOnly for some years. You can also enable this by using annotationManager.enableReadOnlyMode();
When this is enabled, the annotations become read-only, but the rest of the UI is not affected.
View Only mode, on the other hand, is intended to remove the tools from the UI that support modifying the document. It is, however, still possible to make changes to the document, typically by explicitly adding the required tools back into the UI.
Apryse WebViewer can be used with either a modular UI that makes configuring the UI simple and is also WCAG 2.2 AA compliant. There is also a legacy UI that can be configured, but it is a little gnarly to do so. The legacy UI is deprecated and will no longer be available when WebViewer 12 is released in mid-2026.
This article will only discuss the Modular UI.
Enabling and Disabling View-only Mode
You can enable or disable view-only mode using the following APIs. Typically, you would do this in the “then” block after WebViewer has been constructed, although you could handle that functionality elsewhere as long as you have access to the instance object (for example through a state variable).
// Enabling view-only mode.
instance.UI.enableViewOnlyMode();

// Disabling view-only mode.
instance.UI.disableViewOnlyMode();
The Whitelist
When view-only mode is enabled, the UI components that are potentially shown in the WebViewer UI are filtered through a “whitelist” of elements to decide which will remain available. Everything else is hidden/disabled automatically.
The whitelist contains all standard controls that don’t cause changes to the visible document.
Other controls are not in the whitelist, for example “Add Text Annotation”.
If you want to add something back in, then that’s easy and we will see in a moment how to do that.
So overall, the whitelist is as follows (note that if an allowed panel contains any controls that would edit the document, those controls are automatically hidden or disabled while the panel itself remains visible).
- Panels: Signature, Change List, Search, Notes Outlines, Bookmarks, Thumbnails, and Tabs panels.
- Tool buttons: Edit, Pan, Text Select, and Content Select (for Docx Editor).
- Preset Buttons: Compare, Download, File Picker, Fullscreen, Print, Save As, Settings, and Toggle Accessibility Mode buttons.
- Modals: Color picker, Custom, Error, Filter, Loading, Open File, Password, Print, Progress, Save, Settings, Signature Validation, and Warning.
Can you add something to the whitelist?
Sure! Let’s imagine that you want to be able to work with the layers in a PDF. That can be really useful if you are working with a CAD document in WebViewer.
As mentioned earlier, working with layers can result in changes to the PDF since the user’s selection of which layers are, and are not, visible can be stored in the PDF. By default, those changes aren’t stored, but potentially they could be, so we took the decision to remove the panel.
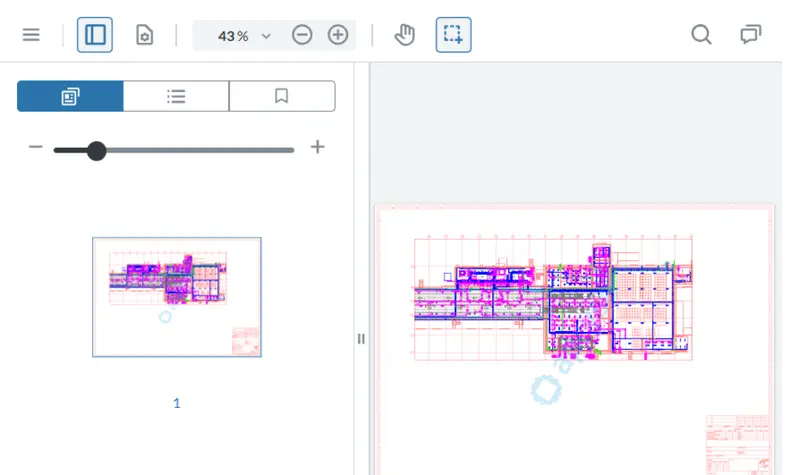
Figure 4: In view-only mode, the Layers panel is not available since it can result in changes to the PDF.
There might be times, though, when you want to decide which layers are visible even if you are not allowed to make other changes to the document. We can solve that problem by adding the Layers panel to the whitelist.
If we save the code and reload the page, now the Layers panel is visible.
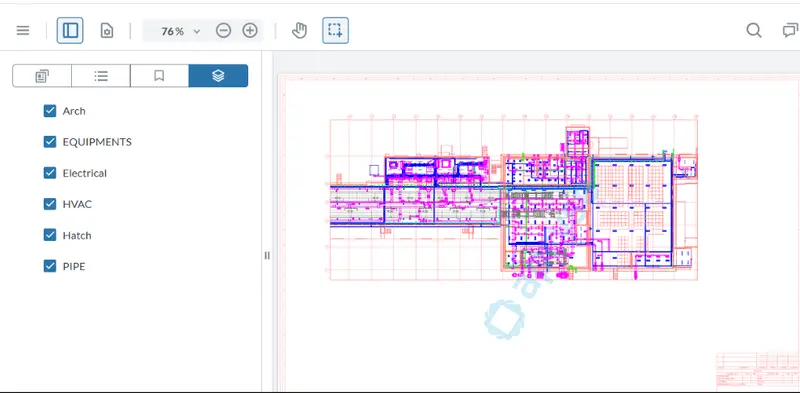
Figure 5: Even though the UI is in view-only mode, the Layers panel has been enabled by adding it to the whitelist.
Nice work!
Working with Attachments
Let’s look at another area of functionality that is hidden in view-only mode – the panel that allows you to see and download file attachments.
Files can be attached to a PDF in multiple ways. They can be added to the document via attachment annotations, as “Embedded Files” within the PDF, or as part of a Portfolio – a specific PDF feature intended to keep a collection of files together.
While you can download attachments from annotations even in view-only mode, since the attachments panel isn’t visible, you can’t download embedded files or work with the files in portfolios.
Just as before though, it is easy to add the panel to the whitelist.
 instance.UI.addToViewOnlyWhitelist([
        'fileAttachmentPanel',
      ]);
If you do nothing else then they still won’t be visible, since you also need to specify fullAPI:true in the WebViewer constructor.
With that in place, we can now open a file and download an attached file without being able to edit the PDF that it is attached to.
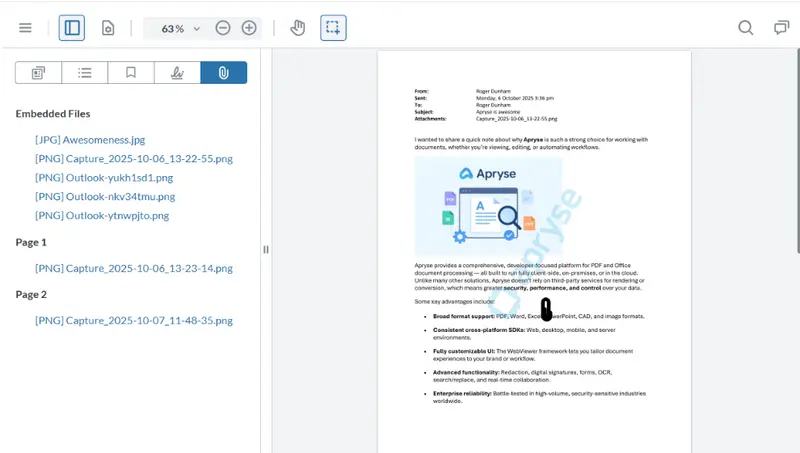
Figure 6: Having added the attachments panel to the whitelist, and enabled the fullAPI, you can now see, and download, the embedded files.
When working with Portfolios, you need to include instance.UI.enableFeatures([instance.UI.Feature.Portfolio]); which adds the buttons and menus to allow you to create and edit Portfolio files.
In view-only mode, of course, you can’t edit files, so adding that feature does nothing, which is the correct behavior. This is a great example of how view-only mode prevents you inadvertently leaving editing functionality in the UI.
Measuring Things in a PDF
Let’s look at one more area where you might want to enable specific functionality while generally having a view-only UI – the ability to measure things within a PDF, which is enabled by including enableMeasurement:true as an option when constructing WebViewer.

Figure 7: An example of using the measurement tools in the Apryse Showcase.
However, the measurement tool adds an annotation to the document, and is therefore not allowed, by default, in view-only mode.
Just as before, though, we can add the required controls to the whitelist.
  instance.UI.updateViewOnlyWhitelist([
         'distanceMeasurementToolButton',
         'scaleModal'
      ]);
Now if we run the code, we can create a new scale and measure things in the UI. That’s great for accurately measuring things in AEC drawings, for example.
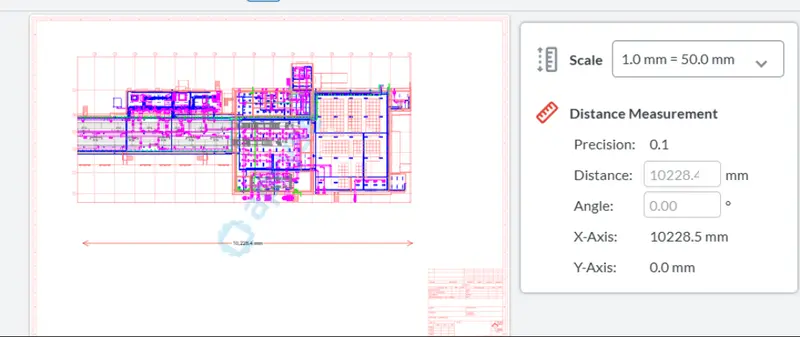
Figure 8: Adding a measurement annotation to the PDF.
The problem though, is that when you let go of the mouse, the measurement annotation remains. You might be happy with that, but you might just want to record the value, having measured it.
As you might expect, there’s an easy way to solve that (and any other similar) problem.
We can leverage the AnnotationManager API and use that to add an event handler that fires when we create the annotation.
When the event occurs, the handler checks whether a new measurement annotation was added, and if so, then it is deleted.
Now when we release the mouse, the annotation disappears. At the moment, the measurements are logged to the console, but with a little of your own code, you could pass that to a React component and display it on the screen, or whatever else you wish to do.
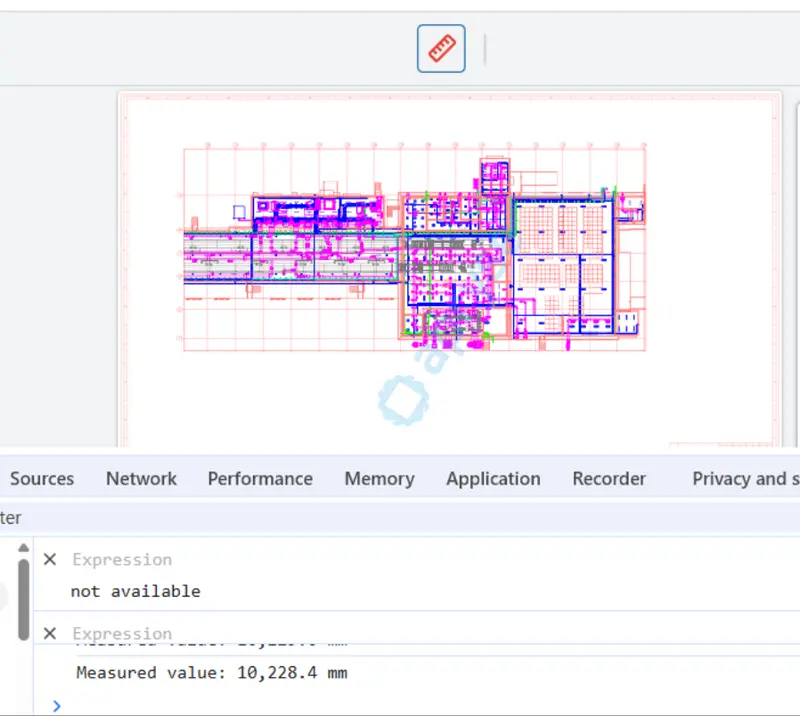
Figure 9: By handling the annotationChanged event, it is possible to get the measured value, while not adding an annotation to the PDF.
Wrapping Up
The new view-only mode introduced in WebViewer 11.9 allows you to have confidence that, when you want a UI that does not allow the PDF to be edited, you have not accidentally left editing tools in UI.
At the same time, if you want to explicitly make a tool available , then you can do so using the whitelist.
This is a great example of how Apryse gives you the flexibility to configure the WebViewer UI exactly the way that you want it.
So, check things out. It’s easy to get started, or faster still, try out the Apryse Showcase and you can see how WebViewer can help you right now.


