How to Solve Six Common Problems when Getting Started with Apryse WebViewer
By Roger Dunham | 2025 Mar 13

5 min
Tags
webviewer
Summary: Learn how to identify and solve configuration issues, letting you focus on using Apryse WebViewer’s powerful features to add value to your business.
Introduction
Apryse WebViewer is a powerful JavaScript library that allows you to work with PDFs, DOCX, CAD, and many other files. You can view, edit, and annotate documents directly within your browser with no external dependencies. What’s more, the UI is fully customizable, allowing you to tailor it to whatever you need.
The functionality available includes annotation, redaction, team collaboration, and measurement, just to name a few. Check out the Apryse Showcase to try out everything that is available.
It is remarkably easy to get started with WebViewer, but some things need to be correctly specified; otherwise, odd behavior can occur. In this article, we will look at six issues and see how we can fix them.
Issue 1: Expired license file
WebViewer is easy to get started with – it will work straight out of the box without any license key. That’s great – all the functionality is available (although documents will have a watermark applied to them) with code as simple as this:
useEffect(()=>{
 WebViewer({
  path: 'lib',
 }, viewerDiv.current as HTMLDivElement).then();
},[])
However, after 7 days, a license is required.
That can mean that just when you are ready to impress your boss with how well you are getting on, you run into an error that looks like this.
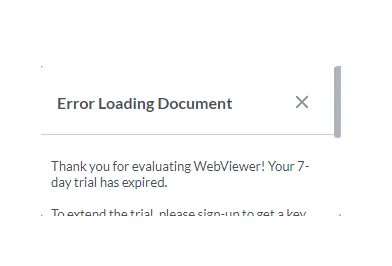
Figure 1 - The typical appearance of having an expired license.
A similar message is also shown in the DevTools window within the browser.
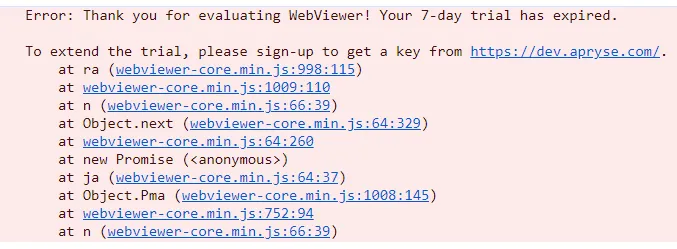
Thankfully, the solution is easy. You just need to specify a licenseKey in the useEffect code.
useEffect(()=>{
 WebViewer({
  licenseKey:[Your-license-Key],
  path: 'lib'
 }, viewerDiv.current as HTMLDivElement).then();
},[])
That license key could be a commercial one if you have reached that part of the purchasing process, but if you are still evaluating WebViewer, then you can get a free trial license Key that will work indefinitely.
Of course, since getting a trial license key is easy and free, you might want to get one when you start evaluating WebViewer. If you use that, you (and your boss) will never see this issue!
Issue 2: Incorrect path to WebViewer library files
When instantiating WebViewer, it is necessary to specify the path to the JavaScript files that perform the actual work. A typical example is shown below.
useEffect(()=>{
 WebViewer({
  path: 'lib'
 }, viewerDiv.current as HTMLDivElement).then();
},[])
There are a few issues here:
- The library files must be in the public folder for the app so that they are available in the browser at run time.
- npm i installs files to the nodes_modules folder. However, that folder is not accessible to the client side when the app is running; therefore, it is necessary to copy those files to the correct public location.
- If there is a mismatch between where the files are located and where they are specified in the WebViewer constructor (in this example, they are expected to be in public/lib), then they won’t be found.
In any event, where the path specified in the WebViewer constructor is incorrect, you may well see a webpage with frames within frames but no PDF.
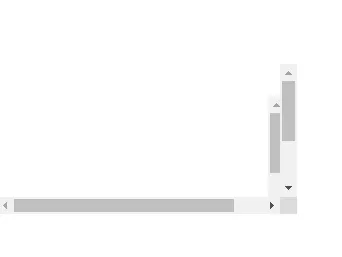
Figure 2 - A typical result of the path to WebViewer not matching the file location.
The solution is easy, just make sure that the files have been copied into the folder that is specified in the useEffect.
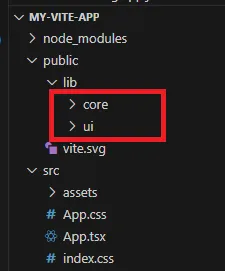
Figure 3 - The WebViewer library files have been copied into the correct folder.
Issue 3: Warnings about two instances of WebViewer
In a development build you may well see a warning that says “Two instances of WebViewer were created on the same HTML element.”
This warning may appear in the web page itself, or in DevTools.

Figure 4 - Two instances of WebViewer is often caused by recent versions of React. It can, however, easily be fixed.
You can read more about the cause of this issue in the article “How Duplicate WebViewer Instances Trigger Warnings”, but to summarize, in recent versions of React, a useEffect with an empty dependency list will fire twice. This is intended to be a way to find resource leaks, but also results in WebViewer getting instantiated twice, which causes the warning.
There are several ways to solve the problem. The simplest way is to disable Strict Mode within React.
For example, in the following code, the elements for <React.StrictMode> can be removed.
ReactDOM.createRoot(document.getElementById('root')!).render(
 <React.StrictMode>
  <App />
 </React.StrictMode>,
)
The article mentioned above includes several alternative solutions.
Issue 4: Bad path to initial document
Many of the samples for WebViewer include code that specifies an initial document, that should be displayed when WebViewer starts.
useEffect(()=>{
 WebViewer({
  path: 'lib',
  initialDoc:'https://pdftron.s3.amazonaws.com/downloads/pl/webviewer-demo.pdf'
 }, viewerDiv.current as HTMLDivElement).then();
},[])
Specifying an initial document allows users to see the same results in their browser as are shown in the tutorial, which is great. But there is a weakness. If the URL to the initialDoc file contains a typo, or the file has been deleted, or its permissions do not allow it to be read, then a 403 error will occur.
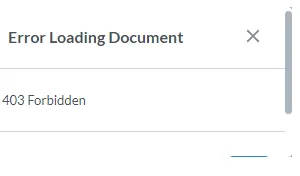
Figure 5 - Having a typo in a file name leads to a ‘Forbidden’ error.
The same error will also be visible within DevTools.

Figure 6 - A bad path also gives a message in DevTools.
There are various ways to debug this problem. In DevTools, try clicking on the problem file link. If the file does not open from the link, then check for a typo in its name.
Alternatively, you may wish to enable a FilePicker which allows you to choose a local file.
WebViewer(...)
  .then(instance => {
    const { Feature } = instance.UI;
    instance.UI.enableFeatures([Feature.FilePicker]);
  });
[End code snippet]
Doing so means you have more control over the permissions of the file being opened, and you can verify that it exists locally.
Issue 5: Display:Flex (WebViewer opens but is very small)
The default styling when scaffolding a project using Vite (and some other frameworks), results in the body style being set to display:flex.
This can result in WebViewer just occupying part of the screen real estate.
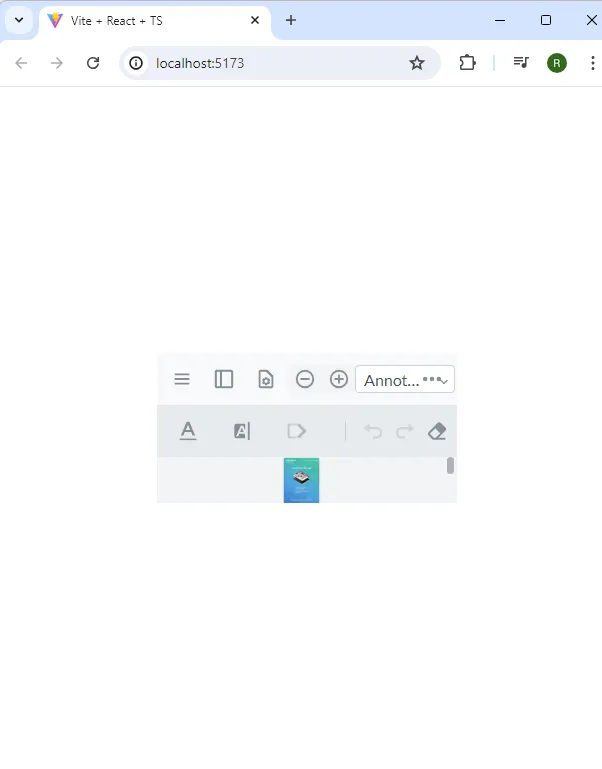
Figure 7 - A very small WebViewer can be due to display:flex.
Using CSS to style a webpage is a skill and is far beyond this article's scope. However, if you are just starting out with WebViewer then simply removing the display:flex style can solve the problem, allowing you to make progress with PDF handling (which is, presumably, your immediate objective), rather than being stuck with a detail of styling.
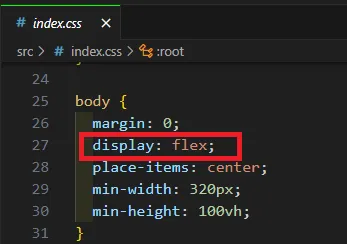
Figure 8 - Deleting display:flex can help to solve the problem.
Issue 6: Vertical Height (The PDF is very small)
This is another styling issue which happens when using the default styles created by Create-React and Vite scaffolded projects.
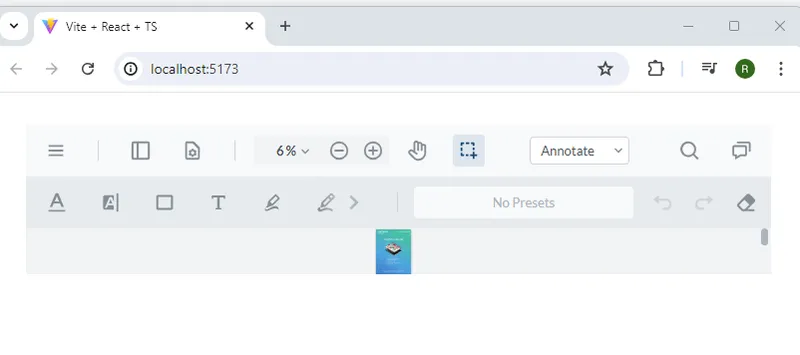
Figure 9 - A full width WebViewer with a very small document is symptomatic of the need to specify WebViewer height.
Several of the tutorials and videos that show how to get started with WebViewer address this issue by updating the styling of the div containing WebViewer.
Provided that the div has been given a class name, then that class name can be used within CSS to specify the height for the control. Typically, the value will be set to 100:vh, but you may wish to choose a different value.
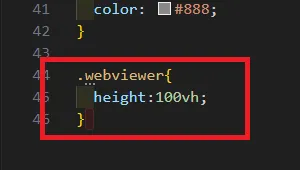
Figure 10 - Specifying the WebViewer height to be the full viewport height.
The browser should then refresh to show the PDF as full height.
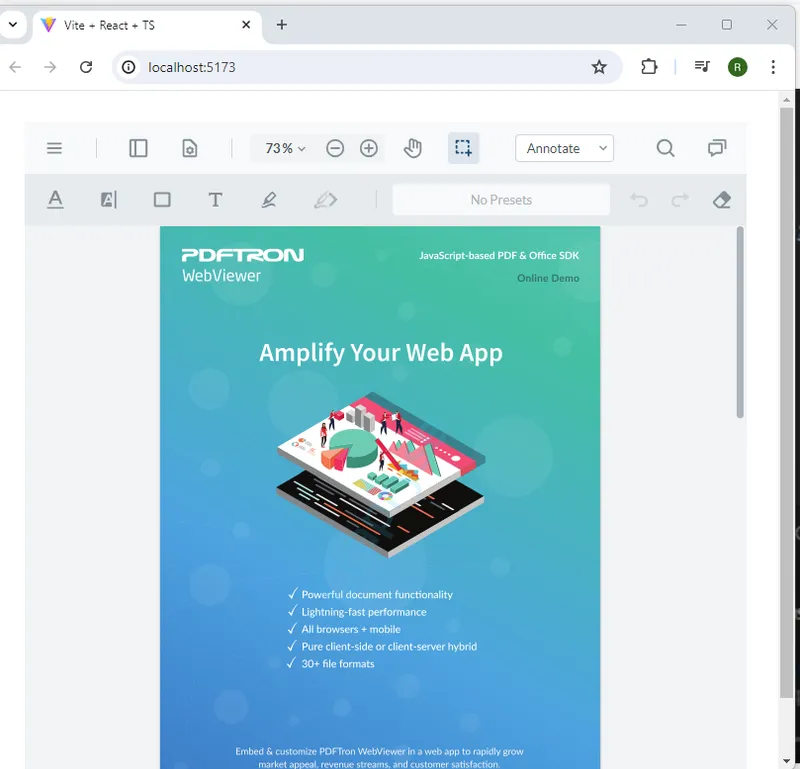
Figure 11 - A fully working, highly functional, WebViewer showing a PDF.
Conclusion
There are a few gotchas that can trip you up when starting to use WebViewer, and it can be extremely frustrating to be stuck on a detail when you are interested in seeing the big picture of how Apryse can help you to solve your business problems. Thankfully most of those gotchas are easily fixed.
If after reading this article, however, you are still having problems then please contact us via Discord, where our support team will be happy to help.
Tags
webviewer

Roger Dunham
Share this post


