Roger Dunham
Published November 07, 2025
Updated May 18, 2026
5 min
Extracting Images From .MSG Email Files
Roger Dunham

Summary: Learn how to extract and store images embedded in .MSG email files using the Apryse SDK. By converting MSG files to PDF via Outlook and the Apryse print driver, developers can automate workflows like pulling customer screenshots into support tickets, archiving images for eDiscovery, or building ML datasets from email attachments—all using simple C#/.NET code.
So, here’s the problem: you’ve been tasked with creating a system to extract and store images that are embedded in .MSG format emails.
There are many reasons why you might want to do that. A few examples are:
- Customer support / ticketing: pull screenshots or photos customers send into your support system, so agents can see issues inline, automatically tag them, and attach to tickets.
- Marketing asset collection: gather user-submitted photos (UGC) for campaigns, social feeds, or contests.
- eDiscovery & compliance: archive evidentiary images from corporate email for legal holds, audits, or investigations.
- Content moderation & safety: run images through moderation models to detect prohibited content before they reach downstream systems.
- ML dataset creation: collect labeled images from email exchanges for training computer-vision models (assuming you have the originator’s consent).
The Apryse SDK offers a tool kit for allowing data to be extracted from documents.
Check out https://apryse.com/capabilities/smart-data-extraction to learn more.
In this article we will look at how you can achieve this using the Apryse SDK.
While the Apryse SDK supports dozens of file formats, making it a superb document processing tool kit, it doesn’t natively support MSG files. That is an area that we are investing in, so watch this space!
However, even today, provided that you are using Windows and have Outlook installed on your machine, then you can convert the MSG files into PDFs by using Office.Interop to get Outlook to print them using the Apryse Print driver.
Once converted to a PDF, the Apryse SDK can easily find and extract the images. It’s really good at that!
We’ll step through how to do that with example code written in C# for .NET core, but you could create similar code in many other languages, for example C++, Python, Node.JS or Ruby.
The Sample Email
For this article, I will be using an email that I created which contains an embedded image, an attached image, some text, and a signature block.
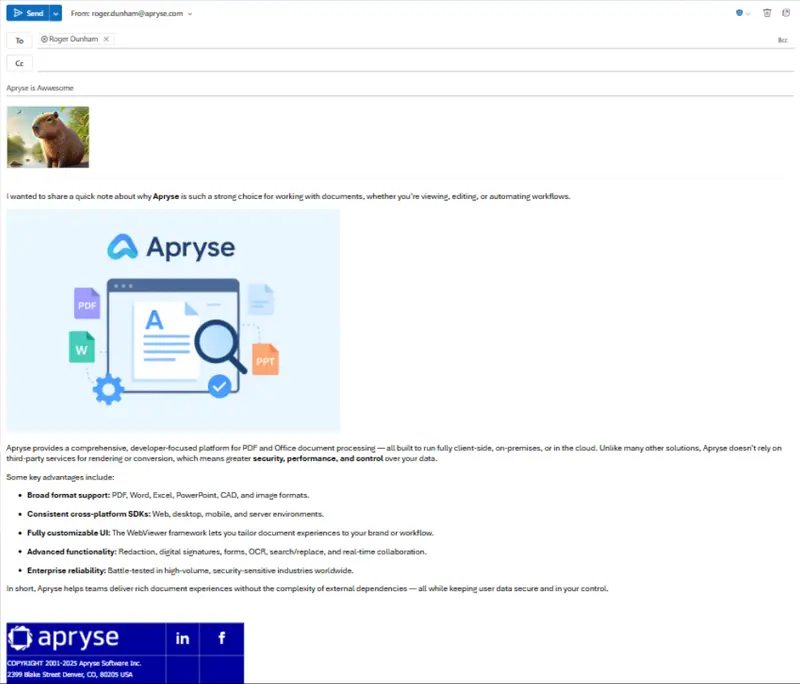
Figure 1 - The sample email - shown within Outlook 365. The image of the capybara is an attachment.
That’s a fairly standard type of email, but feel free to try things out with your own files.
For the purpose of this article, the message was manually downloaded from Outlook as a .MSG file. In a production environment, you might do that via a script.
Converting the .MSG file to PDF
First, we need to convert the .MSG file into a PDF.
As we are using C#, there are two ways to get the Apryse SDK – the simplest is to use the NuGet package: PDFTron.NETCore.Windows.x64. Alternatively, you can download a Zip file and configure your project according to https://docs.apryse.com/core/guides/get-started/dotnetcore?platform=windows.
Once we have the Apryse SDK available, we will use it to instruct Outlook to convert the .MSG file into a PDF.
The actual conversion process uses pdftron.PDF.Convert.ToPdf which takes the input .MSG file and converts into an in-memory PDFDoc object, which is then saved as a linearized PDF.
using (PDFDoc doc = new PDFDoc())
{
         pdftron.PDF.Convert.ToPdf(doc, inputPathMSG);
         doc.InitSecurityHandler();
         doc.Save(outputPathPDF, SDFDoc.SaveOptions.e_compatibility);
}
The method pdftron.PDF.Convert.ToPdf() requires that Outlook is installed and will do so automatically if needed.
We are also using pdftron.PDF.Convert.Printer behind the scenes, so that also needs to be installed. The code can do that automatically – but requires Administrator privileges to do so (you can do that by running Visual Studio as an Administrator). Once the printer and Outlook are installed (which you could do as part of a deployment process), there is no further need to run Visual Studio as an Administrator.
In the code sample we are saving the message as a PDF. We don’t need to save the file since we will be working with the in-memory PDFDoc object. For now, though, it is handy to save the PDF as it helps us to understand what is going on, and gives us an intermediate point that can help when we are debugging the code. It also demonstrates how you can use the Apryse SDK as a solution if your requirement is to just to archive .MSG files as PDFs.
Now that we have a PDF version of the email, let’s take a moment and look at that PDF within WebViewer – you can access that using the Apryse Showcase, or Xodo.com.
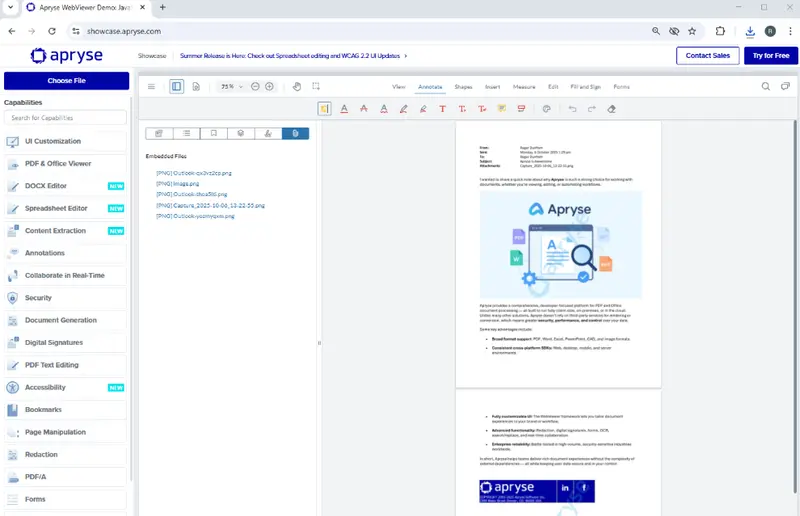
Figure 2 - The email converted to a message. You can see that there are several attached files. This includes the image of the capybara that was an attachment in the original email.
Cool – now we’ve got the email as a PDF – Let’s set about extracting the images.
Extracting Images from the PDFDoc
In the next part of the process, we are going to extract the images from a PDFDoc file. In our sample code we had already created the PDFDoc object before we saved it as a PDF, so it is already available.
Alternatively, you could modify the code and create a PDFDoc from a PDF using PDFDoc(pathToPDF); That gives us more options if we want to break the process up into separate parts.
As we process the PDF we are going to create a number of images, so we’ll specify a name (imageNameRoot) that we can use to identify them. I used “Awesome”, but you can use what you wish.
Let’s look at the code, then we will discuss how it works.
We’re taking the PDFDoc object and using a PageIterator to process each page in turn. For each page, an ElementReader is initialized, and passed to the ImageExtract function.
Within ImageExtract, the ElementReader is used to examine each low-level PDF element in turn. If the element is an image, then it’s exported using image.Export() with a name which includes the page number where it was found and the image number on that page.
The sample code uses using image.Export() which saves the file as its original type.
If we want to save the image as a different type then we could use something like ExportAsTiff, which would convert each image to a TIFF before it is saved.
If we run that code, then we get a collection of images exported.
One is a .jpg, and the others are .png – reflecting the original images that were added to the file.

Figure 3 - The images extracted with the current code.
We can click on one of those files and see the content.
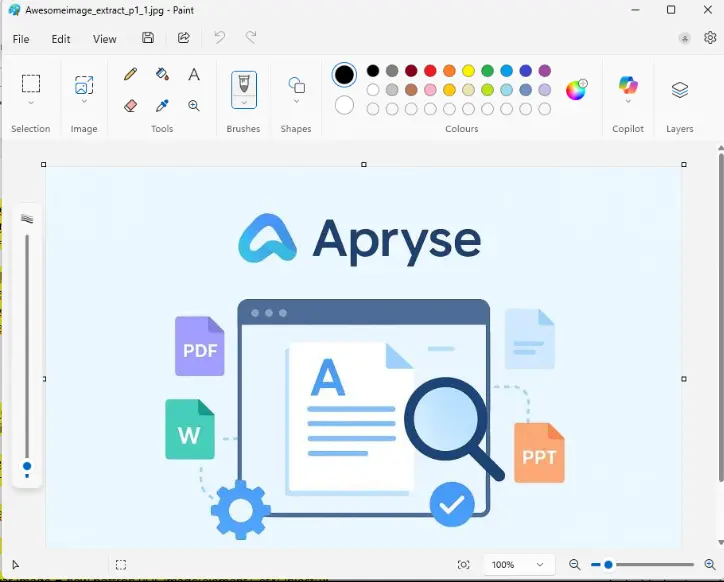
Figure 4 - We can see the extracted image by opening it in an image viewer.
At the moment, though, any other element types are discarded. This might be a problem because images could be found within forms, and our code would not find those - so we’ll add code to deal with that.
We are also not extracting “inline-images” – that is not a problem with our sample .MSG file since inline-images are generally not created when converting from MSG to PDF. For now, I’ll just log if they are found and we can deal with that later if we ever need to.
The current code extracts all of the images that are included in the PDF. That might be exactly what you want. But maybe those images have little value – for example the Facebook and LinkedIn icons.

Figure 5 - The Facebook icon, which is transparent.
You could write a set of rules to ignore such files, though the details of how to do this will depend on your requirements.
As an example, though let’s use code from the ImageExtract sample that ships with the Apryse SDK. That shows how to report on the image width, height, “Bits Per Component” and location on the page. You can drop this into the code once you have the element object.
Now when we run the code, we can see information about each image.
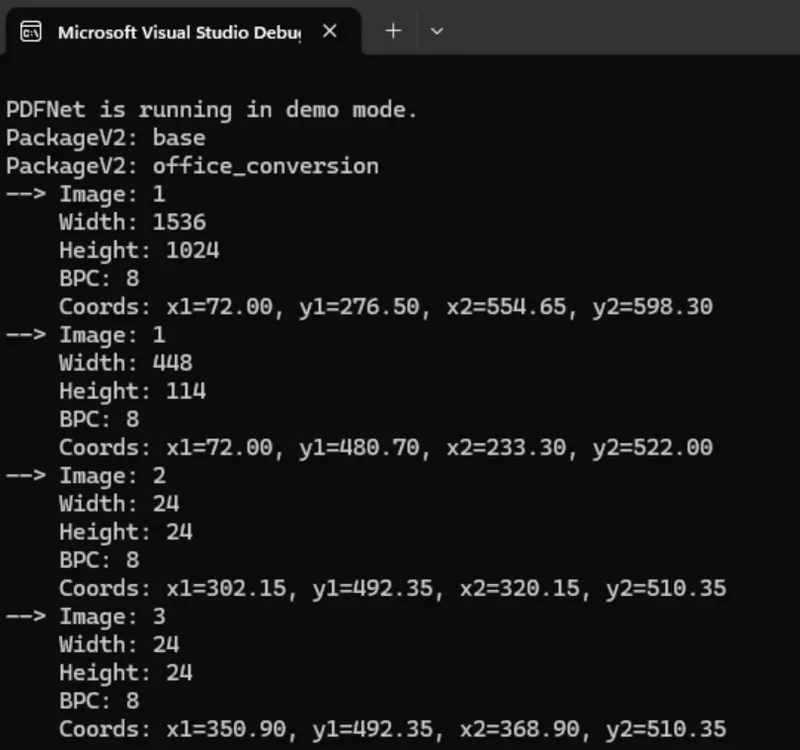
Figure 6 - Example output showing size and location information for each image found as an element in the PDF.
Cool. We can now decide whether to save or discard the image on a whole range of criteria – giving us the flexibility to tailor our processing to the exact requirements.
Learn how to extract embedded images from PDFs using the Apryse SDK with step‑by‑step code examples
Wrapping Up
With around 100 lines of code, we have created a tool that will take a .MSG file, convert it into a PDF, then extract the images from it. In fact, you can split the code into two separate parts.
You can use the first part to create a system for saving .MSG files as PDFs – that might be ideal for archiving the files, when offboarding an employee (you could even redact content from, or do a whole range of other processing to, those PDFs if you needed).
On the other hand, you can use the second part of the code to parse any PDF and extract the images that are within it – the code works for all PDFs not just those that started as email messages.
We’ve also seen how we can make the code more complex – we can save the images either as their original type or convert them into a different image type. We can also decide to only export certain files.
What this code doesn’t do, though, is extract the images that have been attached to the PDF. We’ll see how to do that in the next article.
We have already seen that the Apryse SDK offers huge flexibility, allowing you to concentrate on what you really want to achieve, rather than on the details of how to convert a .MSG file or how to parse a PDF.
And that is only the tip of what you can create with Apryse.
So, grab yourself a trial license and try things out for yourself with the sample code for this project.


