Roger Dunham
Published October 10, 2025
Updated May 18, 2026
9 min
Working with Unusual Files such as CAD and DICOM in Apryse WebViewer
Roger Dunham

Summary: Apryse WebViewer enables developers to support advanced file types like CAD and DICOM directly in the browser. With WebViewer Server and the Advanced Imaging module, teams in engineering and healthcare can deliver high-fidelity viewing and collaboration on complex formats—without plugins or native apps.
Working with Unusual Files Like CAD and DICOM in Apryse WebViewer
When you think about viewing documents in the browser, the usual suspects come to mind: PDFs, DOCX files, and Spreadsheets. And the Apryse WebViewer does a great job of allowing you to view and edit those file types.
But in some industries, for example engineering, architecture and healthcare, other file formats are widely used.
That’s where Apryse WebViewer really stands out. By working in conjunction with WebViewer Server and the Advanced Imaging module, it supports specialized formats such as CAD and DICOM, making it possible to open, explore, and collaborate on complex files directly in a web application.
In this article we will look at:
- What Are CAD and DICOM Used For?
- WebViewer’s Default Behavior
- Using Add-on Modules to work with DICOM
- Using Add-on Modules to work with CAD
- Using WebViewer Server to work with CAD and DICOM
- Working with other file types
What Are CAD and DICOM Used For?
- CAD (Computer-Aided Design): Used heavily in manufacturing, construction, and engineering, CAD files can be enormous, highly detailed, and layered with metadata. Apryse supports the most common formats: DWG, DXF, DGN, DWF and RVT.
- DICOM (Digital Imaging and Communications in Medicine): The standard format for medical imaging, DICOM isn’t just about displaying an X-ray or MRI scan. A single file can include patient information, multiple image slices, and metadata that supports accurate diagnosis. DICOM is also used for dental records, and Apryse have MiPACS a dedicated DICOM viewer for dentistry.
Unlike a simple PDF, these file types aren’t something you can drag and drop into Chrome and expect to render correctly.
WebViewer’s Default Behavior
For this article, I’m using code based on the video of How to get started with WebViewer using Angular. However, the principles behind this article are the same whether you use React, Vue, Next or even integrate WebViewer manually.
While the Apryse WebViewer can work with both DICOM and CAD files (along with many other formats), straight out of the box it will give an error if you try to load them.
The first hint of a problem is that the file formats are not shown within the file picker options.
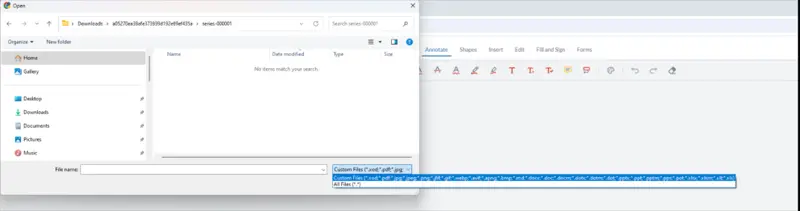
Figure 1: Straight out of the box, Apryse WebViewer does not show CAD or DICOM files as options.
You can however click “All files” and then choose those file formats.
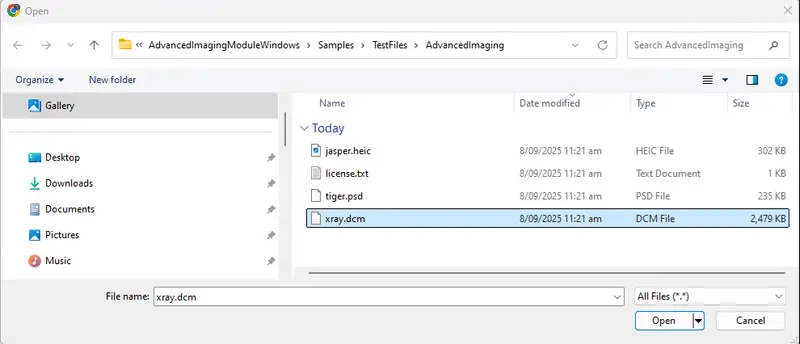
Figure 2: By clicking on All files it is possible to select a DICOM file.
If you select the DICOM file, then WebViewer will display a warning
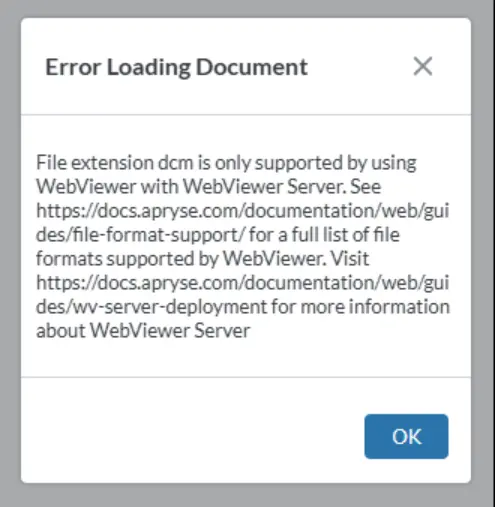
Figure 3: If you try to open a DICOM file then WebViewer will tell you that it's not directly supported. It then tells you how to resolve the problem.
You will get a similar result if you try to open a CAD (or many other unsupported types of) file
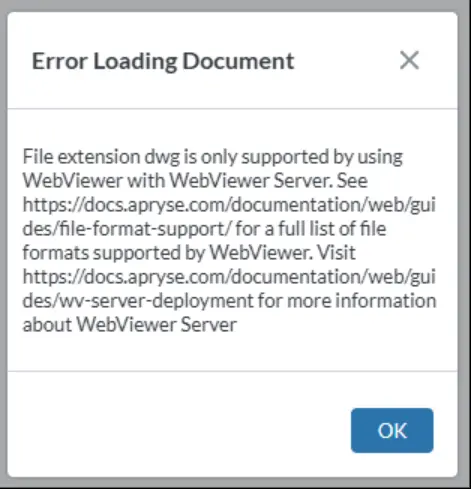
Figure 4: Just as with DICOM, the Apryse WebViewer explains that you need WebViewer Server to work with CAD files.
At least we know what the problem is. Let’s solve it!
Solving the problem – Option 1 – add on modules
While WebViewer cannot work with CAD or DICOM files, the Apryse SDK can with the help of Add-on modules.
CAD files can be converted into a PDF using the CAD module
DICOM files (and many other image formats) can be converted into PDFs using the Advanced Imaging module.
We will just look at the how to work with DICOM files here. Check out the documentation for working with other file types.
You will need to download both the Apryse SDK and the Advanced Imaging Module. You can then create a dedicated custom server which exposes an endpoint that takes the DICOM file, converts it into a PDF, and returns it to WebViewer. We won’t go into details of setting up the server here, but you may wish to look at using the Apryse SDK with an Express Server.
The important part with regards to DICOM is shown below and is taken from the Advanced Imaging Module sample code. It’s available in many languages, including C++, Java and C#, but for now I’m showing the JavaScript version.
CAD files need a different add-on module. Check out this article for how to convert CAD to PDF using that module.
Creating your own server will take some programming effort but offers a huge range of flexibility – you can control exactly how files are handled and add whatever authorization and authentication layers that you require.
An option that requires less coding effort is to use the prebuilt WebViewer Server.
Solving the problem – Option 2 – WebViewer Server
WebViewer Server is a drop-in backend for WebViewer that offers responsive viewing compatibility across all client platforms - including mobile. It has also been developed with performance in mind and has caching support built in. That means if two users request the same file, then processing only needs to occur once saving time and processing resources.
WebViewer Server also supports authentication, so that you remain in control of who has access to your data.
Furthermore, and central to this article, WebViewer Server has the Advanced Imaging and CAD modules built in, so you don’t need to manually download, extract and deploy those separately.
This article we will use a Docker image to deploy WebViewer Server. That’s an efficient way to get started, simplifies configuration, and provides a mechanism for load balancing.
For this article, we will use Docker Desktop running on Windows. That’s a great way to get started, but since you may need a paid-for license, you may prefer to host Docker on, and deploy WebViewer Server to, a Linux machine.
It’s also possible to deploy to Azure or AWS, and if you need then it is possible to deploy WebViewer Server without Docker on a Windows system.
Versions used for this article
This article was created using a Windows 11 machine, with Docker version 28.0.4 and Docker Desktop 4.40.0.
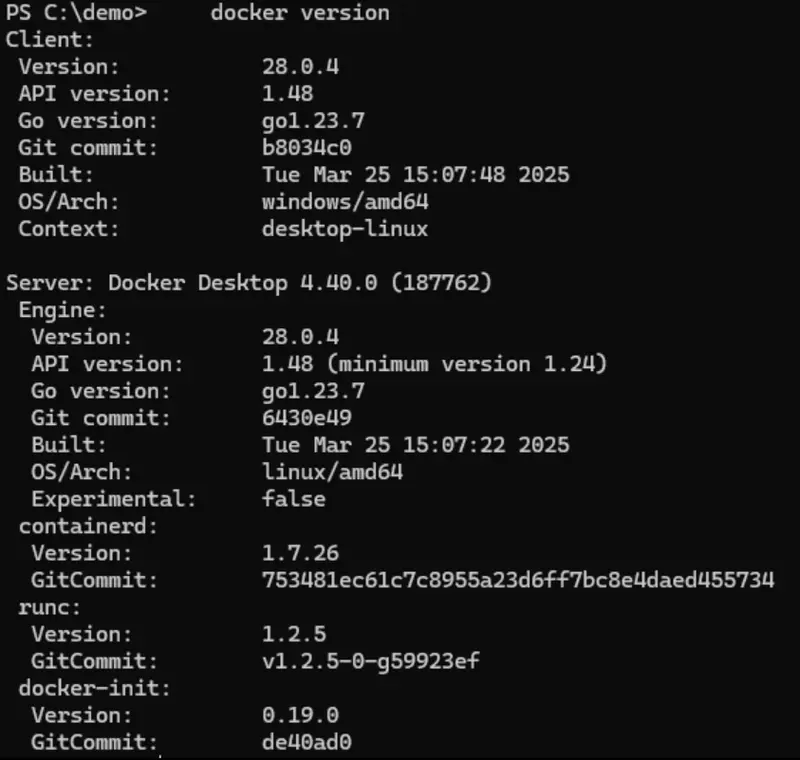
Figure 5: Versions used for this article.
Quick-start Step 1 – Pull WebViewer from Docker Hub
Get the latest version of WebViewer server from Docker Hub
docker pull pdftron/webviewer-server:latestQuick-start Step 2 – Run the WebViewer Server Image in Docker
From the command line you can start the server using
docker run --name webviewer-server -p 8090:8090 pdftron/webviewer-server:latestAfter a moment or two, Docker Desktop will show that the container is running, and in this case, it will be available at //localhost:8090.
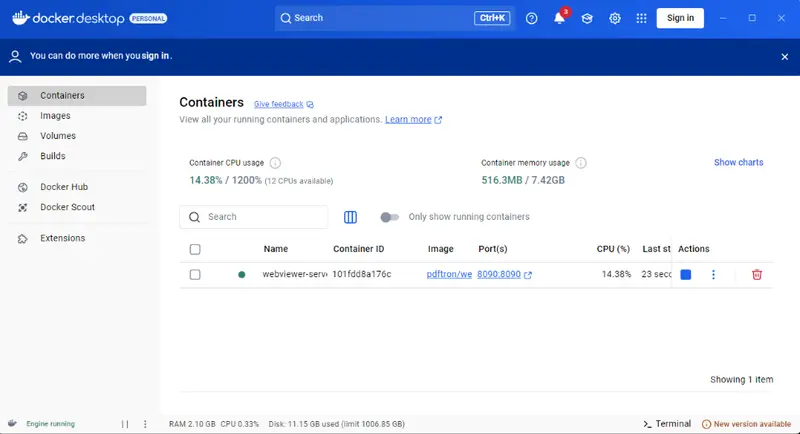
Figure 6: After calling docker run, it should be possible to see that the container is running within Docker Desktop.
If you include -e INCLUDE_DEMO='true' when starting the image then it is possible to see a WebViewer demo, once the container starts by using http://localhost:8090/demo/.
Quick-start Step 3 – Verify that the server is responsive
There’s lots of ways to verify that WebViewer Server is working correctly, but let’s query the list of file formats that it can work with by entering http://localhost:8090/blackbox/GetSupportedFormats into the browser
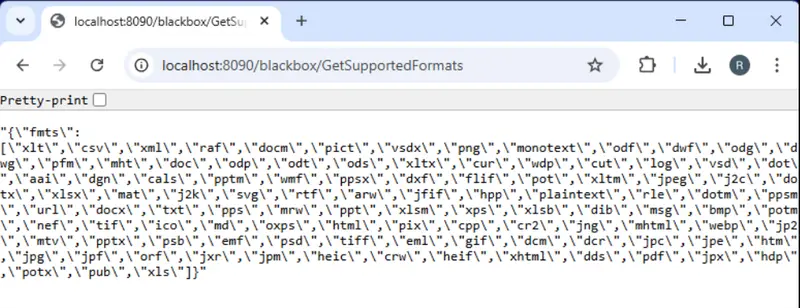
Figure 7: If WebViewer Server is responsive, then it will display the huge range of file types that are supported.
Quick-start Step 4 – Configure WebViewer to use WebViewer Server
All that we need to do to start using WebViewer Server is to add the option “webviewerServerURL” and the URL to the WebViewer constructor (which in our case is the localhost, and port 8090).
If the code doesn’t look familiar, then check out one of the guides for getting started with WebViewer.
Quick-start Step 5 – Restart the WebViewer sample
Great, now we need to start (or just reload) our WebViewer sample again and then use the file picker to open a file.
Suddenly, there are many more options!
Figure 8: Just some of the file format options that are available if WebViewer Server is used.
And these options include both .dcm and .dwg.
That’s it. We made one line of code change, and started the docker container, and suddenly we have a whole new range of options. Let’s try them out.
Viewing CAD Files in WebViewer
Now if we click on a CAD file, we can see the contents of the file in Apryse WebViewer.
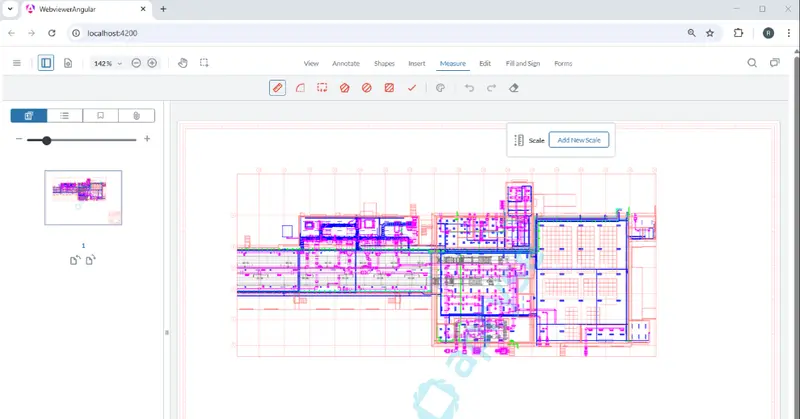
Figure 9: WebViewer Server has converted the CAD file into a PDF allowing it to be viewed, measured and annotated within WebViewer.
By default, though, it is not possible to see the layers in the PDF.
There are two ways to work around that.
- Save the file and reopen it
- Add the option forceClientSideInit: true to the WebViewer constructor. This causes WebViewer to do the rendering, rather than relying on WebViewer Server to do so. This allows page manipulation, and the full API to be used when working with WebViewer Server.
Once you do that, you have access to the layers tab and can turn individual layers within the CAD drawing on or off, allowing you to concentrate on what matters.
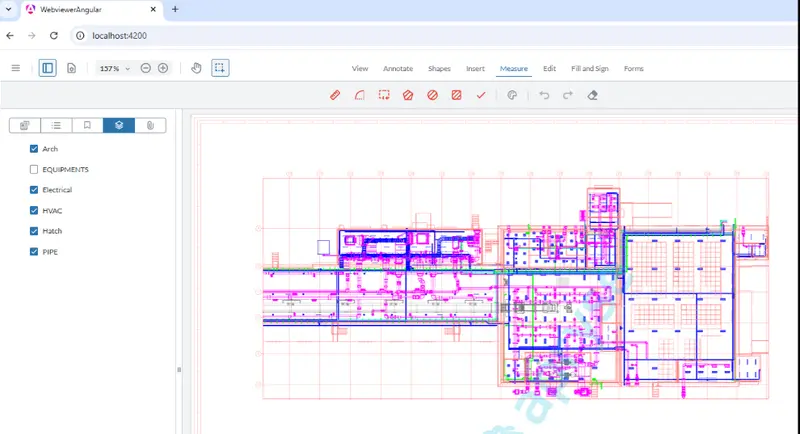
Figure 10: The CAD file shown within WebViewer.
Now we can do more than just view the drawing, we can:
- Zoom & Pan: Explore detailed blueprints without lag.
- Layer Control: Toggle visibility of different drawing layers.
- Measurement Tools: Take precise measurements between points or objects (just add enableMeasurement:true into the WebViewer constructor options).
- Markup & Collaboration: Add annotations, redlines, or comments directly in the viewer—great for design reviews.
This makes it possible to share complex drawings with clients or teammates without requiring everyone to install specialized CAD software.
Viewing DICOM files
Similarly, if we click on a DICOM file, instead of getting an error, we get to see the contents of the file.
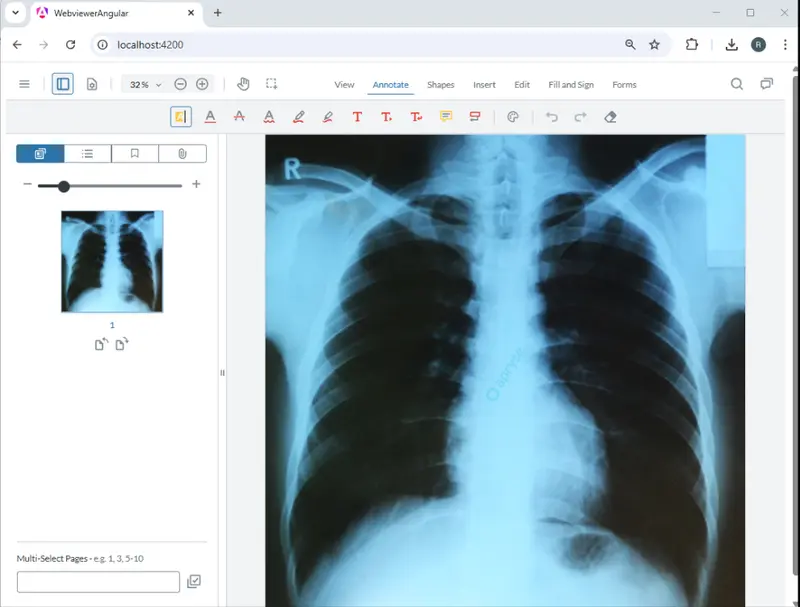
Figure 11: An example DICOM file shown within WebViewer.
Just as with the CAD file, we can zoom in, add annotations, or even take measurements.
Is there anything else?
Of course there is. WebViewer Server allows many other file types to be opened, including various raw image file types used by digital camera manufacturers, as well as HEIC.
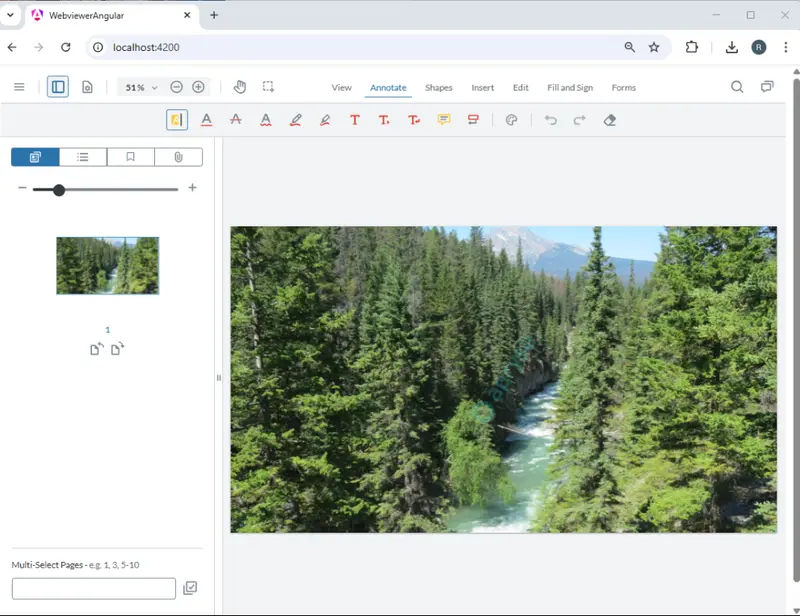
Figure 12: An HEIC file shown within WebViewer.
Wrapping up
Being able to open CAD and DICOM files directly in the browser removes a huge barrier: the need for specialized desktop software just to view or share files.
With Apryse WebViewer:
- IT teams don’t need to manage multiple heavyweight applications.
- Users can collaborate in real time with comments and markups.
- Organizations save on licensing costs while improving accessibility.
- There is no need for users to download files in order to work with them.
From an engineer reviewing a DWG in the field, to a medical student learning from MRI scans, the ability to view data online changes how people work with information.
WebViewer Server takes the experience even further, and with self-hosting you get to keep control of your files throughout the process, minimizing the risk of data breaches.
Working with “unusual” file types like CAD and DICOM doesn’t have to mean extra software, complicated workflows, or limited accessibility. With Apryse WebViewer, teams can open, review, and collaborate on these files right in the browser—unlocking new possibilities for industries that depend on highly specialized content.
If you’re dealing with more than just PDFs and DOCS files, it might be time to explore what WebViewer can do for your unusual files. So, grab yourself a free trial license and try things out for yourself.
In this article we made changes to a couple of lines of code from a getting started sample. In fact, you can try things out for yourself with even less code – head on over to the Apryse Showcase, and you can, right now, see a huge selection of functionality that can save you months or years of development time.
And when you decide to start using WebViewer within your solution, there’s a wealth of documentation as well as a Discord channel, if you have any questions.


