Roger Dunham
Published January 23, 2026
Updated February 26, 2026
7 min
Unlocking WebViewer’s Custom Modal API
Roger Dunham

Summary: Modal dialogs can be useful, but too many warnings can disrupt a user’s workflow. In Apryse WebViewer, DOCX files can be opened and annotated without conversion, but any annotations are lost unless the file is saved as a PDF. This article shows how to detect when a DOCX file is opened in the default viewer, warn users about potential data loss, and implement custom modal dialogs to guide them more gracefully. Using a React-based example, it demonstrates how custom modals can improve usability while preventing accidental loss of edits.
Introduction
Modal dialogs – some people love them.
Lots of people hate them.
And it’s easy to hate them if you need to dismiss lots of apparently unnecessary ones in order to get on with your work.
There is therefore a fine balancing act between having the warnings that you need, but not those that you don’t. As such, there are some scenarios where a modal could have been added, but Apryse chose not to.
One example, where a modal could have been added, is if you open a DOCX file within WebViewer using the default initial Mode. The DOCX file will seamlessly render, and you can even rotate pages (though you will get a warning if you try to use redaction or anything else that needs the full API). Sometimes that is all you need – you can view the DOCX file or a spreadsheet or an image all in the same kind of viewer.
A problem though is that you could edit the file – adding highlights for example, which are not saved unless you save the file as a PDF. If you save the file as a DOCX, then those changes are lost.
It’s really easy to open a file as a PDF within WebViewer, you just need to include the option “loadAsPDF:true” in the constructor.
In this article we will look at how we can detect that the user has opened a DOCX file in the default viewer but not converted it into a PDF. We will then look at a couple of ways in which we can warn the user about this, before moving on to more graceful solutions than just offering a warning. This is where Custom Modal dialogs come into their own, and you could extend the code to create other similar dialogs to suit your own work flow.
The code used in this sample is based on the React sample, but with some modifications. You can get the source code from this repo.
I’m using React 18.3, WebViewer 11.10, and Windows 11. You should get similar results with other versions and platforms.
Simple WebViewer Code
Before we do anything let’s look at the code that we will start with:
That code is almost the same as the shipped sample. There are a few minor differences - we have removed the initialDoc, added a filePicker and removed the code that adds a rectangle annotation. You could leave that code if you wish, but it isn’t relevant to what we are trying to achieve in this article. You can find the code in the file 'CustomModalDemo-no-warn.tsx’ in the GitHub sample that goes with this article.
We can run the code, and select one of the many different types of file that WebViewer supports in the default viewer.
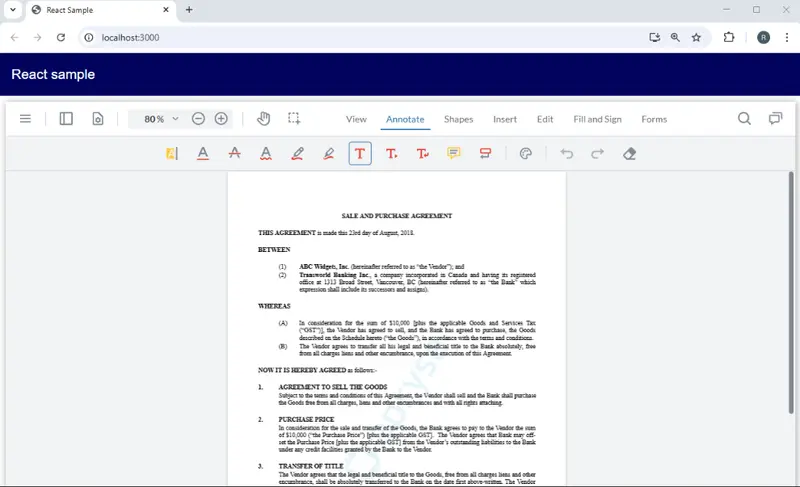
Figure 1 - A DOCX file opened in the default WebViewer.
Finding out whether the file was converted into a PDF
WebViewer is doing a great job of displaying our DOCX file. Under the hood it’s still a native DOCX file, and we are displaying it without having first converted into a PDF.
That’s awesome because we are getting great document fidelity while saving the time needed to convert the file into a PDF then display that. You can even open a DICX file natively, add annotations, then save the file with annotations as a PDF.
Mostly whether we are displaying the DOCX natively or have converted to a PDF is largely irrelevant to the end user.
Just occasionally though, it does matter since some functionality, such as page manipulation is only available to PDFs, and not to DOCX file. In that case, we would need to load the DOCX using the option of loadAsPDF which converts the file on the fly.
But that gives us a problem: with such great fidelity, how can we tell whether or not the DOCX file was converted into a PDF using loadAsPDF?
It turns out to be easy. We can find information about the document by getting its file name and type from WebViewer.
Let’s drop the following code into “then” block that returns when the WebViewer constructor completes.
This gets the document that has been loaded, then queries that for the file name and type. The extension of the file name can then be used to infer the original document type.
If we open a DOCX file without loadAsPDF:true, then the extension is “docx” and the type is “office”. (Apryse released DOCX handling some years ago, which at that time it described as “office’ rather than “docx”, and the name has stuck).
Figure 2 - If a DOCX file is opened but loadAsPDF is not true, then its type will be "office". The same result occurs for PPTX and XLSX files.
On the other hand, if we load the DOCX file with loadAsPDF:true, then the extension is “docx”, but the type is “pdf”.
Figure 3 - If a DOCX file is opened but loadAsPDF is not true, then its type will be "pdf".
We therefore have a way of knowing whether or not loadAsPDF:true was specified. Now we just need to let the user know.
A very simple solution – the Alert box
The classic way of letting the user know there is a problem is to use an Alert such as in CustomModalDemo-alert.tsx.
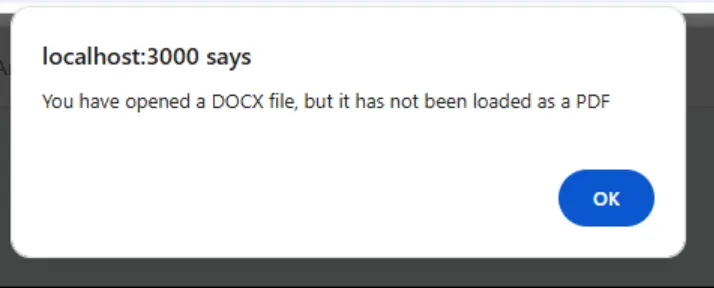
Figure 4 - At its simplest you could just raise an alert.
It’s possible that an Alert is all that you need, in which case, great!
There are lots of limitations with Alerts though, for example it’s not possible to change the styling, so it’s likely that very quickly you’ll need to use something else. You could develop a solution that uses something like react-toastify or a custom component to add styling to the alert.
Furthermore, we’re telling the user that there is a problem, but not giving them any other options other than to continue.
But there’s an method built into WebViewer that is fully supported. Let’s look at that.
Creating a Custom Modal Dialog
The WebViewer documentation contains example code for creating a custom modal dialog using vanilla JavaScript.
For this article, we’ll take that sample code and modify it slightly so that it will work with our React sample. You can find the code in CustomModalDemo-step1.tsx within the GitHub sample that goes with this article.
Now we can create a message that warns the user that the file hasn’t been opened using loadAsPDF. Later, we will extend what the dialog says and does.
The code is a little complex, so we will explain it in a moment.
Let’s break down what is going on.
Step 1 – Create an HTML element that contains the body text
When we create the modal, the body needs to contain either an HTML element or a React-Render function.
In this case, we are creating a simple Div that contains the words ‘You have opened a DOCX file.‘
Step 2 – Define the Modal Dialog
We’re creating an object called modalOptions which controls what will be in the modal.
We’re giving it a dataElement (which allows us to refer to it from WebViewer) and we’ll set that as ‘docxWarningModalDlg’.
We’re then defining what goes in the header (a message of “Warning!”), the body (which is the HTML element that we created in Step 1), and the footer (which is where the buttons are located).
In this example, there is just a single button that says “OK”, which when clicked closes the modal.
There are a couple of magic names to note:
- Unless you know exactly what you are doing use ‘customModal‘ for the dataElement
- The className of ‘footer’ is needed in the footer block, to make the buttons automatically render.
Step 3 – Add the custom modal to the WebViewer UI.
Next add the custom Modal to WebViewer’s UI using instance.UI.addCustomModal(modalOptions);
At this point, the modal is available but hidden.
Step 4 – Opening the Modal
Now we can update our code that previously showed an alert, and show our modal instead, using openElements and the name of the Modal. In some versions of WebViewer you also need to include the word ‘customModal', but that is not needed in WebViewer 11.10).
Now if we open a DOCX file, we get our warning. It is still basic, but we could add styling if we wished.
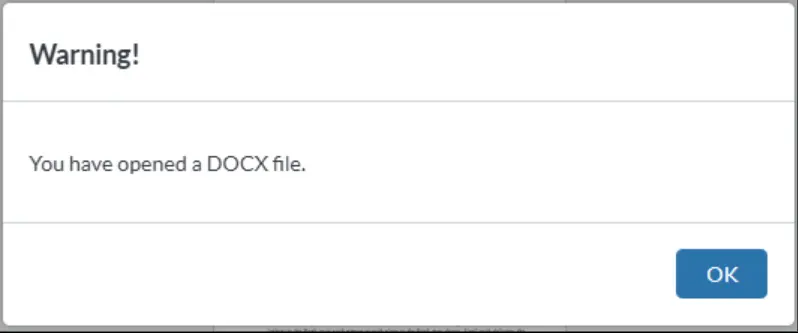
Figure 5 - Our custom Modal – it would be easy to add links etc. to make it more informative than using an alert.
We still have the problem, though, that there is no way for the user to do anything except accept the warning. They have been warned, but a code change (albeit just adding ‘loadAsPDF:true’) is needed to change the WebViewer behavior.
We can do better than that and give the user choices.
Next step - Offering the user solutions
Since we control what is displayed in the modal, let’s offer the user some choices:
- Just continue with their DOCX file in the default viewer
- Change the UI, so that it is clearly View Only – avoiding the risk of the user making changes that can’t be saved.
- Reload the DOCX file as a PDF, so that they can get access to all the WebViewer functionality available for PDFs
- Reload the DOCX file in the DOCX editor, so that they can access all the functionality available for DOCX files
That’s a lot of options, but it demonstrates how flexible WebViewer is.
First, let’s update the text that we display in the dialog.
We’ll also add the three extra buttons, but we won’t create the actual functionality just yet.
I won’t put all the code here (You can see the code in the file CustomModalDemo-step2.tsx within the GitHub repo that goes with this sample), but the footer block is:
Now when we run the code, we get a different dialog, and we even added a little styling.
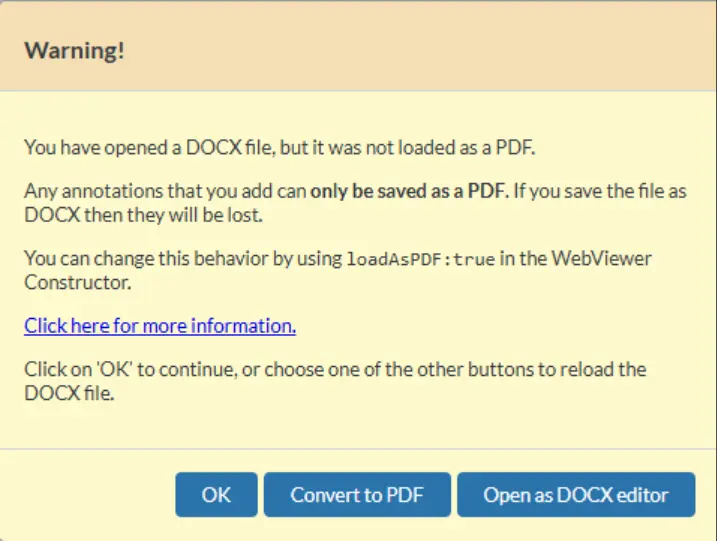
Figure 6 - The modified custom Modal - now with four buttons, styling, and a link for more information.
Cool – looking good!
Now, let’s set up the functions that will be triggered when the user clicks on the buttons. We’ll do that for each button in turn.
Reopening the file with loadAsPDF
At the beginning of the article, we saw that we could have made WebViewer convert the DOCX file into a PDF as it was opened.
We could just ask the user to reopen the file (possibly via a custom menu item), but let’s take the file that we already have, get the file data from it, turn that into a BLOB, then use that to reopen the file having specified loadAsPDF within the function UI.loadDocument().
We will also disable view-only mode, just in case we had previously set that.
Note that loadAsPDF is not documented, but it is supported.
Now we can see our document within the default viewer. It has been converted into a PDF, and we can also do those things that can only be done to a PDF, such as rotating, inserting, or deleting pages.

Figure 7- Having reloaded the DOCX file as a PDF, you can now do all kinds of PDF manipulation to it, such as inserting pages, or applying redactions.
Reopening the document in the DOCX Editor
We can extend what we saw with reloading the file using loadAsPDF, and take the Blob created from the existing document, and pass that to UI.loadDocument along with the option “initialMode:WebViewer.Modes.DOCX_EDITOR ”
Initial Mode is used to specify what the UI should look like – whether the default viewer, or the DOCX or the Spreadsheet Editor.
In this case we want the one that is dedicated to document editing:
Let's run the code and now we can see our file within the DOCX editor.
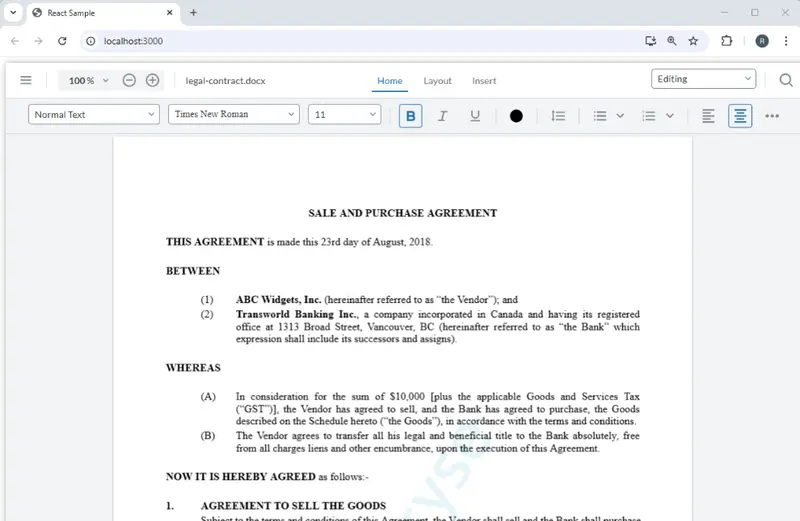
Figure 8 - The DOCX file reloaded into the DOCX editor.
That’s awesome, ww can now work with the document – editing the content while tracking changes, or adding section breaks, or tables, setting up styling and so on.
What a result! We now have multiple options for opening the DOCX file, and we’ve done that using a Modal dialog and a few lines of code.
You could of course use a custom modal for many other things to help with whatever your specific requirements are, I’ve just used a simple example, but you could make it as complex as you wish. You could, for example:
- Warn the user if the document has been edited but not been saved before allowing them to open a new document,
- use it to collect data that is then used to populate a template to create a new document,
- specify data that needs to be found and redacted,
- provide an alternative method for choosing which layers to show or hide
or indeed a huge number of other things.
And there is so much more that WebViewer and the Apryse SDK can do for you, whether client side, server side or mobile.
So, check out the samples, or the Apryse Showcase, get a free trial license and try things for yourself.


