Roger Dunham
Published March 28, 2025
Updated May 18, 2026
6 min
Creating an Autocue App Using WebViewer, React, and JavaScript
Roger Dunham
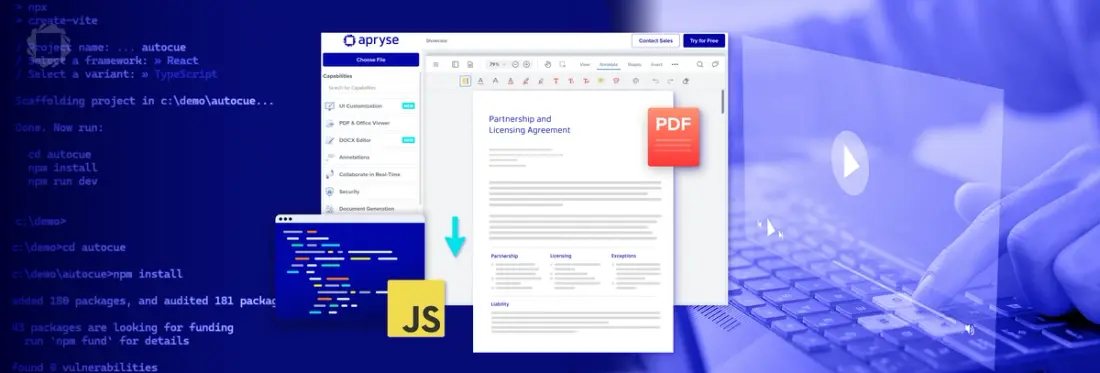
Summary: Discover how to create a simple app using WebViewer, React, and JavaScript to automatically scroll PDFs while narrating videos.
I write a lot of blog articles for Apryse, and from time to time I also create tutorial videos.
When I’m narrating a video, I usually work from a script. But there’s a problem, when I get to the end of the page, I either need to stop, or else keep recording and edit the audio later to remove the delay that occurs when I scroll to the next page.
To solve this problem, I put together a simple app that leverages Apryse WebViewer, React and JavaScript, and allows a PDF to be loaded into then automatically scrolled within the browser. It certainly made my life easier.
In this article we will look at how to achieve this. You can then extend the code to control WebViewer in other ways to make your life easier too.
WebViewer is a pure JavaScript Document SDK, which has a customizable open-source UI. It is fully featured, secure, and meets Accessibility guidelines.
Learn more about WebViewer and how it can help you with your business needs.
Prerequisites
The sample code used in this article was scaffolded using Vite and written using Windows and Node 22. It should work with Linux and macOS too, as well as with several earlier versions of Node, but I haven’t verified that. If there’s a problem, then please let me know.
Step 1 – Create a new Vite app
In the folder where you store your source code (in my case “C:\demo”) enter:
npm create vite@latestThis will then lead you through a series of prompts. I chose to call my project “autocue” and to use TypeScript.
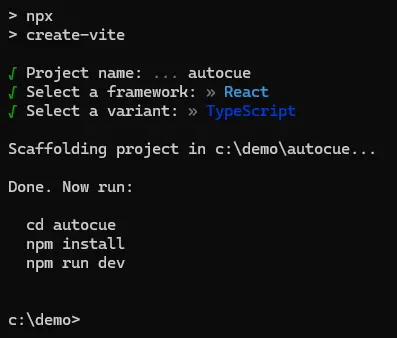
Figure 1 - Scaffolding the project using "create-vite".
Step 2 - Install dependencies
Once the scaffolding completes navigate to the newly created folder and install dependencies.
cd autocue
npm install
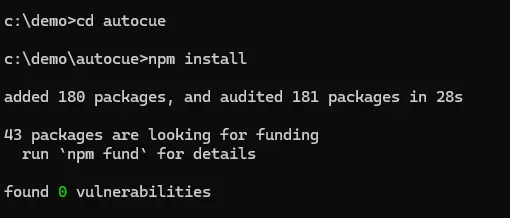
Figure 2- Installing the dependencies.
Step 3 - Remove unnecessary code within a Code Editor
Next open the project in a code editor (I use VSCode, but you can use whatever you prefer). You will see that Vite has created a complex folder structure, which is great since you now have an app that can be run – which is a great way to verify that your system is configured correctly.
However, we don’t need most of what Vite has created so let’s remove everything that’s in “App.tsx”. We will rebuild that file in a minute with what we do need.
Step 4 - Install WebViewer
Next, we need to provide access to Apryse WebViewer which we can do using npm (but use a different package manager if you prefer).
npm install @pdftron/webviewerThis will add the WebViewer package to the node_modules.
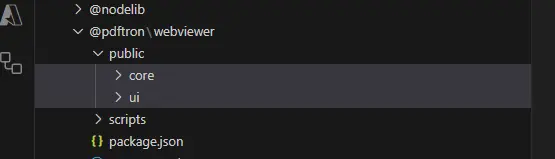
Figure 3 - The WebViewer files within node_modules.
Since we need our React code to have access to WebViewer on the client-side, we need to make sure that the files are also in the project’s “public” folder. Let’s create a new subfolder called “lib/webviewer” then copy the “core” and “ui” folders from node_modules and paste them into our new “public/lib/webviewer” folder.
While we are doing this manually, we could automate this using a tool called from a “postinstall” script. In fact, many of the WebViewer GitHub samples contain just such a tool so feel free to copy that into your project. I won’t add it here though to keep the code as simple to understand as possible.
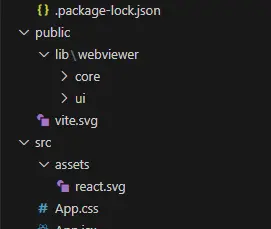
Figure 4 - The core and ui files that need to be available within the public folder so that they can be accessed by React.
Step 5 – Create a basic WebViewer project
Getting started with WebViewer is easy – you just need to create an HTML placeholder for the WebViewer when it is instantiated, and a useEffect to actually construct WebViewer.
Add the following code into “App.tsx” (which we previously removed the default code from):
We’re doing a little more than we need to in order to just display WebViewer in the browser – we are also storing the “instance” object that is returned when the WebViewer instantiation promise resolves into the state variable. We will use that variable, wvInstance, in a few minutes.
Gotcha! If Webviewer is instantiated as a Web Component, which is the default behavior in v11, then do not store the instance variable until after a document has been loaded.
Read more about interacting with events in WebViewer.
You’re almost ready to run the code – there’s just a couple of things to do first:
Update the CSS
Create-vite creates a default value of display:flex within the file index.css. That causes WebViewer to appear as a very narrow strip, so for now, let’s comment that out.
Get a license key
Finally, since it’s free and easy to get a free trial license key, get one and update the value in the code that we have just created in App.tsx.
Step 5a – Run the sample
You could skip this step, but it’s always useful to make sure that code works when it is simple, rather than waiting to run it when it has become complex.
npm run devIn a few moments you should see WebViewer appear in a browser – probably on port 5173.
If the website doesn’t appear automatically in a browser, then you can copy the link and paste it into the browser's address bar.
Once it is running, you can then use the filePicker to choose a PDF (or many other document types) and it will display within WebViewer.
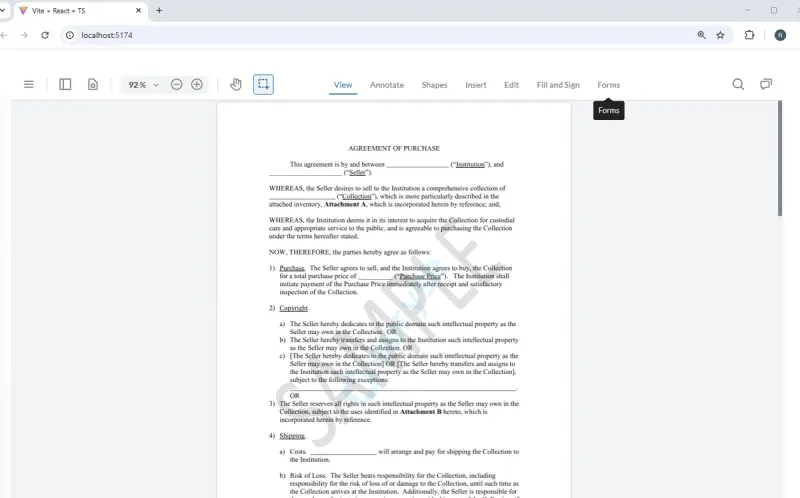
Figure 5 - WebViewer showing an example contract PDF, running within Chrome.
It is easy to customize the UI and add or remove buttons and menu items, but for now I won't make any changes. That also means that if I want to I can use the app to edit the PDF, or to insert annotations or any of the other huge range of functionality that it supports.
While WebViewer is impressive as it is, I promised you scrolling, so we need to add that.
Step 6 – Add buttons to allow auto-scrolling
In a few moments we will add code to control the place where the PDF scrolls to using the scrollTo function of the scrollViewElement that belongs to the document viewer object.
First though let’s add buttons to our app that allow us to interact with WebViewer.
It’s easy to add new buttons within the WebViewer UI, but for this article let’s add them to the HTML itself. We can do that by updating the “return” function to have four new buttons.
We also need to declare some state variables to store the “interval” object (think of it as a timer that fires at regular intervals, rather than just once), the topPos location where we are scrolling to, and the delay that controls how often the scrolling code will occur.
Since we will let the user change the speed at which the PDF scrolls, we need to specify limits of the time between scroll events (I’ve chosen from 9 to 500ms, but you might want to use something different).
We then have a set of three functions for altering the time between the document scrolling, making it faster, slower, or stopping it entirely.
Finally, we get to the function that is doing the actual scrolling.
Within the loop of the interval timer, the value for the top position is incremented and the document is scrolled to that new position. When we get to the bottom of the document the interval timer is stopped since there is no more work to be done.
Since we want to allow the user to change the scroll speed, and we can’t easily change the delay from within a running interval timer, every time that delay is changed, initializeCue is called again clearing the old interval and creating a new one with the new delay time.
There are a few tweaks needed within App.css to make the WebViewer occupy the full height of the page, and to make the buttons look better.
Step 7 - Run the code again
That’s everything in place.
Now when you run the project you can start the page scrolling, stop it, speed it up or slow it down by using the buttons.
Figure 6 – The working autoscroll app.
Getting the code
If you don’t want to follow all of the steps yourself, that’s OK – we have the entire code for this article available on GitHub.
Discover how to build custom modal dialogs in WebViewer to streamline DOCX workflows.
Where next?
Interacting with WebViewer using JavaScript is just one of the many things that it offers. It’s a massively powerful library offering the ability to securely redact documents, or add annotations to PDFs, or to work directly with DOCX files without needing additional dependencies or licenses – all while keeping your data securely on your own machine.
There are dozens of ways in which WebViewer and the Apryse SDK can help your document processing needs, so try things out and see how much time you can save.
If you have any questions, then please reach out to us on our Discord channel.


