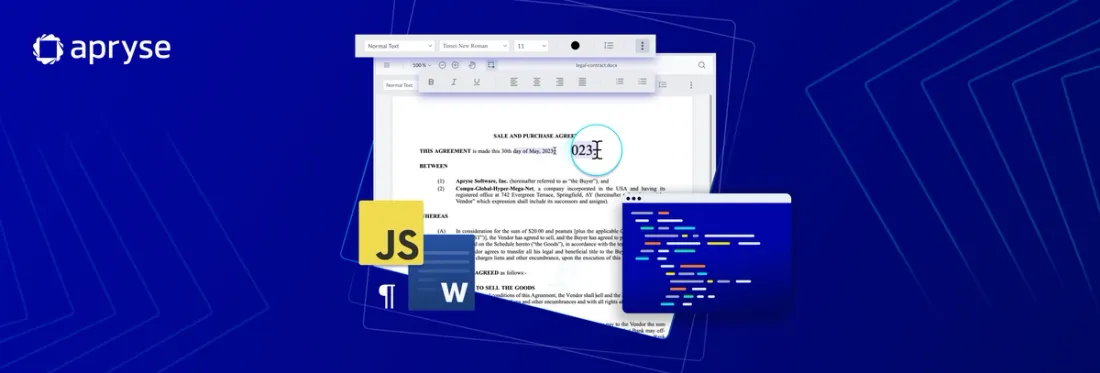
How To Integrate DOCX Editor Into Any Javascript Web App
By Andrey Safonov | 2023 Mar 31
5 min
Tags
tutorial
docx editor
docx
javascript
This blog will lay out the steps on how to integrate DOCX Editor into any JavaScript web app. The capabilities of DOCX editor include the native creation and modification of DOCX documents in your browser, eliminating the need for any server-side, Microsoft Office, or LibreOffice dependencies.
Bundled with a variety of commonly used word processing capabilities, the JavaScript DOCX Editor serves as the perfect tool for rudimentary DOCX content editing and revision tasks.
- Create new DOCX documents.
- Open and edit existing DOCX documents.
- Change text styling (bold, italics, underline).
- Change fonts, font size, and set headings.
- Align, justify, and control line spacing.
- Insert bullets or numbered lists.
The Apryse DOCX Editor leverages client-side operations throughout its workflow: It performs Word document editing in the client's memory and lets you to load and save DOCX documents either from local storage or through a URL, like from an AWS S3 Bucket. After saving the document, the produced blob can be reincorporated into your bucket, uploaded as an updated version, or simply downloaded in the format of a PDF or DOCX file.
To delve deeper into why both end-users and software developers greatly appreciate the integration of native DOCX editing, read our launch blog.
Learn more about Apryse's PDF and DOCX editor functionality.
Now let’s get started:
Read on for the step-by-step How-to guide, and/or watch the How-to video embedded below.
Embedding WebViewer Component
DOCX Editor is constructed with Apryse'sWebViewer as a foundation. Apart from DOCX documents, WebViewer also supports the viewing and modification of numerous formats, including PDFs, images, CAD files, videos, and much more.
To install WebViewer in your JavaScript web application, download WebViewer or access the npm package.
When deploying through npm, run the following command:
npm i @pdftron/webviewerWebViewer offers a complimentary 7-day trial period. If you wish to prolong the trial, you can obtain a free trial key post-registration at https://dev.apryse.com.
During the trial phase, all functionalities are accessible during the trial with the addition of a watermark appearing on the exported documents.
Activate DOCX Editing Functionality in Your JavaScript Application
After successfully initializing WebViewer, navigate to the constructor of WebViewer and activate Office editing:
WebViewer({
	enableOfficeEditing: true,

}, viewerElement)
After this, relaunchthe app and with DOCX editor available.
Import a DOCX Document into Your JavaScript App
To import a pre-existing DOCX document into your JS web application, you can accomplish this via the initial document property:
WebViewer({

  initialDoc: 'https://myserver.com/myfile.docx',

  enableOfficeEditing: true,

}, document.getElementById('viewer'));
or through load document API:
instance.UI.loadDocument(

      'https://myserver.com/myfile.docx',

      {

        filename: 'myfile.docx',

        enableOfficeEditing: true,

      });
Save a DOCX Document in Your JavaScript Application
To save the edited or newly created DOCX, use the getFileData API:
const doc = documentViewer.getDocument();
const data = await doc.getFileData();
const arr = new Uint8Array(data);
const blob = new Blob([arr], { type: 'application/pdf' });
// Add code for handling Blob here
What's next?
With the DOCX editor successfully integrated into your JavaScript web application, you can explore options to modify the aesthetics of the UI.
In case you encountered difficulties during any stage or came across errors, feel free to hit us up on Discord.
For any inquiries related to pricing, don't hesitate to contact our sales consultants.
Tags
tutorial
docx editor
docx
javascript

Andrey Safonov
Director of Product
Related Products
Share this post


