How to Implement a Ready-Made DOCX Editor Into Any Next.js App
By Andrey Safonov | 2023 Apr 29
5 min
Tags
tutorial
docx editor
docx
javascript
next.js
This guide will go over every step needed to integrate a ready-to-use Next.js DOCX Editor, enabling the crafting and modification of DOCX documents directly within your web app and browser, devoid of server-side components, Microsoft Office, or LibreOffice dependencies.
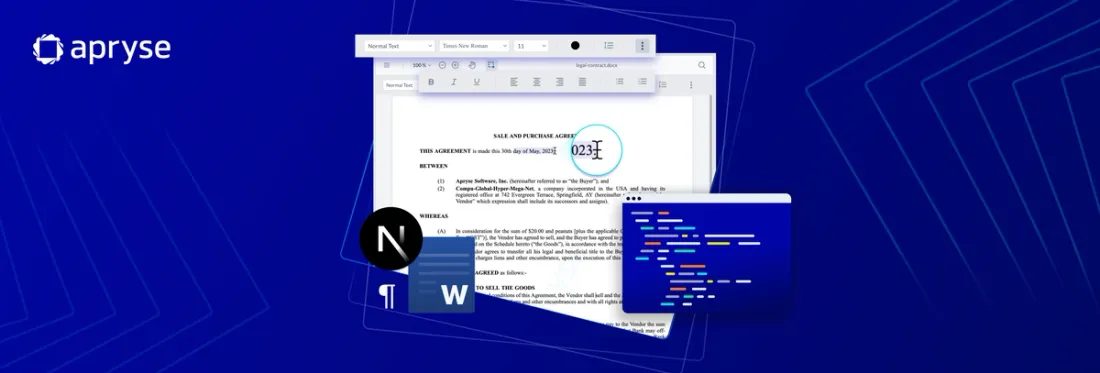
The Next.js DOCX Editor boasts a range of widely-used word processing capabilities, which renders it perfect for all basic DOCX editing, handling, and review workflows.
- Create new DOCX files.
- Edit contents of your existing DOCX documents.
- Manipulate styling (bold, italics, underline).
- Alter fonts, font size, and set headings.
- Align, justify, and control line spacing.
- Insert bullets or numbered lists.
Apryse DOCX Editor offers you secure client-side capabilities throughout: All Word files are modified directly in the browser, allowing you to open and store DOCX files from local storage or a URL, for example an AWS S3 Bucket. Upon saving, the produced blob can be returned to your bucket, saved as an updated version, or directly downloaded in either native DOCX format, or converted to PDF.
To delve deeper into the significance users and developers place on native DOCX editing, visit our launch blog.
Now let’s get our hands dirty: Read on for the step-by-step How-to guide, and/or watch the How-to video embedded below.
Install WebViewer Component
DOCX Editor is built on top of Apryse’sWebViewer. WebViewer offers viewing and editing not just of DOCX documents but also PDFs, images, CAD, video, and many other formats.
To install WebViewer in your Angular application, you can either do so by cloning our GitHub Next.js sample repo or by following our guide.
If you are installing through npm (node package manager), you can simply run:
npm i @pdftron/webviewerWebViewer comes with a free trial for 7 days. If you would like to extend the trial duration, you can generate a free trial key after signing up at https://dev.apryse.com.
In trial mode, all features are available except a watermark on output documents.
Enable DOCX Editing Functionality in Your Next.js App
Once you have WebViewer up and running, go to the constructor of WebViewer and pass the option to enable Office editing:
WebViewer({
	enableOfficeEditing: true,

}, viewerElement)
Once you have that, restart your app and you should see DOCX editor.
Load a DOCX Document in Your Next.js App
To load an existing DOCX document in your Next.js web app, you can do so either through initial document property:
WebViewer({

  initialDoc: 'https://myserver.com/myfile.docx',

  enableOfficeEditing: true,

}, document.getElementById('viewer'));
or through load document API:
instance.UI.loadDocument(

      'https://myserver.com/myfile.docx',

      {

        filename: 'myfile.docx',

        enableOfficeEditing: true,

      });
Save a DOCX Document in Your Next.js App
To save the edited or newly created DOCX, use the getFileData API:
const doc = documentViewer.getDocument();
const data = await doc.getFileData();
const arr = new Uint8Array(data);
const blob = new Blob([arr], { type: 'application/pdf' });
// Add code for handling Blob here
Next Steps
With the DOCX editor now active in your Next.js web application, you can explore methods to tailor its appearance and feel.
Should you face challenges or come across errors during setup, we are happy to chat over on Discord.
For pricing queries, kindly get in touch with our sales department.
Tags
tutorial
docx editor
docx
javascript
next.js

Andrey Safonov
Director of Product
Related Products
Share this post


