How to Support Multiple Digital Signatures in a Single Document in JavaScript with Apryse SDK
By Laura Massingham | 2023 Aug 24
3 min
Tags
webviewer
webviewer
digital signature
Implementing multiple digital signatures on a single electronic document can pose challenges due to complexities in document structure, signature placement, and format compatibility. This use case is increasingly common across multiple industries where more than one stakeholder needs to provide consent or approval. To learn more about digital signatures and how they work, check out our Ultimate Guide to Digital Signatures.
This blog demonstrates how to apply multiple digital signatures to a document in your web application using JavaScript. With the assistance of Apryse’s WebViewer SDK – a single component – and a few lines of code, you can enable a digital signing workflow that’s simple for end users and offers enhanced accountability. We will take you step by step through the process of configuring a document for multi-person signing, ensuring that each signer exclusively signs their allocated section without altering the preceding content.
There are 3 key points that differentiate a multiple signature application within Apryse WebViewer SDK which will be highlighted below:
- Implement an incremental save
- In document permissions, allow for form fill signing and annotations
- Use Approval for signatures
Step 1: Install Apryse WebViewer and Digital Signatures
Before we proceed, ensure you have installed WebViewer and set up the Apryse Digital Signatures feature in your application. WebViewer supports a full range of frameworks, such as React, Vue, and Angular. It's easy to demo new features in your environment today. Just visit our get started page.
There are different ways to install, but we’ll use npm to install WebViewer for this example.
npm i @pdftron/webviewerSince WebViewer requires static resources to be served (which cannot be bundled), you will need to manually copy static files into your dist directory.
Finally, you can instantiate WebViewer using an iframe or via web component. In this code, you'll need to update two parameters.
1. for path - the new dist directory path of the static files; and
2. for licenseKey - add your own license key
Step 2: Define Signing Roles
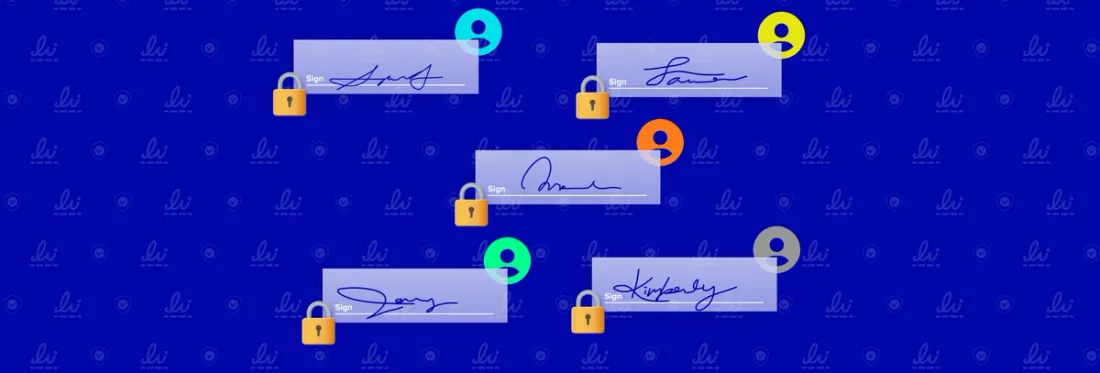
In this use case, we have four signers: Person1, Person2, Person3, and Person4. For each signer, you need to define their designated sections in the document where they can sign.
When dealing with multiple signatures, they must be applied sequentially using the incremental flag and separated by an incremental save. For instance, after signing the initial signature and before proceeding with subsequent tasks or generating the next signature, it's essential to save the complete document using the incremental flag.
async function main() {
  const buf = await doc.saveMemoryBuffer(PDFNet.SDFDoc.SaveOptions.e_incremental);

  //optionally save the blob to a file or upload to a server
  const blob = new Blob([buf], { type: 'application/pdf' });
}
PDFNet.runWithCleanup(main);
Step 3: Create Signature Fields
Using Apryse's API, create Signature Fields for each signer in the designated sections of the document. Each Signature Field will represent a place for the respective signer to sign.
For these DigitalSignatureField items, we will set the document permission to e_annotating_formfilling_signing_allowed.
async function main() {
  const doc = await PDFNet.PDFDoc.createFromFilePath(in_docpath);
  const page1 = await doc.getPage(1);

  // Create a text field that we can lock using the field permissions feature.
  const annot1 = await PDFNet.TextWidget.create(doc, new PDFNet.Rect(50, 550, 350, 600), 'asdf_test_field');
  await page1.annotPushBack(annot1);

  /* Create a new signature form field in the PDFDoc. The name argument is optional; leaving it empty causes it to be auto-generated. However, you may need the name for later. Acrobat doesn't show digsigfield in side panel if it's without a widget. Using a Rect with 0 width and 0 height, or setting the NoPrint/Invisible flags makes it invisible. */
  const certification_sig_field = await doc.createDigitalSignatureField(in_cert_field_name);
  const widgetAnnot = await PDFNet.SignatureWidget.createWithDigitalSignatureField(doc, new PDFNet.Rect(0, 100, 200, 150), certification_sig_field);
  await page1.annotPushBack(widgetAnnot);

  // (OPTIONAL) Add an appearance to the signature field.
  const img = await PDFNet.Image.createFromFile(doc, in_appearance_image_path);
  await widgetAnnot.createSignatureAppearance(img);

  // Prepare the document locking permission level. It will be applied upon document certification.
  await certification_sig_field.setDocumentPermissions(PDFNet.DigitalSignatureField.DocumentPermissions.e_annotating_formfilling_signing_allowed);

  // Prepare to lock the text field that we created earlier.
  var fields_to_lock = ['asdf_test_field'];
  await certification_sig_field.setFieldPermissions(PDFNet.DigitalSignatureField.FieldPermissions.e_include, fields_to_lock);

  await certification_sig_field.certifyOnNextSave(in_private_key_file_path, in_keyfile_password);

  // (OPTIONAL) Add more information to the signature dictionary.
  await certification_sig_field.setLocation('Vancouver, BC');
  await certification_sig_field.setReason('Document certification.');
  await certification_sig_field.setContactInfo('www.apryse.com');

  // Save the PDFDoc. Once the method below is called, PDFNet will also sign the document using the information provided.
  await doc.save(in_outpath, 0);
}
PDFNet.runWithCleanup(main);
Step 4: Set Signature Field Permissions
To ensure that each signer can only sign their designated section and not edit the content of previous signers, you need to set the appropriate permissions for each Signature Field.
In this case, Person2 should only be able to sign their section, and only view Person1's section. The way we achieve this is by storing the user's email address as a custom property or part of the field name so that we can check the fields later to hide or show the appropriate fields. Steps 2-4 can be completed by referencing our documentation.
Step 5: Initiate the Signing Process
Now that the document is set up with the Signature Fields, you'll fetch the current logged-in user and filter out signature fields that aren't tied to the specified user with the code sample in our repository.
This happens when the document is loaded on the client-side.
Step 6: Verify and Complete the Signing Process
As each signer completes their signing process, the document will be updated with their approval signatures. Ensure that the document is using incremental save and updated after each signer has signed. You can also implement verification steps to ensure that all required signatures are obtained before finalizing the document.
Conclusion
By utilizing the Apryse WebViewer, you can implement a synchronous signing process with multiple signers. The ability to define signature fields and set permissions ensures that each signer can only sign their designated section without altering the content of previous signers. This provides a secure and streamlined signing experience for all parties involved.
You can check out our interactive demo for a demonstration of how digital signatures work in the Apryse WebViewer, or see the documentation for the Web SDK to get started quickly. Don’t forget you can also reach out to us on Discord if you have any issues.
Tags
webviewer
webviewer
digital signature

Laura Massingham
Director of Product Marketing
Share this post


