Roger Dunham
Published April 25, 2025
Updated May 18, 2026
4 min
Using Apryse with Next.js Server Actions for PDF Conversion
Roger Dunham
Summary: In this article, we'll explore how to use the PDF SDK with Next.js 15 to create a seamless PDF-to-DOCX conversion workflow. Using Next.js Server Actions, we can efficiently handle the file conversion process server-side, reducing the need for client-side JavaScript. You'll learn how to upload a PDF, view it using WebViewer, convert it into a DOCX file on the server, and then load it into WebViewer's DOCX editor. This approach leverages the power of Next.js 15 and Server Actions for a more optimized and progressive web experience.
Introduction
NextJS Server Actions were first implemented in May 2023.
At that time, in NextJS 13.4, they were considered experimental, but since then they have become one of the stable features of Next.
Server Actions have two main benefits:
- they allow data mutation to occur on the server within the needed for an in-between API layer.
- that, in turn, allows you to develop progressively enhanced forms that require less client-side JavaScript.
So far, so great!
But what about using the Apryse SDK with Server Actions?
In this article we will develop a simple Next 15 app that will allow us to select a PDF, then view that file WebViewer as a PDF, then upload the file to the server where it will be converted within a Server Action into a DOCX file, and finally load that file into the DOCX editor that WebViewer natively supports.
A note on versions
I’m using Windows, Node 22.13.1, npm 10.9.2. The article also used create-next-app@15.2.1
You should get similar results with Linux and macOS.
Step 1. Scaffold a new Next 15 app
Within a terminal window enter the following to scaffold a new next app with default functionality.
npx create-next-appYou could use npm instead, but I prefer using npx since that can execute JavaScript packages (such as create-next-app) without the need to install them beforehand.
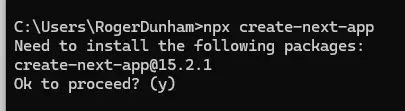
Figure 1. npx will download and run the create-next-app script, without the need to manually install it beforehand.
Create-next-app will lead you through the process of scaffolding a new app, starting with asking you a series of questions.
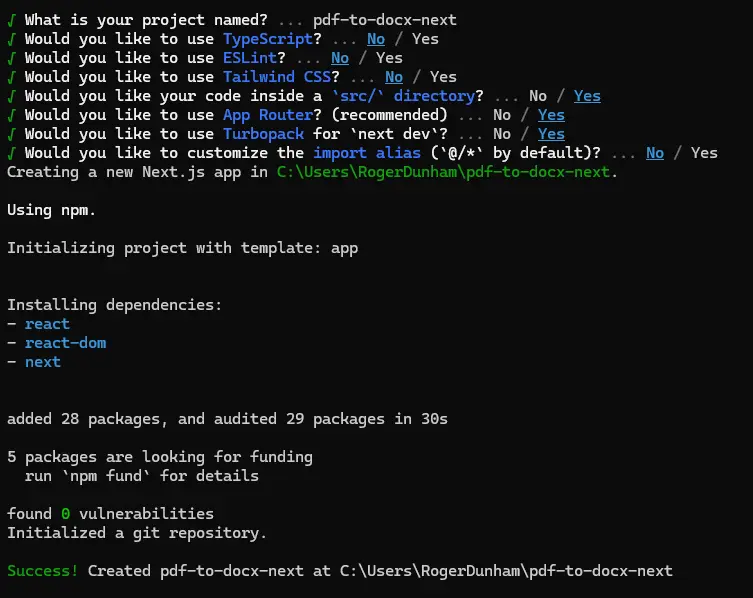
Figure 2 - npx will ask you questions then scaffold the app based on your answers.
Once create-next-app finished, you can navigate to the new folder (which in my case is called pdf-to-docx), and once there you can open the project in a code editor (I’m using VSCode).
At this point you could start the scaffolded project using:
npm run dev This will, by default, start the project running on port 3000.
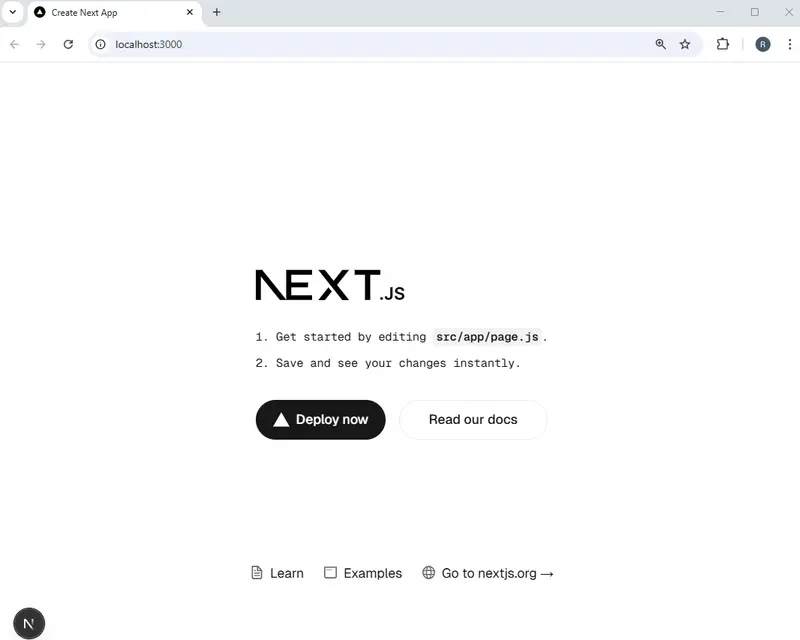
Figure 3 - The default project running on port 3000.
It’s useful to know that you can run a NextJS scaffolded app, but we won’t use very much from that app as we move forward.
Step 2. Add WebViewer to the client
Now we need to start changing the default app into one that does what we want. The first thing to do is to install the WebViewer node module.
npm install @pdftron/webviewer Since we need the WebViewer code available to the client, we need to copy it to a location where it can be accessed – so copy the core and ui folders from node_modules into the app’s public folder. You could copy the files where you want, but we recommend that you place them into a folder lib/webviewer, so that as your app becomes more complex it remains well organized.
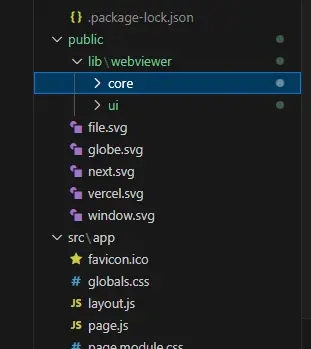
Figure 4 - You will need to copy the WebViewer core and ui folders so that they are accessible at run time.
Every time that WebViewer is updated it will be necessary to have the new files copied to this location. To simplify this, you may want to use an npm postinstall script. Example scripts can be found in the WebViewer samples on GitHub.
Now let’s replace the contents of the page.js (or whichever file you will use to store the WebViewer component) file with code based on that in the get started guide for NextJS:
There are lots of other examples of how to set up WebViewer within a JavaScript and React based app, so let’s just look at the key points.
- WebViewer is initialized with useEffect – and it needs to know the path the Core and UI folders that we copied earlier, and it needs a WebViewer license key.
- There needs to be a div where WebViewer will be mounted. In this case it is identified with the useRef reference of “viewer”. We are using some inline style for that div, since if no height is specified then WebViewer is very small. You might want to use CSS instead for this.
We are also storing the instance object that is returned when the WebViewer constructor resolves into the state variable wvInst.
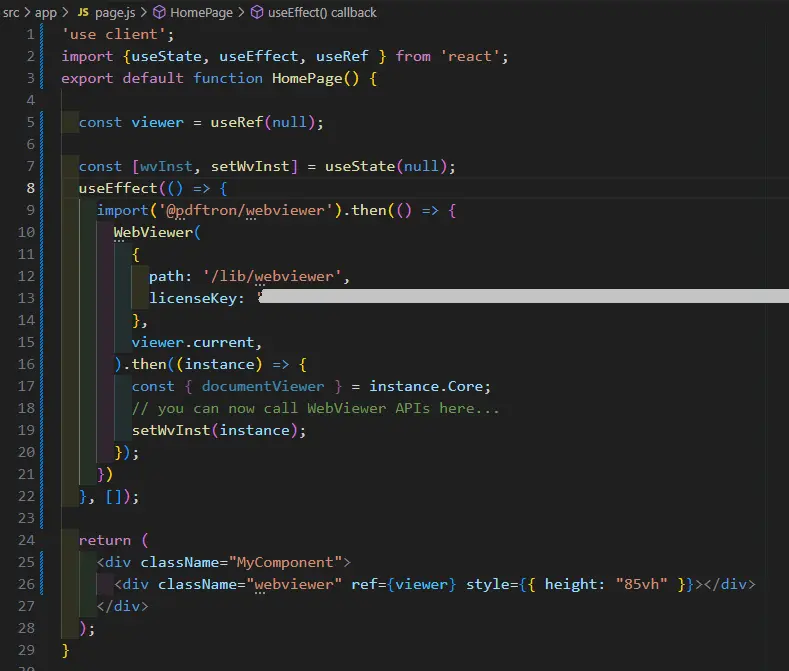
Figure 5 - Your code should look like this at the moment. It is important that ‘path’ points to the folder where the WebViewer Core and UI folders are located.
You can now run that code (with npm run dev), and WebViewer should load.
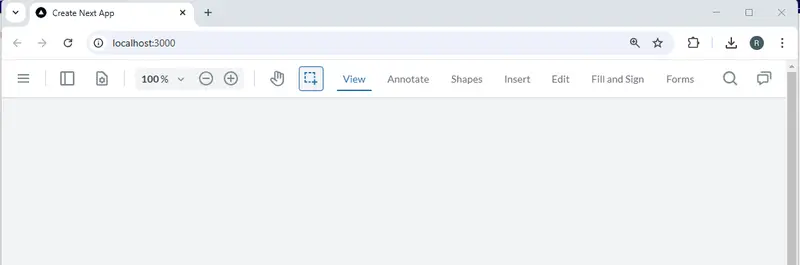
Figure 6 - WebViewer running within the browser.
It’s not very exciting at the moment though, since we didn’t specify a default document to load, or allow the user to choose one (although we could have). We will solve that in just a moment.
Step 3. Add a button to allow the user to choose a file
You can choose a file directly within WebViewer by specifying “enableFilePicker: true”, in the WebViewer constructor. However, for this article we will create an external button, and use that to show how to load a document programmatically.
So, let’s add a file input element within the ‘return’ code block, and store the file when the user chooses one within a state variable (we won’t use that just yet, but let’s set it up for now).
We will also call loadDocument to get the WebViewer to load the file that we have selected. (You could if you want call loadDocument in a useEffect that fires when the file changes, but let’s keep things simple for now)
The end of the page.js file should now look like:
Now if we run the code, we can choose a file, and it will get loaded into WebViewer:
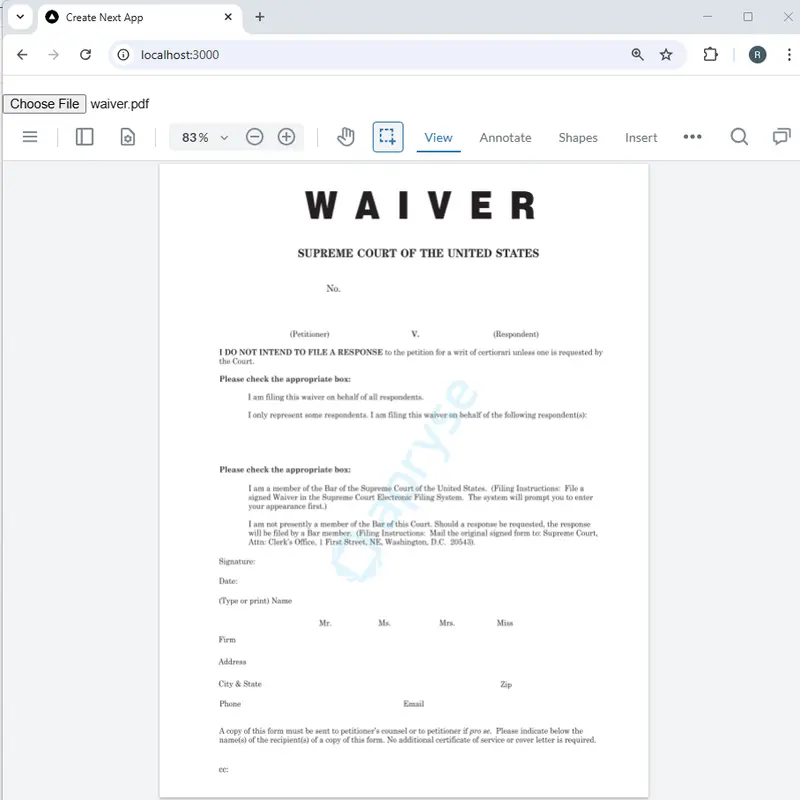
Figure 7 - The app now let’s us choose a PDF which is loaded into the WebViewer.
Step 4. Set up a Server Action that will convert a PDF to DOCX
So far, everything we have done has been simple. Now let’s get to the really clever part – using Apryse within a Server Action.
Next, install the pdfnet-node library:
npm install @pdftron/pdfnet-node That library will only be used from the server so it can be used directly from node_modules rather than having to be copied to the lib folder in the way that we did for WebViewer.
We also need to download the StructuredOutput module – which is specialized code for converting from PDF to Office formats. The module ships as a zip file (on Windows), so you will need to extract it to a folder before it can be used. For simplicity’s sake let’s copy it into the lib folder that we used earlier.

Figure 8 - The Structured Output module files need to be extracted, and you will need to specify their location before using them.
Server Actions have to be POST messages and can only return strings, but we will see how we can work around that restriction.
Create a new file called actions.js (or any other name that you want to use) and copy the following code into it.
The key parts of the code are:
- it calls PDFNet.runWithCleanup specifying a callback (in this case “main”), and a license key. Note that this is a server license key, rather than a web license, but it is still free to get a trial one.
- the code uses PDFNet.addResourceSearchPath('./public/lib') to specify where the Structured Output module is located.
- the main function extracts a file object from the formData. The file is converted to an array of bytes, which are then used to create a PDFDoc object which in turn is converted to a Word document using PDFNet.Convert.toWord. That function creates a file, which is subsequently converted into a base64 string which is returned to the sender. We will see what the client does with it in a moment.
Step 4a. Modify the Next config file
If you run the code at the moment, then you will get an error about “addon”.

Figure 9 - A typical error, which is easy to resolve.
This error is associated with how the app is bundled. At the moment the pdfnet-node package is being repackaged in a way that makes it impossible for the code to find at runtime. It can be a head-scratching problem, but fortunately, the solution is easy – you just need to modify the next config file and specify that pdfnet-node is a serverExternalPackage.
While you are changing the config file you may also want to increase the size of object that can be passed to the Server Action – the default is 1MB and errors will occur if you try to convert a PDF that is larger than this.
Step 5. Update the webpage to send the PDF to the Server Action then display the returned DOCX file
Everything is now in place for using the Server Action.
Server Actions can be called in various ways, such as when a form is submitted. However, for this example we will add a button to explicitly call it. The button handler will take the selected file, add it to formData and send it to the Server Action, then handle the result when it is returned.
Production code should, of course, deal with errors, but we will keep our code simple by assuming that when we will only ever get a response that is a base64 encoded DOCX file, which can be converted into a blob and used within WebViewer.
The end of the page.js file should now look like:
Step 6. Run the code
Everything is now in place, so start up the server, select a PDF then click on the Convert to DOCX button.
The PDF file will be sent to, and converted to a DOCX within, the Server Action, returned to the browser and loaded into WebViewer. What’s more, if we specify enableOfficeEditing: true, then WebViewer will show the converted file within the DOCX editing environment.
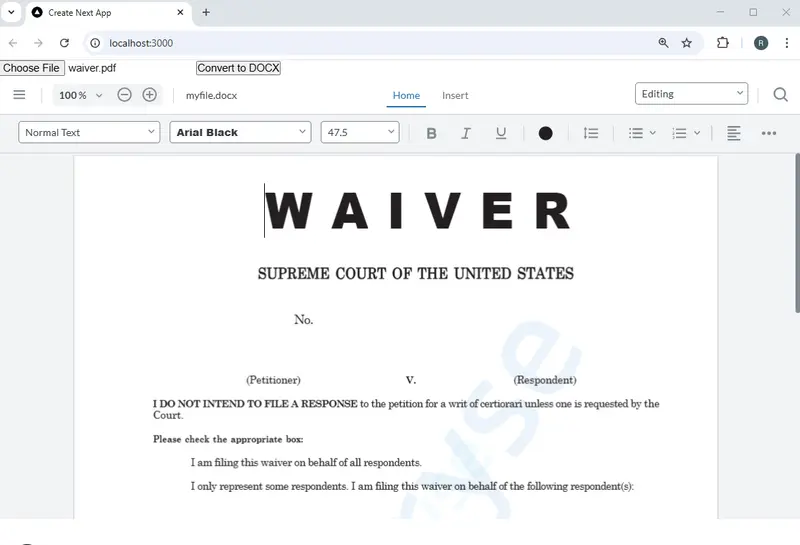
Figure 10 - The converted DOCX file within the WebViewer DOCX editor.
In summary, we started with a PDF, and now have a DOCX file that looks the same, and we can edit the resulting document all within the same app.
Better still we don’t need an Office license to do so – that’s awesome!
Where next?
The Apryse SDK offers a huge range of functionality for working with PDFs, DOCX files and other document types (e.g. Tiff, CAD, BIM and many more) – for example you could extract text from a PDF and store it in a database, or even extract key/value pairs taken from a form and use them to solve whatever need you have.
While we have seen how to use a Server Action, in practice, you can very often access the functionality directly from WebViewer. For example, if you wanted to convert the DOCX file back into a PDF then you could just save it as a PDF directly within the WebViewer UI.
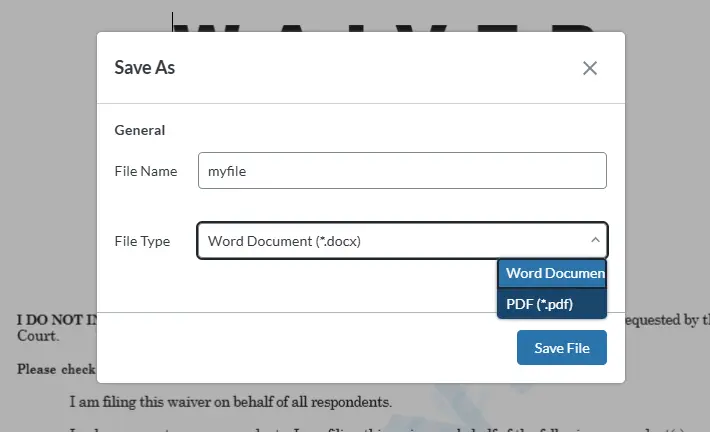
Figure 11 - WebViewer allows you to save the DOCX file as a PDF without needing to use a server action.
Nonetheless, the ability to use Server Actions opens up a range of possibilities that can help to solve your document processing needs.
There’s a wealth of documentation to help you get started so try things out, and if you need further help then please reach out to us on Discord.


