Roger Dunham
Published July 25, 2024
Updated May 18, 2026
4 min
Creating a Document Processing App using Node.js and Express: Part 3
Roger Dunham
Summary: This blog guides you in setting up a simple server to convert documents using the Apryse SDK. The SDK lets you manage the entire document lifecycle on your infrastructure without third-party dependencies.
Introduction
This is the third part of a short series that will walk you through the steps needed to set up a simple server that will convert documents from one type to another using the Apryse SDK.
The Apryse SDK is a powerful library that allows you to own the full document and data lifecycle by deploying it on your own infrastructure without worrying about third-party server dependencies. In this series, we have covered just a fraction of its functionality and walked through:
- Creating a simple Node.js server using Express
- Converting documents into PDF using Apryse SDK
- Adding further functionality to the server
In the first part of this series, we created a simple Node.js/Express server that listed the files in a specific folder and allowed us to download those files by specifying their name in the URL. In the second part, we converted DOCX, image, and CAD files to PDF.
In this article, we will look at some of the other great functionality available within the Apryse SDK.
Where we left off
If you just finished the previous article, then you'll have your Node.js project ready to kickstart this one. If not, then you can download the project from GitHub (you want the end_of_part_two branch). Next, open the project in an IDE of your choice (I use VS Code).
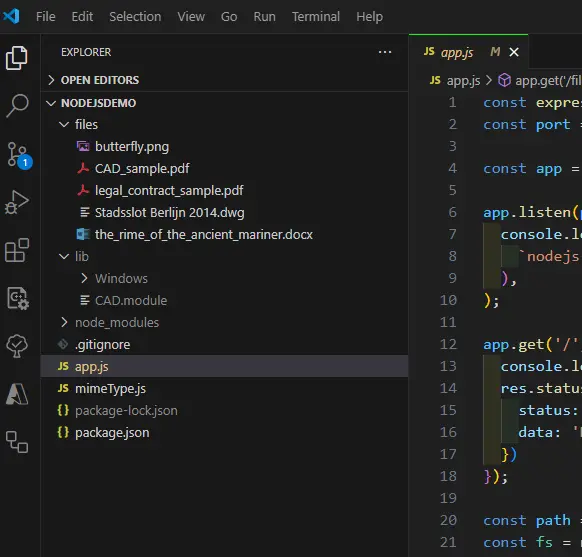
Figure 1 – The project as it was left at the end of part two.
Note that if you have downloaded the project from GitHub, then the lib folder (and the CAD Module, which was in it) will be missing. If you want to add that module back, then instructions on how to do so are in the previous article, but we won’t be using the CAD Module in this part of the series, so you may be happy to skip that.
However, we will need the lib folder as we explore another of the optional modules, one that allows us to convert PDFs into Office documents.
Convert from PDF to Office
DFs are great for sharing information, and while they can be edited, for example, by using Apryse WebViewer, complex editing is painstaking. Office files, on the other hand, are easy to edit; after all, this is the primary use of Office.
As such, the ability to convert from a PDF into a DOCX, PPTX, or XLSX document can save hours of time and add significant value to your application.
This conversion cannot be done directly within the Apryse SDK, but it is easy to achieve. Just as with CAD, there is a dedicated library, the Structured Output module, available for Windows, Linux, and macOS.
You can add the Structured Output functionality in the same way that you did for the CAD Module in Part 2 of this series: download the Structured Output module, extract it, and copy the contents of the lib folder into your project.
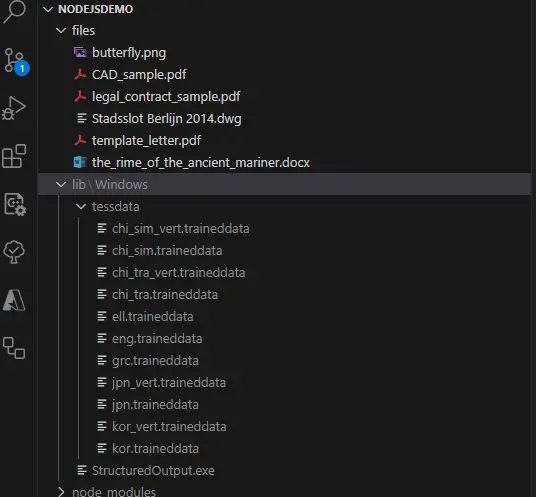
Figure 2 - Typical layout of the project after copying the Structure Output module into the lib folder. In this case I am using the Windows library. The trained data files support OCR.
Now let’s add a new endpoint for convert-to-docx.
The really important line is await PDFNet.Convert.fileToWord(inputPath, outputPath); That takes the file and converts it into Word. Simple!
The server will find that file, use the Structured Output module to convert it, then send it back to the browser.
At first sight it may appear that nothing occurred – but in fact, since my browser is not configured to view .docx files, the file was automatically downloaded instead.

Figure 3 - If your browser isn't configured to display docx files, then they will be downloaded.
If you open the downloaded file, you will see that it really is a fully editable DOCX file.
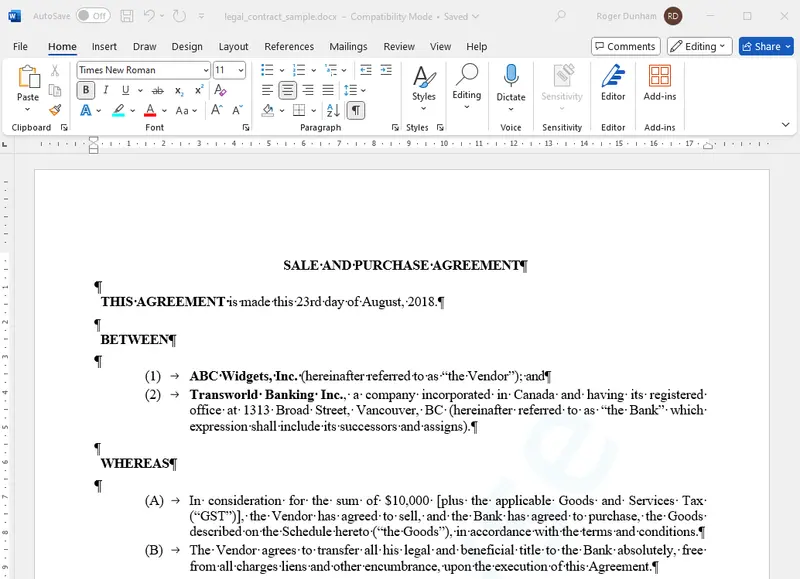
Figure 4 - A document that was converted on the fly from a PDF.
While Chrome cannot render docx files natively, if you want to do so then the Apryse WebViewer allows you to do so.
That’s awesome! We have added a whole new area of functionality using code very similar to that which we already had. While this example just converts the file to a DOCX, the Structured Output module also supports conversion to PPTX and XLSX (and some other formats), so we could, if we wanted, extend our code by implementing convertToPPT and convertToXLSX endpoints.
If you do want to try converting to PowerPoint or Excel, then you will need to extend the mimeType.js file to include .pptx and .xlsx. That is easy to do.
Before we go any further, let’s refactor our code slightly. Previously we have seen that we need to call PDFNet.runWithCleanup(), passing in both the name of the function to be called and a license Key. We also saw the need to perform various error handling tasks, as well as remembering to shutdown PDFNet.
Rather than using the same code repeatedly, we’ll move that into a single function that we can call from anywhere.
Create a Thumbnail by Converting PDF to Image
Let’s look at another example of what we can achieve with the Apryse SDK. We will add another API to create a thumbnail of a PDF, a functionality that will pair nicely with the ability to list files in the directory which we implemented in the first part of this series, and get a quick preview for each of them.
Creating a thumbnail is built into the Apryse SDK via PDFNet.PDFDraw, so there is no need for another additional module. Just copy the following code into the app.
The code snippet parses the requested parameters, ensures that the file is a PDF, and then calls our generic PDFNetEndpoint function (which we created when we refactored the code), which, in turn, calls our specific code. In this case generating a thumbnail which is ultimately returned to the browser.
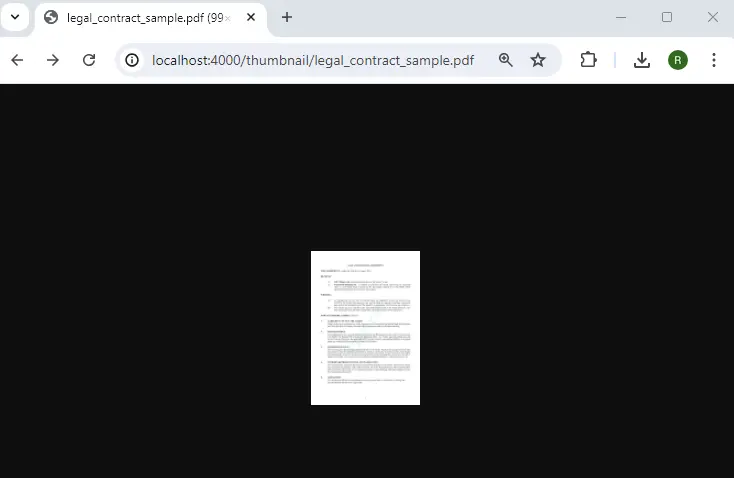
Figure 5 - A thumbnail generated for the first page of the specified PDF. You can change the size of the image by adjusting the dpi used in PDFNet.PDFDraw.create[dpi);
Cool! We had previously converted an image into a PDF, and now we have one mechanism for going the other way too!
Let’s look at one more area of functionality: the ability to create new documents.
Generate PDFs from a Template
Being able to create multiple documents based on a template can be a great time saver. You invest some time making a well laid out template, then let a machine deal with populating the template with up-to-date data.
Apryse offers two other methods for creating documents from templates – Document Generation and Fluent. If you need advice on which is most suitable for your use case, please contact the Sales team.
For now though, we will use a template that has already been converted into a PDF, and we will use our Node.js app to replace the name, date, and address using the ContentReplacer class. In this example, some of the data comes from the URL having been provided by the user, and other data is hard coded (though it could come from a database if required) and still other data is calculated.
The sample template (which needs to be in the /files/ folder) contains placeholders marked by square brackets, for example, NAME, Address and DATE.
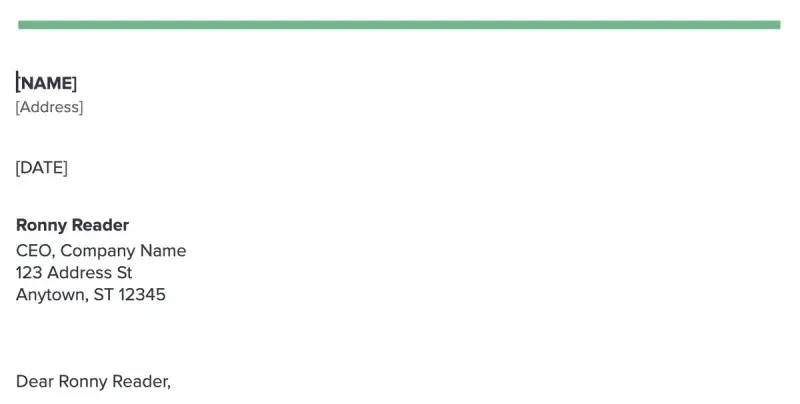
Figure 6 - The start of the template PDF - the text that will be replaced is marked with square brackets.
Let’s add a new endpoint for replace-content. The layout of this code is similar to the endpoints that we have already created.
In this case, the Content Replacer class will find the strings marked with square brackets and replace that content with the final data, for example, the address will be replaced with '123 Main St, Vancouver, BC CANADA'.
To test the code, call the endpoint including the value for NAME that you want to use, for example http://localhost:4000/replace-content/Dave_Smith.
The code will take the name (in this case “Dave_Smith”) as a parameter, replace any underscores with spaces, then use that name within the document.
In just a few moments a new document will be created, based on the styles and fonts of the template and returned to the browser.
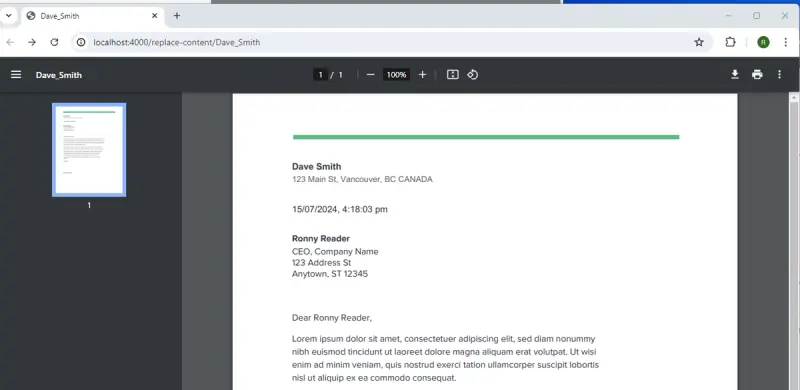
Figure 7 - The generated document with the name, location and date fields replaced.
Adding More APIs and Endpoints
There are lots of other document manipulation APIs that you can add to your app. In fact, we have put together several Node.js samples for you to try out, including:
And much more! (see Node.js samples)
Note: the code samples used in this series have been created to allow you to quickly benefit from the functionality that the Apryse SDK offers.
They should not be considered as the basis of good coding techniques. In order to keep the Apryse functionality as the focus of the code, the error handling, input verification and general security have been kept simple, so please review those with regards to your own coding standards.
Conclusion
This series of articles was intended to help you build a simple document processing file server using Node.js and Express using our sample project on GitHub.
Ultimately, we’re just scratching the surface of what functionalities you can add with the powerful Apryse SDK, including dozens of other unique document processing capabilities.
Check out the other blogs and documentation that have been put together, and feel free to reach out with any questions.