Roger Dunham
Published March 04, 2025
Updated May 18, 2026
9 min
Streamlined PDF Management with WebViewer and Firebase
Roger Dunham
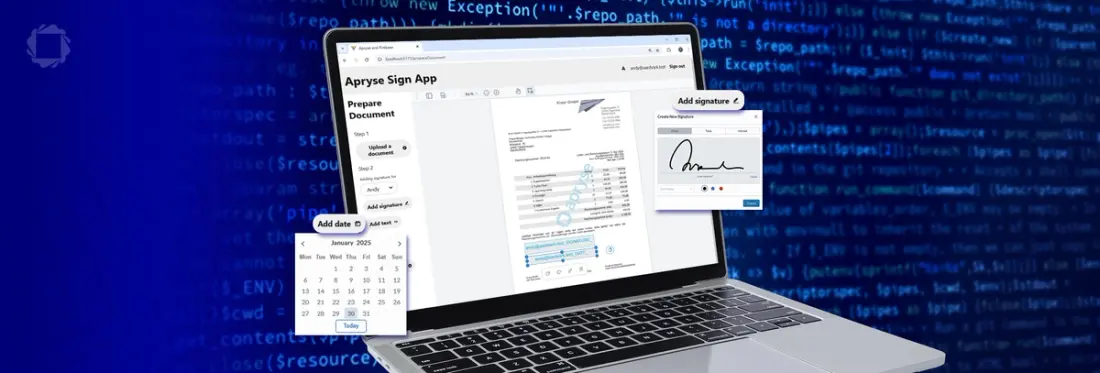
Summary: Explore the evolution of PDFs and discover an app that utilizes WebViewer and Firebase for seamless PDF document management including features like e-signature integration, collaborative document editing, and more.
Introduction
PDFs have taken the world by storm - offering a highly portable document type that is easy to share. While the format started as ‘read-only’ it has long since been possible to add comments and annotations, as well as more recently to be able to edit the content of the PDF with tools such as the Apryse SDK.
In this article we will look at an app that combines the flexibility of working with PDFs which is available by using WebViewer, with the power of Firebase to develop a system where one user can set up a PDF to have an e-signature added, and a different user can then review the document, then add that signature.
If that sounds interesting, read on - the concepts can be extended to offer even greater functionality; users could collaborate to add comments or other annotations to a PDF, or even to add a digital certificate backed signature to the PDF.
For this article we are using Firebase, but the principles are the same for Azure, Amazon and other Cloud based providers.
If you want to see how this was implemented then check out the article on setting up WebViewer to work with Firebase, which will take you through all of the steps needed to get this going.
What is WebViewer
WebViewer is a highly customizable JavaScript library that runs within the browser with no additional dependencies. At its simplest it can be used to view PDFs, but is also supports the editing of PDF content, working with annotations, applying redactions to the PDF, and also has built in DOCX viewing and editing capabilities (and still with no need for additional tools or licenses).
In this article we will be using a customized version of WebViewer (and we will see how easy it is to perform that customization), embedded within a React app.
You could extend this concept to work with Angular (or even vanilla JavaScript and HTML) if that’s your interest.
Explore using WebViewer with Firebase for real‑time document workflows.
What We Are Trying to Achieve with the Sample App
The workflow that we are looking at is one where one user can take an existing PDF and add a placeholder for a signature to be added. Later, a different (or the same) user can open the PDF within the app, review the document, and add their signature. When that is saved, the person that prepared the PDF can see the document has been signed.
It’s a trivial example, but it’s a useful starting point for creating a solution for your specific workflow.
Using the App
The source code for the app can be found at https://github.com/DocRog-maker/Firebase-WV11.git.
To use the app, you will need to set up Firebase, which is covered in a companion article.
For now, though, we will assume that you have everything running as intended and are interested in seeing how you can benefit from the functionality that WebViewer offers.
If you already have a user account for the app then you can log in using an email and a password.
However, when you first start the app, with a brand-new database there will be neither users, nor uploaded documents. Don’t worry, we are going to step through the entire process that is involved.
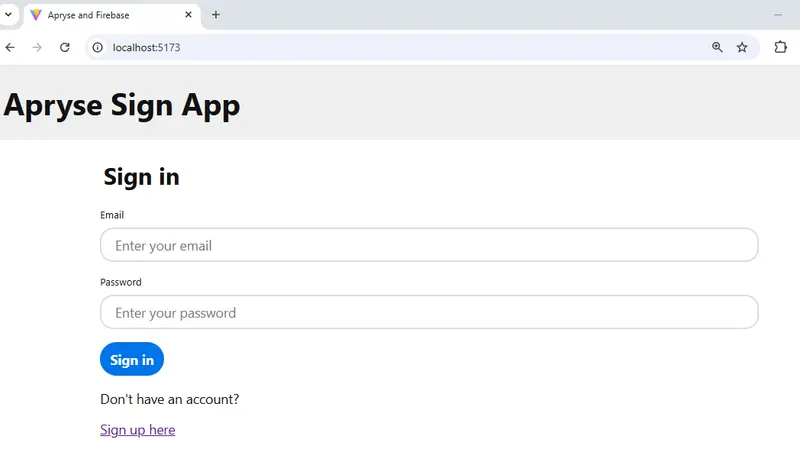
Figure 1 - The starting page for the app if no user has signed in. From here you can sign in using an email and password, or create a new user account.
There are lots of other ways of authenticating – Firebase offers many providers e.g. Google. However, to keep things simple for this sample we will only use the email and password option.
It would also be easy to add a ‘Forgot password?” option, but again we won’t do that here in order to keep things simple.
Step 1- Create a new user
Let’s start by creating a new user – click on Sign Up Here and enter a username, email address and create a password. As an example, we will create a user called Andy, with an email address of andy@aadvark.test and use 123456 as a password. Note that this is the password for using this app – it is not the user’s email password.
The password that we have chosen is extremely weak, and you might want to set much more stringent rules for passwords than the default restrictions that Firebase imposes.
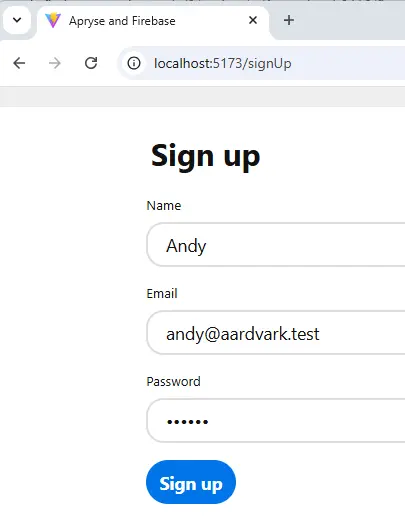
Figure 2 - The page for adding a new user.
Next, click on Sign up.
If you are using Chrome then it may warn you about the weakness of that password, for now you can ignore that.

Figure 3 - Google Chrome will warn you if you use a weak password. For now, we will ignore it.
After a moment you will be taken to a page where you can see a summary for your newly created (and automatically logged in) user.
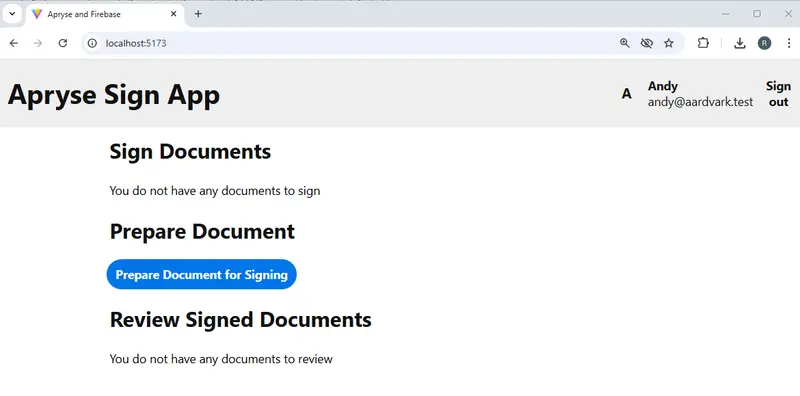
Figure 4 - The 'home' page for a signed in user. As we have just created the user there is not much to see.
Step 2 – Specify who needs to sign the document
As an example, let’s prepare a PDF based document for signing, so click on Prepare document for signing.
First you need to enter a name and email address for the person that will sign the document. Note that as this is just a demo app, the email is case sensitive – you would likely want to change that in a production system.
For now, let’s have Andy create a document for himself to sign later, so add Andy’s details then click on Add user.
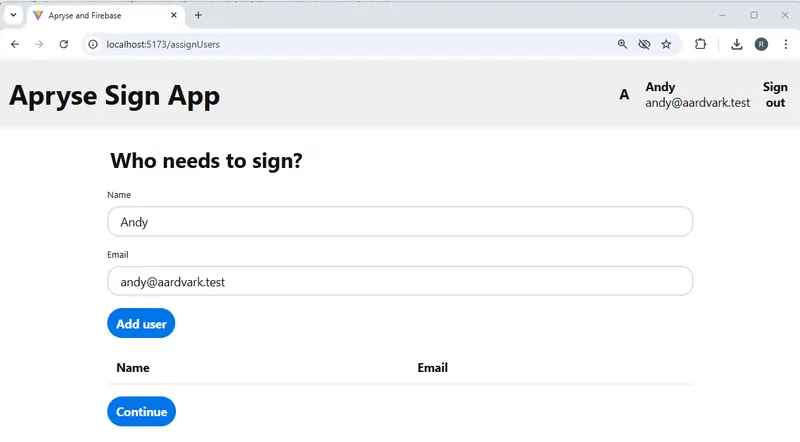
Figure 5- The first part of preparing the document for signing is to say who should sign the app.
You could add further users, or a different user, but we won’t do that just now.
We will quickly look at using the app with multiple users towards the end of this article.
When you have specified the user, their name will be added to the page.
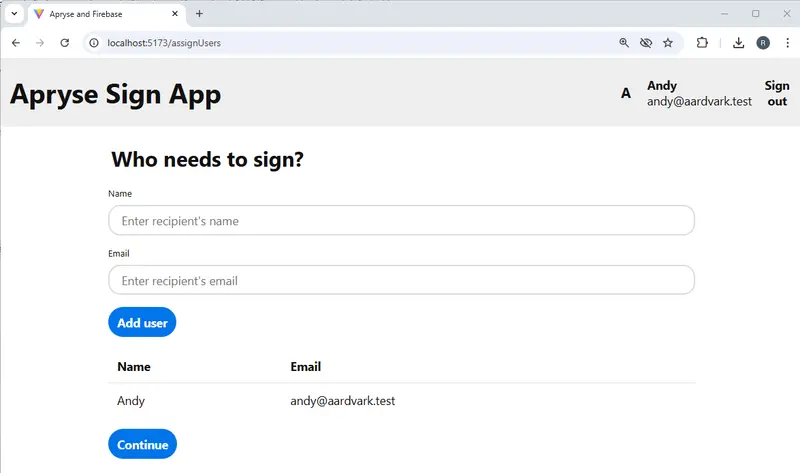
Figure 6 - We have now added Andy as a person that needs to sign the document. You could add further users if needed.
Click on Continue.
Step 3a – Upload the document to be signed
WebViewer supports many types of documents. While it can edit DOCX files directly, it can also convert them, and many other document types, into PDFs on the fly. For now, though, the app has been created to just work with PDFs.
First click on Upload a document and choose a PDF. This will then be shown within WebViewer running within the app. WebViewer supports a plethora of functionality, but for this app we want to restrict what the user can do, so we are customizing the appearance by removing many of the options.

Figure 7 - We have now uploaded a document. In this case it is an example ZUGFeRD invoice.
For this app we are using the legacy UI – which was the default option up to and including WebViewer 10.
There is now a Modular UI, which is easier to work with and also offers compliance with the WCAG 2.1 accessibility standard.
Step 3b – Specify the fields that need to be filled in
We can now add fields for each user that needs to add something to the document. As we only specified a single user (Andy), they are the only option in the drop down, so we can skip having to choose the user.
Let’s add a field where Andy will need to add a signature. We can do that by clicking the Add signature button. This will create a placeholder for the signature widget within the document, which you can drag to the location that you want it to be.
(Alternatively, you can drag the button onto the PDF and drop it where you want the signature field added.)

Figure 8 - When you click on one of the 'Add' buttons, a placeholder is shown in the PDF - you can then drag it to where you want it.
We will also add a date field (we won’t bother with a text field just now).
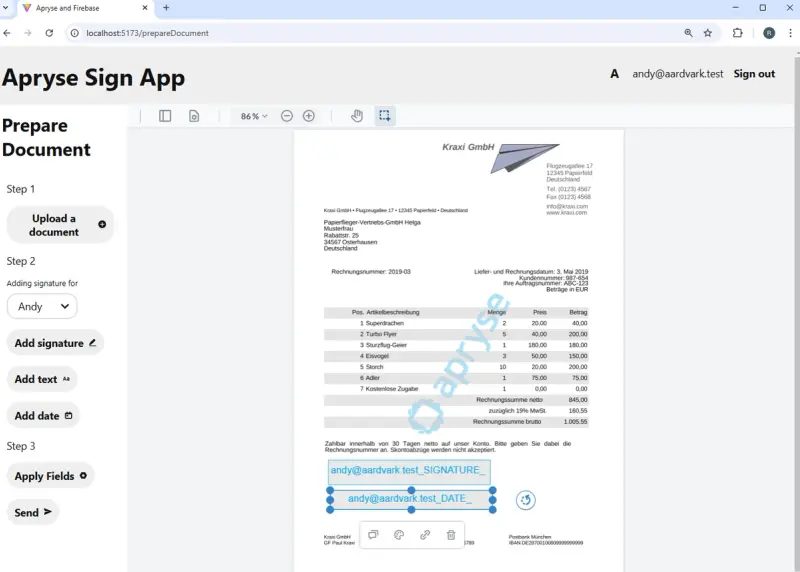
Figure 9 - You can add fields to the PDF, then drag them to where you want them. In this example we have a signature and a date field.
Step 3c - Apply and send the prepared document
Currently we have added placeholders to the document which we need to convert into annotations. This can be done in a single button press (using Send), but if you click on Apply Fields then you can see what is happening.
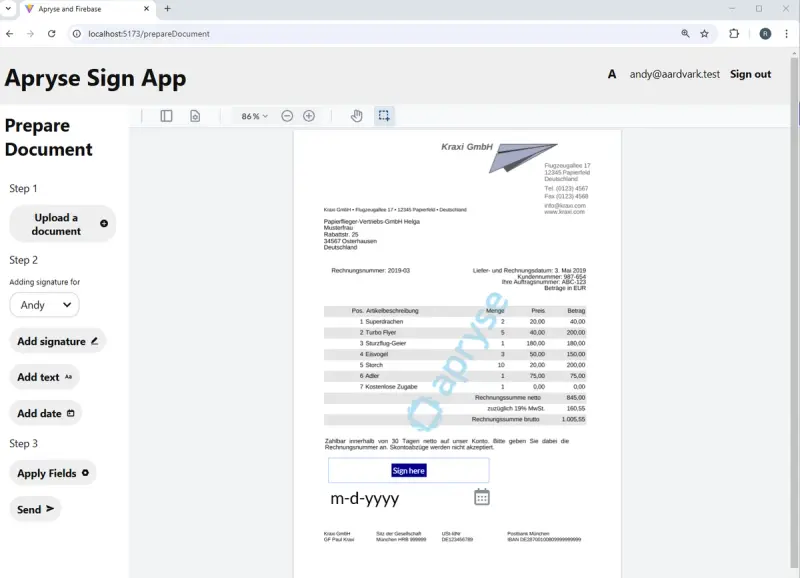
Figure 10 - Pressing Apply Fields converts the placeholders into actual annotations. This is the way that the PDF will appear to the user when it is time for them to sign it.
Great, we can see that the PDF looks the way that we want it to be, so click on Send.
In a production system, an email could be sent to the person that needs to sign it, but for now we will just upload it to Firebase.
This will take us back to the page that we saw earlier, but now we can see that we have a document that needs to be signed.
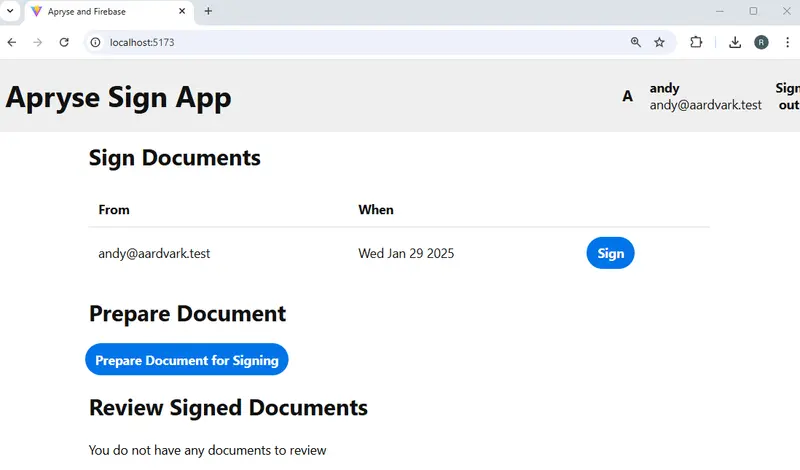
Figure 11 - As Andy is the person that needs to sign the document, it now appears in the list of documents for him to sign.
Step 4 - Signing the Document
Click on Sign, and the document that we just prepared will be loaded into WebViewer. Just as before we have customized the appearance of WebViewer, but this time, a Signature Annotation option is available.
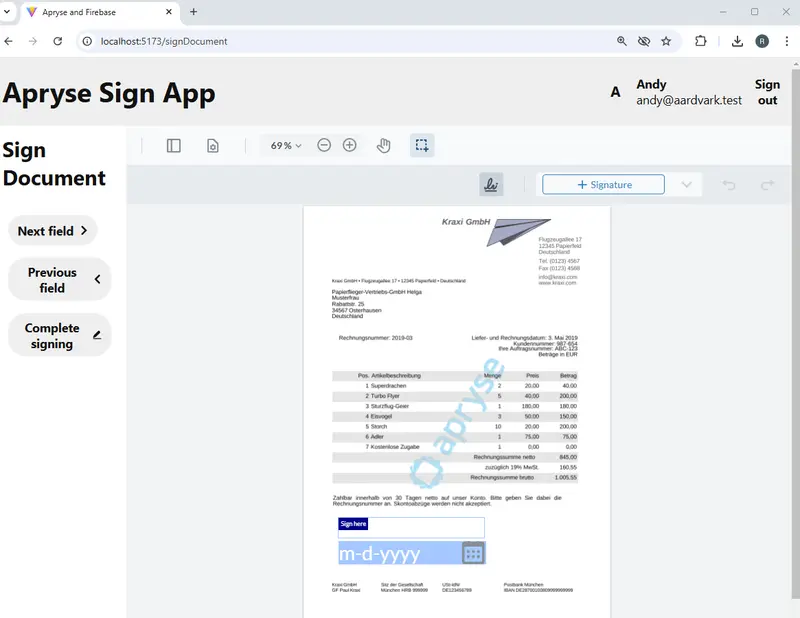
Figure 12 - We are now ready to add a signature and the date.
Don’t worry about the Next field and Previous field buttons – they are used to scroll the document to find any fields that need to be visible in the document. The PDF used in this article has only a single page, so all fields are already visible.
Click on the Signature field. This will allow you to draw, type or upload an image of the signature that you want to insert.
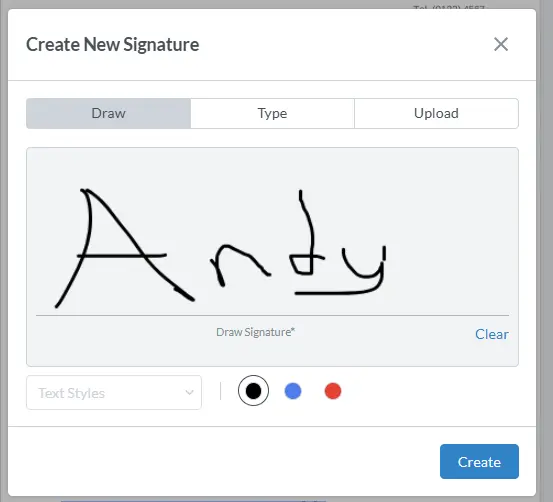
Figure 13 - You can draw, type or upload the signature that you wish to add to the PDF.
When you are happy with the signature, click on Create. The newly created signature will be placed in the signature annotation.
The signature tool which is performing this work can create either an “Appearance” or an “Annotation”.
Up to, and including, WebViewer v10 “Annotation” was the default option. However, in v11 the default value changed and became “Appearance”, in order to simplify support for Digital Signatures.
The code sample used for this article, however, requires that the signature is an Annotation. It’s easy to support this using code within the useEffect block that instantiates WebViewer.
const tool = instance.Core.documentViewer.getTool('AnnotationCreateSignature');
tool.setSigningMode(instance.Core.Tools.SignatureCreateTool.SigningModes.ANNOTATION);
Read more about Signing Modes in Apryse.
Next click on the date field. The date can be entered either from the keyboard or by using the Date Picker.
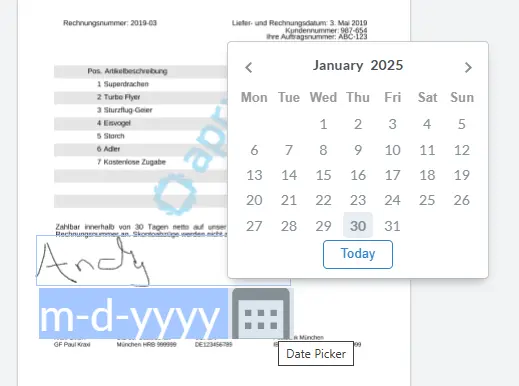
Figure 14 - You can add a date by clicking on the Date Picker.
Let’s just click on Today (which was Jan 30, 2025, when I wrote this), and the date will be entered into the field.
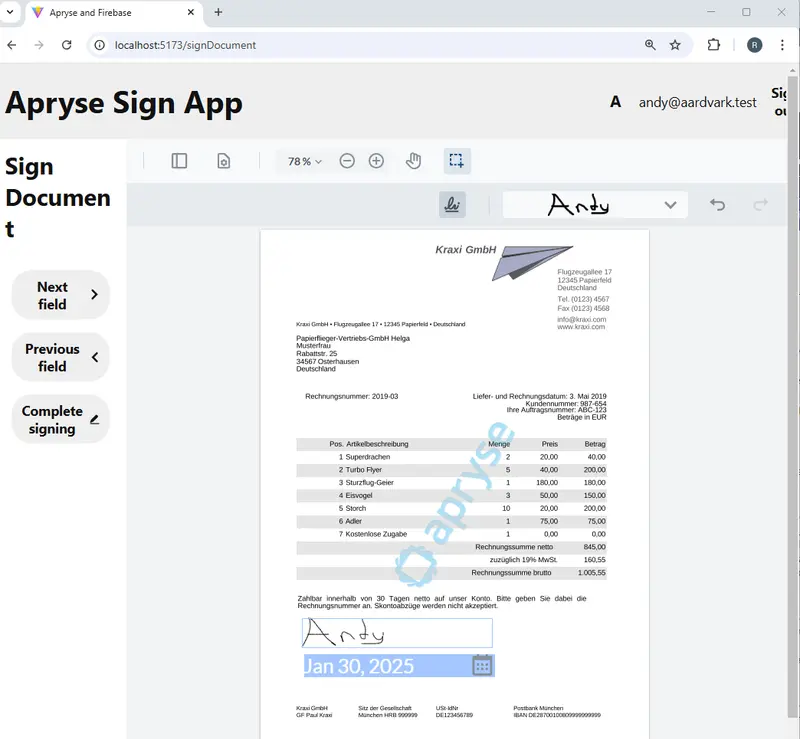
Figure 15 - We have now created both a signature and a date.
At this point you can still edit the fields, but once you are ready, click on Complete signing.
Under the hood the contents of the fields that you have just added will be “flattened” into the PDF, meaning that they cannot easily be modified afterwards.
When this is complete, you will be taken back to the main page and can see that there is a signed document for you to review.
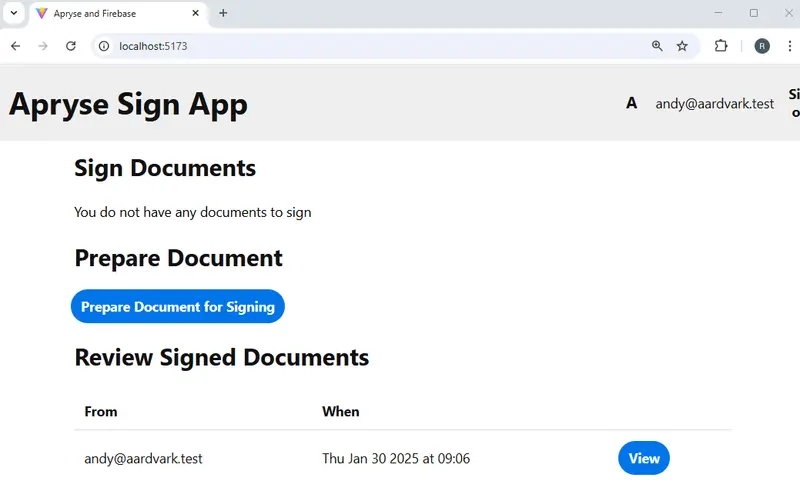
Figure 16 - After the document has been signed it appears in the list of documents that were generated by Andy that need to be reviewed.
Step 5 - Reviewing the Document
Click on the View button next to the document and you will see the PDF containing the saved signature and date.
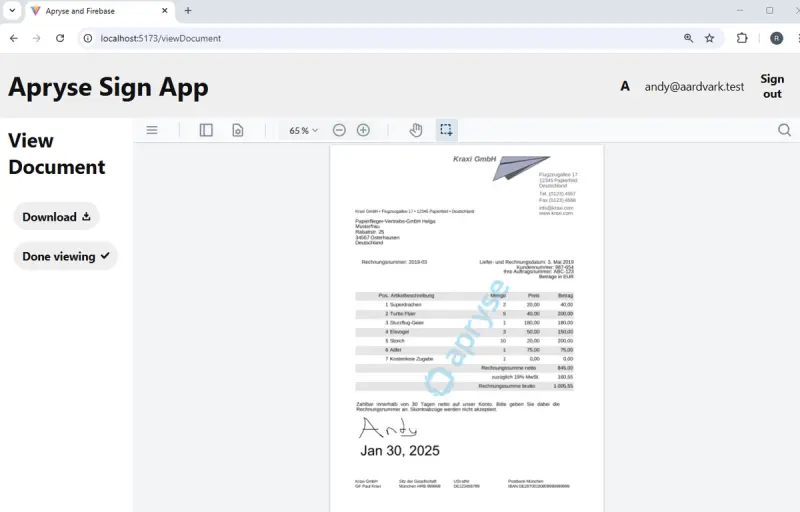
Figure 17 - The final document, with an e-signature and date.
Awesome.
Working with Multiple Users
Let’s create a couple more users (using the Signup process). We’ll add cassie@capybara.test and kevin@koati.test.
We’ll also get Kevin to prepare two documents to be signed - one by Cassie, and the other by Andy.
In a production system Cassie and Andy would be informed of the document that needed to be signed (probably by email). Each would then sign into the system.
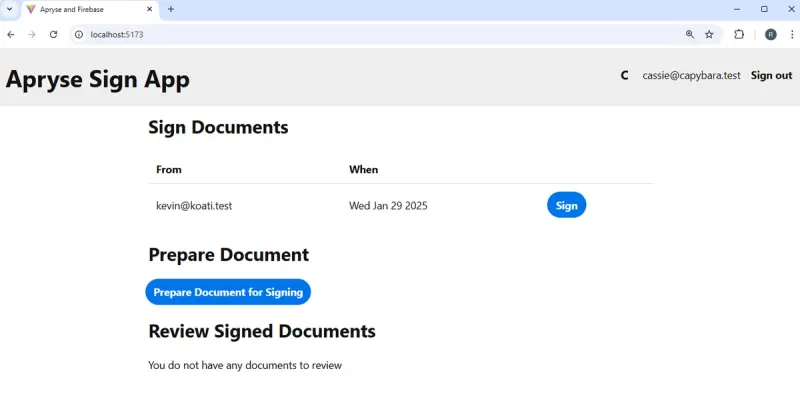
Figure 18 - When Cassie signs in, she can see that Kevin has created a document for her to sign.
Cassie would then sign the document, and when complete it would be uploaded to the server (and in production Kevin would be informed).
When Kevin logs in later he can see that the documents have been signed, when that occurred, and that they are ready for final review.
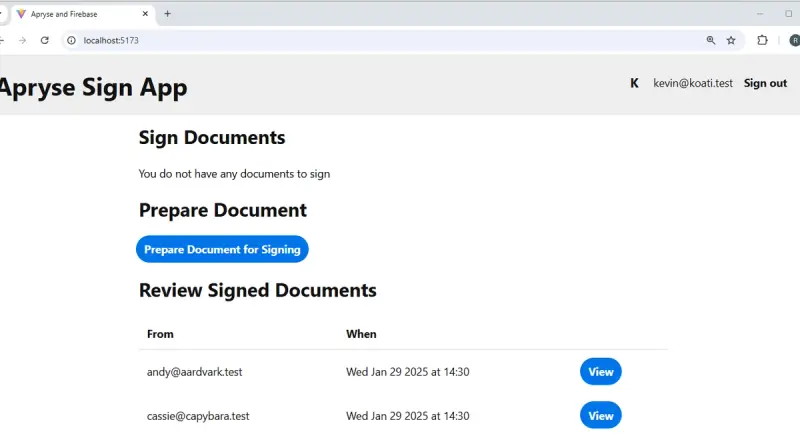
Figure 19 - When Kevin is signed in, he can see that the two documents have been signed and are ready for final review.
So now we have a multi-person, collaborative workflow. Perfect!
Where Next?
The sample app is still quite basic – you could extend it in many ways – you could modify it to allow redactions to be suggested, then applied by the person reviewing the document, or add digital signatures (backed with a digital certificate). In fact, you could use this code as the basis of many tools for collaborative workflows based on the huge range of functionality available within WebViewer.
The source code used for this article is available on GitHub. There is also a companion article, and video, about how to set up Firebase and get the code working.
The Apryse SDK and WebViewer do much more than just what we have seen. They offer a wealth of functionality, potentially allowing you to develop complex document handling solutions based on just a single product – reducing licensing costs and simplifying IT.
There is also some great documentation to help you get started quickly, and you can reach out to us on Discord if you have any questions.


