Garry Klooesterman
Senior Technical Content Creator
Published August 07, 2025
Updated May 18, 2026
4 min
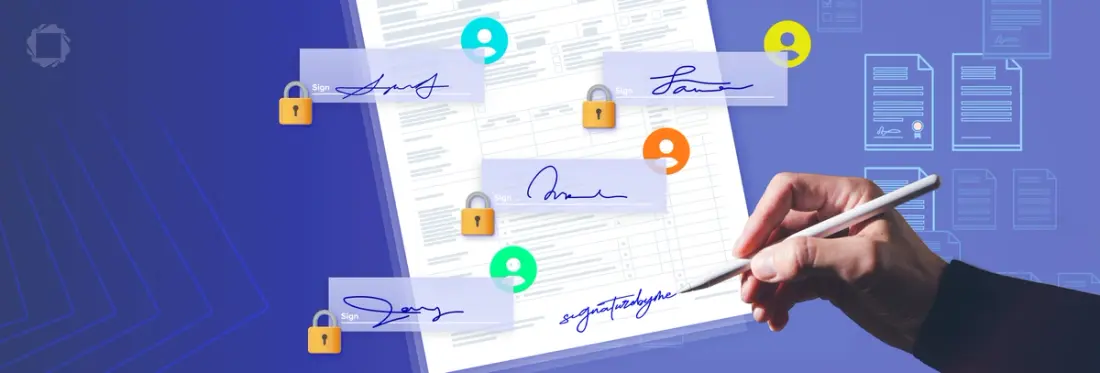
Adding Multiple Digital Signatures with Apryse WebViewer SDK and JavaScript
Garry Klooesterman
Senior Technical Content Creator
This blog was last updated on August 7, 2025.
Summary: Documents requiring multiple stakeholder signoff are becoming more common across all industries. This blog looks at setting up support for multiple digital signatures in a single document using the Apryse WebViewer SDK and JavaScript.
Setting up multiple digital signatures in a single electronic document can be challenging due to complex document structures, signature placement, and format compatibility. This scenario is increasingly common across industries where more than one stakeholder needs to provide consent or approval. This blog demonstrates how to enable multiple digital signatures using Apryse’s WebViewer SDK, leveraging its JavaScript API to ensure proper validation, signature isolation, and seamless user interaction.
For more information on digital signatures and how they work, check out our Ultimate Guide to Digital Signatures.
Why Use Apryse WebViewer SDK?
Being able to create complete, custom signing workflows for your applications is just one of the many features of Apryse WebViewer SDK. Other key features include:
Customization: Get complete control over functionality, behaviour, and appearance with WebViewer’s modular UI.
Security: Client-side processing eliminates server-side and third-party dependencies. View, edit, and process documents in the browser for a secure document viewing experience.
Accessibility: Develop applications that support all users with WebViewer’s WCAG 2.2 AA compliant, modular UI.
How to Apply Multiple Digital Signatures Using Apryse WebViewer
In this blog, we’ll look at how to apply multiple digital signatures to a document with the Apryse WebViewer SDK and JavaScript.
There are 3 key points that differentiate a multiple signature application within Apryse WebViewer SDK:
- Implement an incremental save.
- In document permissions, allow for form fill signing and annotations.
- Use Approval for signatures.
Step 1: Install Apryse WebViewer and Set Up Digital Signatures
First, we’ll install WebViewer and set up the Apryse Digital Signatures feature. WebViewer supports a full range of frameworks, such as React, Vue, and Angular.
We’ll use npm to install WebViewer for this example.
npm i @pdftron/webviewerNow let’s set up the static resources WebViewer requires to be served (which cannot be bundled). You can manually copy static files into your dist directory.
Finally, instantiate WebViewer using an iframe or via a web component. In this code, you'll need to update two parameters.
- path - the new dist directory path of the static files; and
- licenseKey - add your own license key
Step 2: Create Multiple Signature Fields
Use the Apryse API to create Signature Fields for each signer in their designated sections of the document. In this sample, we’ll have four signers: Person1, Person2, Person3, and Person4. Each Signature Field represents the specific location for that signer.
Repeat the following code for each signer.
Step 3: Add Document Permissions
Since each signer should only be able to sign or edit their designated section, we must set the appropriate permissions for each Signature Field. For example, Person2 should only be able to sign their section, and only view Person1's section.
To accomplish this, we can store the user's email address as a custom property or part of the field name, allowing us to check the fields later to hide or show the appropriate fields for the signer to access.
Now you’ll need to define each signer’s designated section in the document where they can sign. This is handled in the UI.
Step 4: Initiate the Signing Process
With the Signature Fields set up, we’ll get the current logged-in user and remove any signature fields that aren't theirs. This process happens when the document is loaded on the client-side.
Each signature must be applied sequentially using the incremental flag and separated by an incremental save. For example, after a signer has signed the document and before moving to the next task or generating the next signature, the complete document must be saved using the incremental flag.
Note: You can also set up signing with annotation instead of with appearance.
Step 5: Verify and Complete the Signing Process
When a signer completes their signing process, the document is updated with their approval signature. Make sure to use the incremental save to update the document after each signer has signed. You can also implement verification steps to ensure that all required signatures are obtained before finalizing the document.
See the documentation for verifying signatures for more details.
FAQ
Can multiple people sign the same document using WebViewer?
Yes. WebViewer supports multiple digital signatures on a single document. Each signature is added without removing or breaking the previous ones.
Do all signatures have to be added at the same time?
No. They can be added over time. If the signed document is saved correctly, it can be reopened later for others to sign without affecting previous signatures.
What happens to earlier signatures if someone edits the document after others have signed?
If someone tries to edit the document after a signature has been applied, previous signatures can become invalidated. However, WebViewer is designed to help prevent accidental edits.
Do I need a certificate to sign a document in WebViewer?
Yes. To digitally sign a document in WebViewer, a certificate is required, even a self-signed one for testing. You can use a client-side, server, or cloud service based certificate.
Conclusion
Setting up multiple signers using the Apryse WebViewer SDK and JavaScript is fairly straightforward and easy to do. With the ability to define signature fields and set permissions, you can ensure a secure signing process as each signer has access to only their dedicated section.
Want to see how digital signatures work in Apryse WebViewer? Chek out our interactive demo. You can also see the Web SDK documentation to get started quickly. Join us on Discord if you have any issues or contact our sales team with any questions.


