Roger Dunham
Updated July 15, 2025
7 min
Creating a PDF Viewer using PHP and Laravel
Roger Dunham
Summary: Building a PHP website with a PDF viewer using Laravel offers efficiency, robustness, and enhanced user experience. Laravel's framework simplifies development and maintenance, while the PDF viewer improves document accessibility and convenience for users.
Introduction
PHP is a versatile scripting language that can be used for a wide range of web applications. It’s been around since the 1990s, and despite many developers predicting its demise, PHP is most definitely not dead. In fact, it is powering something like 75% of websites, many of which you will know, like Facebook and Wikipedia. Furthermore, PHP 8, which was released in 2020 which supports just-in-time compilation as well as many performance improvements, suggests that the language will be around for many years to come.
Why choose PHP with Laravel?
Laravel is an open-source PHP framework that helps web developers create web applications. It, too, has had time to mature, having been released in 2011. Although it has been around a long time, it is still being developed with new versions released yearly.
Creating a PHP website with a PDF viewer using Laravel offers several advantages.
- Laravel provides a robust and efficient framework for building web applications, offering features such as routing, authentication, and database management, which are essential for a dynamic website.
- Integrating a PDF viewer allows users to easily view and interact with PDF documents directly on the website, enhancing user experience and convenience.
- Laravel's modular structure and extensive documentation make it easier to implement and maintain the PDF viewer functionality, ensuring scalability and long-term reliability for your website.
Overall, leveraging Laravel for a PHP website with a PDF viewer streamlines development, enhances functionality, and improves user satisfaction.
In this article, we will look at how we can couple these tools with the Apryse WebViewer to rapidly create a website that allows you to view and edit a PDF using PHP. The example can be used as a springboard to the wide range of functionality that it supports.
Explore Apryse's PDF and DOCX editor functionality.
This article is based on PHP 8.1, Laravel 10, using Apache 2.4.52 running on an Ubuntu 24.02 LTS machine. However, the principles covered are version and platform agnostic.
Check out this article if you just want to view a PDF using PHP.
If you already know how to create a simple Laravel app, jump forward to: How to Add WebViewer to Your App.
Prerequisites
Before proceeding, make sure you have the following installed on your Ubuntu machine:
- PHP (which can be installed using sudo apt-get install php)
- Composer – a package manager for PHP
Creating a Simple Laravel Web Application
For this article’s purpose, we will create a simple app and then modify it to do what we want. Within a shell, use composer to create a new project called example-app.
Note: on my machine, I explicitly specified Laravel 10 since Laravel 11 requires a later version of PHP than the version that I have installed (8.1).
composer create-project laravel/laravel:^10.0 example-appThis will quickly create a new folder that holds a skeleton project.

Figure 1 – Typical output when creating a new Laravel app
It will then automatically download the project dependencies. (Note: The first time I tried doing this, I ran into errors and needed to update my PHP installation which easily resolved the errors.)
After a few moments, the installation will complete, hopefully telling us that everything installed correctly and that there were no security vulnerabilities.
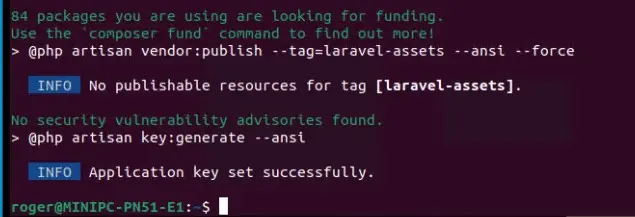
Figure 2 – Typical output when dependencies have been successfully downloaded
Next, navigate to the newly created folder example-app (or whatever you called your project).
cd example-appNow use php and artisan (the command line interface for Laravel) and start to serve the newly created website, just to make sure that everything is running as expected.
php artisan serveOnce the command line indicates that the server is running, navigate to the URL which will, by default, be http://127.0.0.1:8000.

Figure 3 – Typical output when starting the Laravel app
The browser should now show the default website – which is documentation for Laravel.
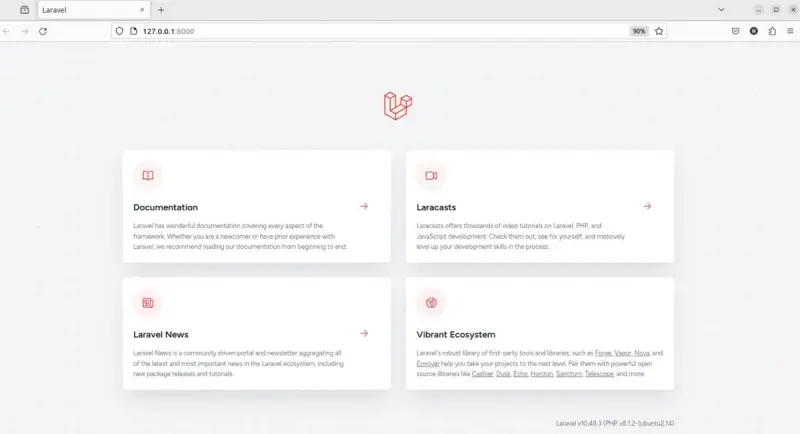
Figure 4 – The initial output of the generated Laravel app
That’s a great start. However, so far we haven’t done anything useful other than learn how to set up a simple PHP-based website. What we need to do next is add the Apryse WebViewer.
How to Add WebViewer to Your App
Whether you worked through all the steps to get here or already knew how to create a Laravel app and jumped ahead, the next step is to modify the default website. My preferred editor is VS Code, which I will use in this article, but the principles are the same regardless of IDE.
From the project folder enter code . to start VS Code.
code .VS Code will open, showing the contents of all the folders that make up the web application.
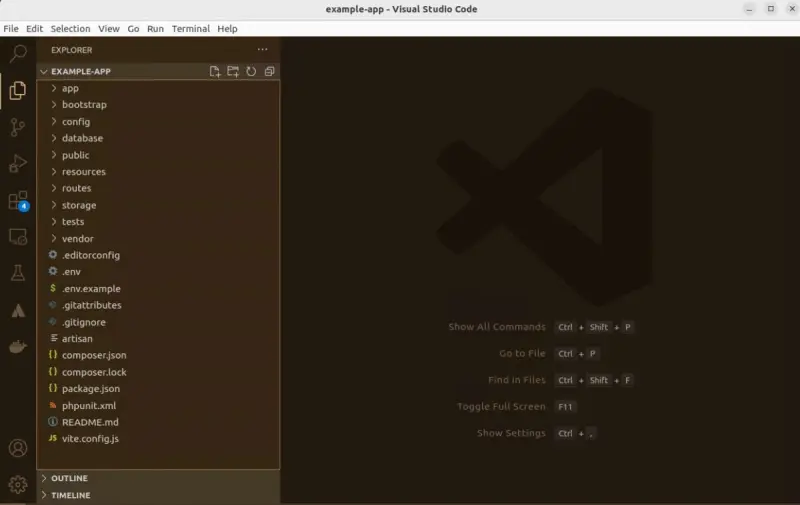
Figure 5 – The contents of the scaffolded example app
If you were building a production website, you would create a new route and page for WebViewer. However, for this example we will just re-use welcome.blade.php. So, navigate there and open that file.
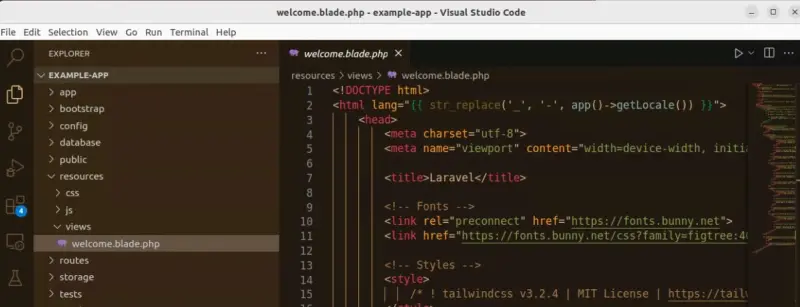
Figure 6 – The initial content of welcome.blade.php
The existing code in the page is responsible for the web page that we saw in figure 4. We will be replacing all of the content in a few moments with simple HTML and JavaScript that will allow the Apryse WebViewer to be shown.
Before we do that, download the WebViewer archive and extract the files into the project’s public folder.
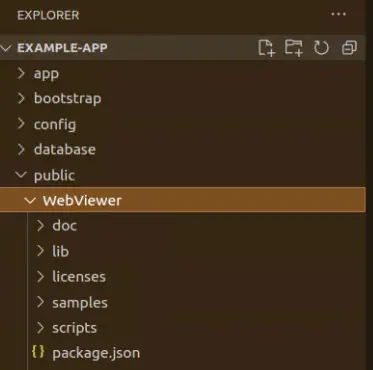
Figure 7 – Contents of the public folder after extracting the WebViewer archive
Now copy the following code (which comes from this webpage in the Apryse documentation) and replace the contents of welcome.blade.php.
Finally, restart the server using the command that we have previously seen.
php artisan serveGreat! The URL http://127.0.0.1:8000 will now have been updated.
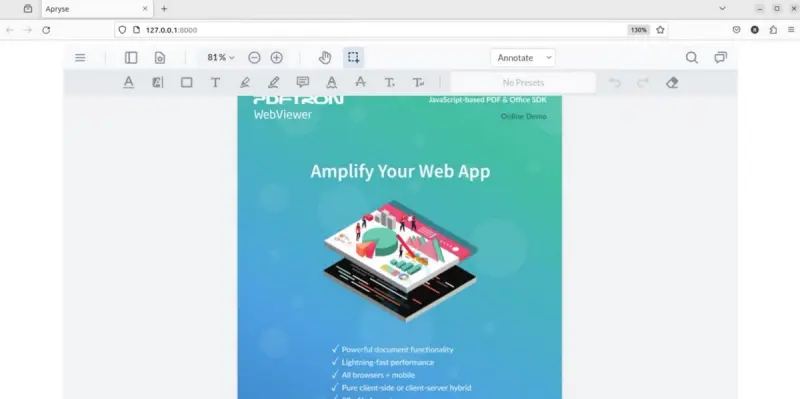
Figure 8 – WebViewer running on a PHP/Laravel web server
Excellent work! You have a fully featured PDF viewer running in your PHP powered website.
Where to Next?
The Apryse WebViewer renders PDFs beautifully, but it also does much more.
You can rotate, add, and remove pages, add annotations, fill forms, and sign documents straight from this demo. And with a few extra lines of code, you can edit the content of the document, measure things on the page, or do dozens of other operations.
It doesn’t stop there – the UI can be modified to match the rest of your website since it is fully customizable. It is doing far more than you could achieve by just relying on the browser itself, to render the PDF, or by using FPDF or TCPDF which were discussed in a previous blog.
I understand your excitement, and if you can’t wait to see the opportunities, check out the Apryse Showcase, available right now.
If your interest is in server-side, rather than client-side, processing of PDFs, then the PHP wrappers for the Apryse SDK can help you to do that. We’ll look further at that in a future article.
Conclusion
There’s lots of documentation available, as well as many blog articles, so you will soon be on your way to incorporating a superb PDF viewer into your PHP based website.
If you have any questions, please reach out to us on Discord.


