Roger Dunham
Published June 12, 2024
Updated May 18, 2026
11 min
How to Implement Digital Signatures using Apryse WebViewer
Roger Dunham
Summary: Ever wished you could sign PDFs directly within your application without relying on external services? This article covers how to create self-signed certificates for digital signatures using WebViewer. We'll guide you through obtaining a certificate to digitally signing PDFs within your application.
Introduction
We have written before about why digital signatures are a valuable tool for verifying the authenticity and integrity of documents and how they work.
In this article, we will look at how to implement the ability to add a digital signature using a self-signed certificate. The source code used for this project can be found at GitHub.
Learn more about custom digital signatures.
This blog post is for people who are just starting to work with digital signatures. It is intended to help you quickly develop a first proof-of-concept WebViewer-based app. Having done that, you will have a better idea of the technology and be able to use that knowledge to develop the final production version of code.
What is a Digital Certificate?
I asked ChatGPT, and it gave this answer:
“A digital certificate is an electronic document used to prove the ownership of a public key. It is a central component of Public Key Infrastructure (PKI), used to authenticate identities over networks such as the Internet.”
Parts of a Digital Certificate
- Public key: The key that's used to encrypt data or verify a digital signature.
- Owner's information: Details about the entity that owns the public key (e.g., name, organization, domain name).
- Issuer information: Details about the entity that issued the certificate.
- Validity period: The start and end dates for which the certificate is valid – this might be years, but could be much less.
- Digital signature: The signature of the issuer that validates the certificate’s authenticity.
The essential part is that there is a public key to encrypt data, information about who the certificate belongs to, and information about who the issuer is that says the owner is trustworthy.
The last part – the issuer – is relevant here, since the issuer can be an organization that is widely trusted (in the case of a CA signed certificate), or it could just be the owner (a self-signed certificate). Let’s look at those two types of certificates.
Self-Signed Certificates vs CA-Signed Certificates
Self-Signed Certificates:
- Issuer and subject: In a self-signed certificate, the issuer and the subject are the same. The certificate is signed with its own private key.
- Trust: These certificates are not inherently trusted by browsers and other software since they lack an independent third-party verification. They are often used in development environments or within an organization for internal purposes.
- Cost: They are free to generate, as there is no third party involved in issuing the certificate.
- Usage: Suitable for internal testing, development, or securing local servers where the trust chain is controlled and understood by the participants. Not trusted by default outside of controlled environments.
CA-Signed Certificates:
- Issuer and subject: CA-signed certificates are issued by a trusted certificate authority (CA), which independently verifies the identity of the certificate requester.
- Trust: Browsers and software generally trust these certificates because they come from recognized CAs that are included in the trusted root certificate stores of these systems.
- Cost: Obtaining a certificate from a CA usually involves a cost, which can vary depending on the type of certificate and the level of validation required (e.g., Domain Validation (DV), Organization Validation (OV), Extended Validation (EV)).
- Usage: Widely trusted and essential for public trust and secure communications over the internet.
Since we are at the proof-of-concept stage, a self-signed certificate will be adequate. Next, we will go through the steps of how to create a self-signed certificate, and then move onto how to use that certificate to digitally sign a PDF. After that, we’ll verify that the signature is valid and that the documented is untampered.
If you already have a certificate (self-signed or CA-signed), you can skip ahead to: Using the certificate to digitally sign a PDF.
How to Create a Self-Signed Certificate
Step 1: Install OpenSSL
OpenSSL is one tool that you can use to create a self-signed certificate. It is available for Windows, macOS, and Linux. Other tools like Java KeyTool exist, so feel free to use that if you prefer, although some of the details will differ.
Step 2: Generate a Private Key
Your private key is the single most important component of the digital signature system. It helps to enable encryption and prevents others from impersonating you.
It is essential that you keep the private key secure – anyone that gets the key can claim to be you.
Creating a private key is straightforward.
openssl genpkey -algorithm RSA -out private-key.pem This command generates a private key and saves it into the file private-key.pem.
There are a lot of options available for this function, but the ones used here are adequate for now.
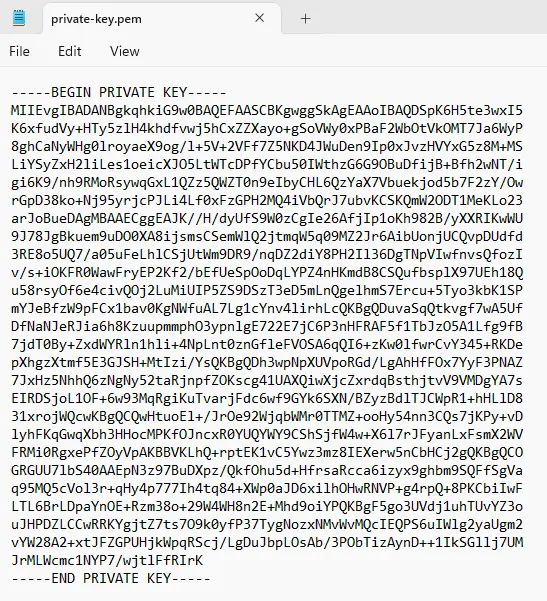
Figure 1 – A typical private key. Note that sharing this, even as a screenshot, means that it is now compromised.
Step 3: Create a Certificate Signing Request (CSR)
Next, you need to create a Certificate Signing Request (CSR). The CSR contains the information about the entity (you) who needs the certificate. It also contains the public key that will be included in your certificate and is signed with the corresponding private key.
openssl req -new -key private-key.pem -out csr.pem The command req takes the private key that we previously created (although it could generate one itself), then prompts the user to provide various pieces of information. For example, country, state, organization, and common name (CN).
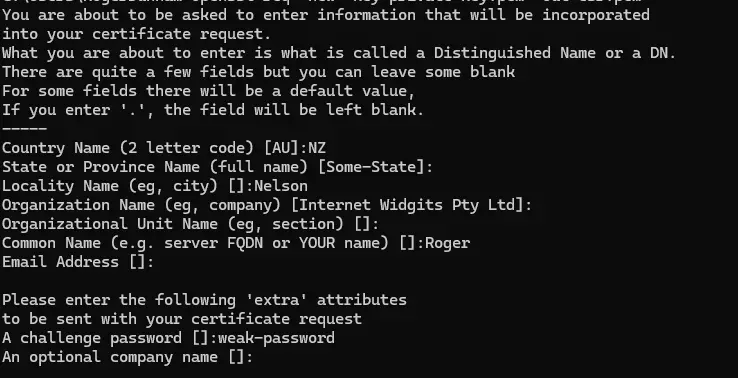
Figure 2 – A typical example of the additional information needed to create a CSR
When the process completes, a new file will have been created. In this case, it’s called csr.pem.
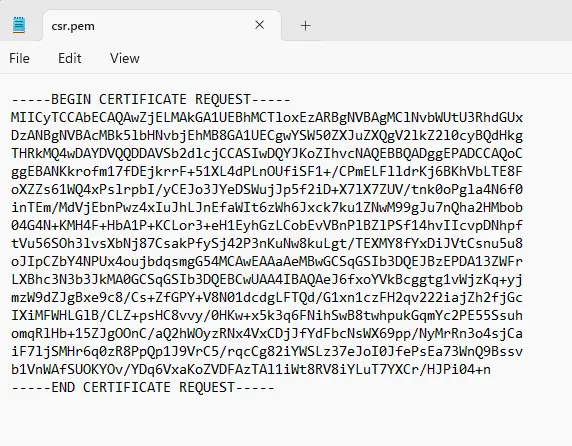
Figure 3 – A typical certificate signing request file
This file doesn’t need to be kept private, but there really is no reason to make it public.
Step 4: Generate the Self-Signed Certificate
Finally, we can generate the self-signed certificate. This uses the CSR and our private key as inputs and creates a file (in this case called certificate.pem) that we can share.
All certificates have a validity – in this sample, it is valid for 365 days.
openssl x509 -req -days 365 -in csr.pem -signkey private-key.pem -out certificate.pem As with the other functions, there are many options like specifying the signing algorithm. But for now, these options are OK.
The generated certificate includes the information you entered when you created the CSR.

Figure 4 – Typical output when creating a certificate
Once again, the file is easy to read in a text viewer (even if it doesn’t make much sense).
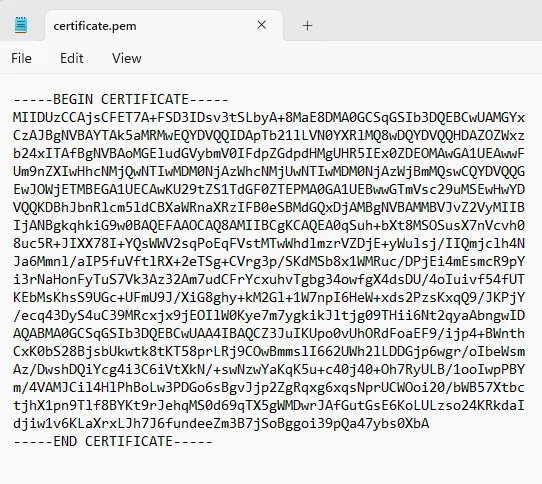
Figure 5 – A typical self-signed certificate
Step 5: Create a *.pfx File
Apryse WebViewer doesn’t use *.pem files directly, though it does support various certificate file types.
An easy way to get started is with the PKCS 12 archive file format (*.pfx), so we will use that as an example.
OpenSSL allows us to generate a *.pfx file from the certificate that we have already created using the pkcs12 command.
openssl pkcs12 -export -out certificate.pfx -inkey private-key.pem -in certificate.pem 
Figure 6 – Typical output when creating the pfx file
After running this command, you will be prompted to set a password for the *.pfx file.
That password will be needed when importing or using the certificate in other applications or systems. As an example, we will use the password weak-password1.
For any real-world example, though, you would want to use a much stronger password. That password is one of the things a malicious user needs to sign documents in your name, so you want to make it hard to guess and keep it secure.
Make sure to keep this password secure, as it protects the private key and the certificate contained within the *.pfx file.
By now, we should have the file certificate.pfx which is not directly readable by humans but does make sense to the WebViewer code.
Figure 7 – A typical pfx file
OK, that is us finished with OpenSSL. If you acquired a commercial key from a CA, and skipped over this section, welcome back!
Summary So Far
We have three things that we will be using:
- Certificate.pem: This is the publicly available certificate
- Certificate.pfx: The private certificate. It needs to be available when signing the code, but does not need to be publicly shared.
- A password: This is used to decrypt Certificate.pfx.
Using the Certificate to Digitally Sign a PDF
We will be using the *.pfx file and its password to sign PDFs. Before we do that, though, we need to enable the fullAPI in WebViewer.
fullAPI: true, The fullAPI means we have access to functionality that is not needed by many users, but it is needed when creating or verifying digital signatures.
Before we can sign the document, we need to add a signature field to the PDF. There are several steps to this, as we will see.
The relevant one from a digital certificate point of view is to create a StdSignatureHandler using the *.pfx file and the password.
const sigHandlerId = await doc.addStdSignatureHandlerFromURL('[pfx file], [password]); Note that there is a potential security risk here – the code that will run in the browser needs to have access to both the pfx file and its password. Unfortunately, making these available to WebViewer means that they are potentially available to anyone using the webpage. Malicious users could, with effort, get hold of the certificate and password, and then use those to fraudulently sign documents in your name.
The risk of that happening may be acceptable. If you are only going to use the certificate “in house,” that may be adequate for keeping malicious users away from the password.
If, however, you are going to deploy your WebViewer-based website publicly, you might want to consider moving the digital signing code to a server, so that the certificate and password are never sent to the browser.
The actual mechanism for signing PDFs within the browser uses the following code:
In fact, this code does more than just sign the PDF – it also adds an image using approvalSignatureWidget.createSignatureAppearance(img) that gives a visual indication that the document has been signed, and automatically downloads the file.
You may decide that this isn’t quite what you want, so feel free to use whatever parts of the code suit your purpose.
When the code is run, you will then see the tick mark to indicate that the PDF has been signed.
Figure 8 – The visual representation that the document has been signed
Verifying the Document has Been Signed
While the tick mark is useful, it could just be an image added by anyone. How can we verify that the document has really been signed? Once again, WebViewer has a solution: just click on the panel button then on the Signatures tab.
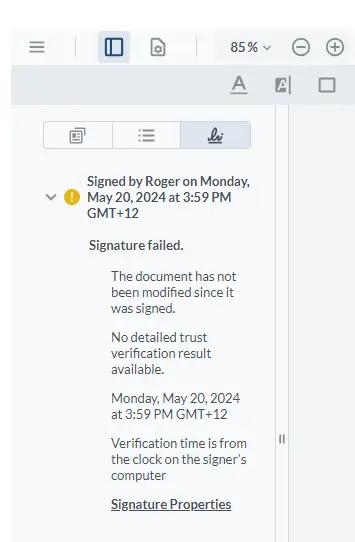
Figure 9 – The initial result of trying to verify that the document is signed
When you first do this, it might inform you of a problem with the signature. There is no need to panic just yet.
If we are using a certificate that we signed ourselves, there is no automatic way for WebViewer to know that it can be trusted. Had we used a certificate from a Certificate Authority, the “trust chain” would be present and the signature verified.
However, anyone could have created a certificate using OpenSSL, and that includes people trying to send falsified invoices or something similarly fraudulent.
In this case, we know that we created the certificate, and we trust ourselves. As such, we can add our certificate (via the file certificate.pem that we created earlier) to the list of ones that WebViewer considers trusted.
VerificationOptions.addTrustedCertificates(['/files/certificate.pem'])Now, when we restart WebViewer, the signature will be considered valid. We can, if we wish, drill down into the properties to find out more about that signature.
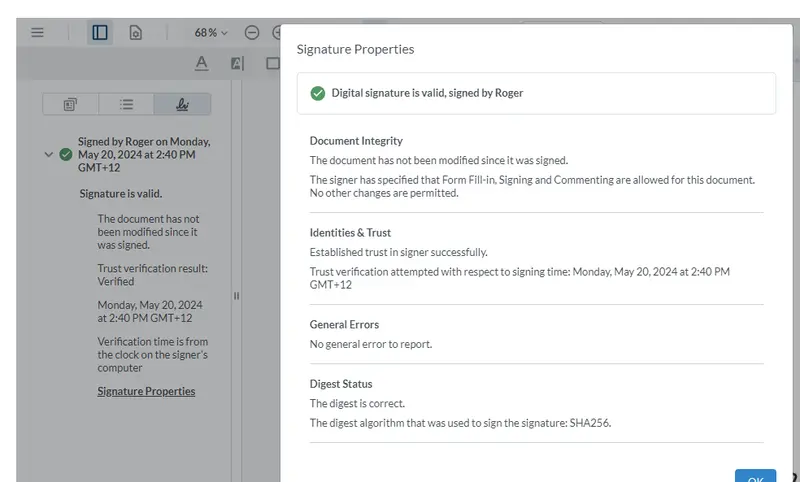
Figure 10 – The document is now considered to be validly signed
You can even see that the signer has specified that some changes can be made to the document without invalidating the document integrity.
Next Steps
Once you have WebViewer running and are able to digitally sign a PDF, you should probably take a moment to reflect and ask yourself:
- Whether you want to use a self-signed or a commercial certificate
- Whether you should refactor your workflow and sign the PDF server-side, or accept the risks associated with having the password available in the browser
- Whether you should actually use a third-party application such as Xodo Sign to implement this functionality
Whatever you choose to do, it is better to make a well-informed choice, rather than guessing.
Digital signatures and certificates are unavoidably complex, and they need to be. They do important work and keep your documents secure.
We have only touched on a few parts of the digital signature process – there are other options with different algorithms, or using buffers instead of files, so check out the documentation for the SDK to get started quickly.
Don’t forget, you can also reach out to us on Discord if you have any issues.


