Roger Dunham
Published October 03, 2024
Updated March 26, 2026
5 min
Automatically Generating Word Documents Using JavaScript
Roger Dunham

Summary: Apryse WebViewer enables automated creation and editing of DOCX files by populating templates with data from JSON. With its built in DOCX editor the resulting document can be customized directly in WebViewer, allowing formatted content such as an overview paragraph to be added. This automation simplifies the process, minimizes manual work, and ensures consistent data across documents.
Introduction
We saw in a previous article how we can automatically generate PDFs using a DOCX template and JSON data.
In this article, we will go further and automatically create DOCX files within Apryse WebViewer, and having done so we will then edit the resulting document.
Why would you want to edit a generated document?
There might be lots of reasons, but in this article, we will just consider one, we are automatically generating a report (about the status of blog and video production), and we want to insert a short overview paragraph at the beginning of the document.
Apart from this one overview paragraph, all the rest of the document will be generated from JSON-based data extracted from a RESTful API. As such, that data source can be considered the single source of truth, and the risk of conflicting or incorrect data is hugely reduced.
Technically we could add the summary paragraph to the JSON data and use that within the template. There are a few reasons why that’s not a great idea:
- The JSON data is considered truth. Manually editing it reduces the reader's confidence in it.
- Editing JSON directly is easy to get wrong. Creating a “safer” editor requires expensive development effort which might be better used elsewhere.
- While formatting can be specified in the JSON (see “Structured Input”), it’s actually much easier to set up complex formatting using the DOCX editor.
Talking of DOCX editors, you could use Word, Google Docs or Libre Office, but since WebViewer has the ability to create and edit DOCX files in the browser, as well as generate documents, it makes sense to also use WebViewer to edit and format text.
Keeping all of the document processing within the web-browser, with no need to download intermediate files for editing in a third-party app, saves time and licensing costs, and makes the entire process more secure.
The previous article showed how you can get data from a RESTful API, and create a PDF using a template, so check that out if you are not familiar with how to do that.
In this article, we will look at the steps of getting the same data into an editable Word document.
Step 1: Get the JSON data in the format that you want it within the generated document
The data coming from the RESTful API (or any other data source), needs to be JSON and comply with the data structure for document generation, including dynamically inserting content such as images.
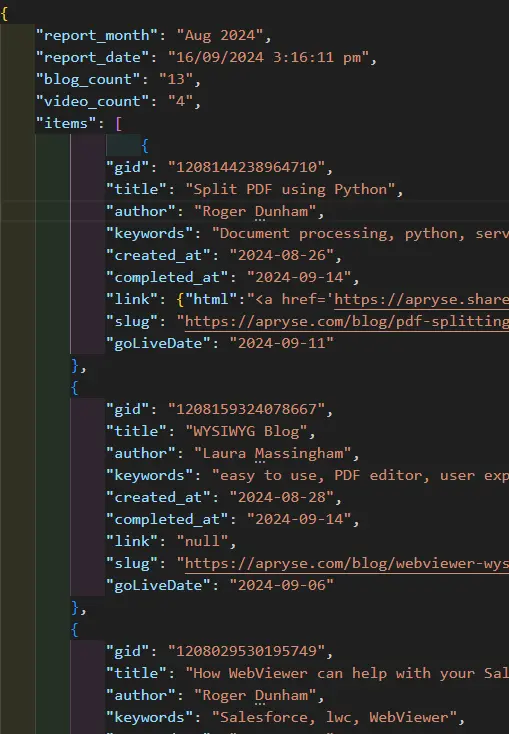
Figure 1 - example JSON data, ready to be used for document generation.
If the incoming data needs to be wrangled in some way (for example converting numbers to strings or specifying date formats), then some coding will be needed, but once set up no further developer input is required.
Step 2: Create a DOCX (or XLSX or PPTX) template
Regardless of whether you ultimately intend to generate a document as a PDF or as a DOCX, the actual template is the same, and can be created in any word processor, for example MS Word, Google Docs or Apryse WebViewer with no plugins or extra tools required.
The template is just a standard DOCX document that contains placeholders (“tags”), marked with delimiters, which will be substituted with data from the JSON file when the final document is created.
There are a few rules that you need to follow when creating the template, but they give a lot of flexibility, such as having loops and conditionals.
In fact, it’s so easy that anyone who is reasonably familiar with Office should be able to create a template. Being a standard DOCX file, it can have whatever formatting you want, and the styles specified for tags will be used for the substituted text in an intuitive way.
As such, you can, if you wish, have different fonts and styles in different parts of the document, or newspaper columns, and so on, but for now we will keep it simple.
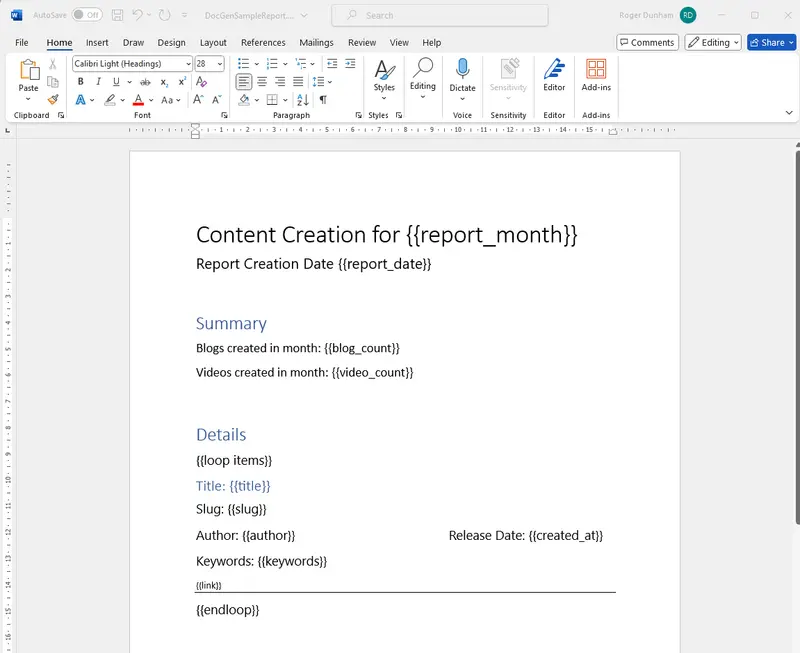
Figure 2 - A simple template created in Word.
Step 3: Get a trial license for WebViewer
Under the hood, automated document generation uses the Apryse SDK. However, for this article we are using WebViewer, pure JavaScript which runs in the browser, that has access to the Apryse SDK.
It’s easy to use, and there are lots of samples that show how to get started with WebViewer, but you will need to get a free trial license for WebViewer.
There’s lots of samples that show how to get started with WebViewer. These cover a range of frameworks, for example.
Step 4: Update the code in WebViewer
If you aren’t familiar with WebViewer then I recommend that you get a simple example working first, such as this WebViewer sample on GitHub, which uses React.
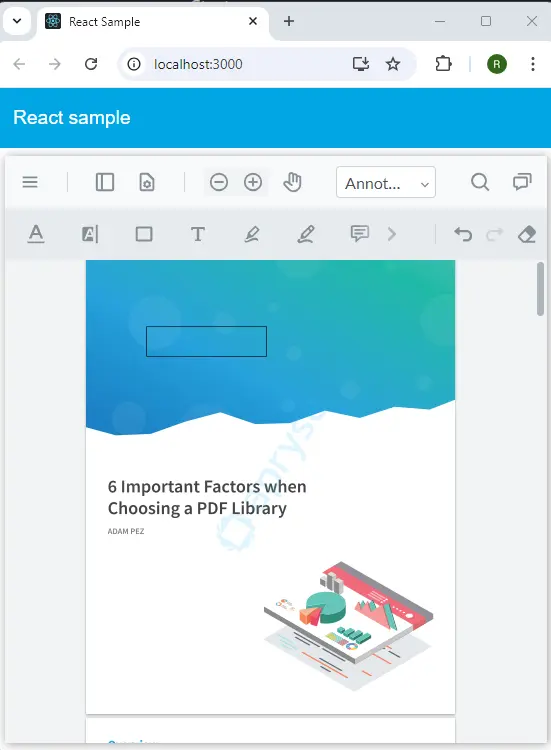
Figure 3 - The React WebViewer sample.
Once you have a working sample, you can drop the following code into it.
Before version 11 of WebViewer it was necessary to specify downloadType: "templateFilledOffice" when calling getFileData. This is no longer required.
How the code works
Once WebViewer initialization promise resolves, a Core.Document is created using DocGenTemplate.DOCX.
The data within the JSON file is then applied to that template generating an in-memory document that contains the data.
At that point, the document is neither a PDF nor a DOCX file, but it has the potential to become either, for example, becoming a PDF as we saw in the previous article.
The next three lines are then used to convert the PDF into a DOCX file.
const data = await doc.getFileData({ finishedWithDocument: true, }) getFileData returns an ArrayBuffer “data” containing the docx file data. The argument finishedWithDocument lets the Web SDK know that the data associated with the doc object is no longer needed and can be freed
At this point, you could programmatically download the data as a DOCX file if you wanted, but we won’t do that as we want to load it into WebViewer.
documentViewer.loadDocument(data,
{ filename:"filled.docx",
  enableOfficeEditing: true
});
loadDocument can load the doc object directly, but in that case it will always be treated as a PDF.
Since we want to load the file in the DOCX editor we need to pass the byte array, along with a hint about the type of data. We can do that by specifying either a file extension, or a filename.
We also need to specify that we want Office Editing enabled if we want the DOCX editor available.
Step 5: Review, be impressed by, and edit the generated document
Great, the document will now appear in WebViewer, and you can see the data within it.
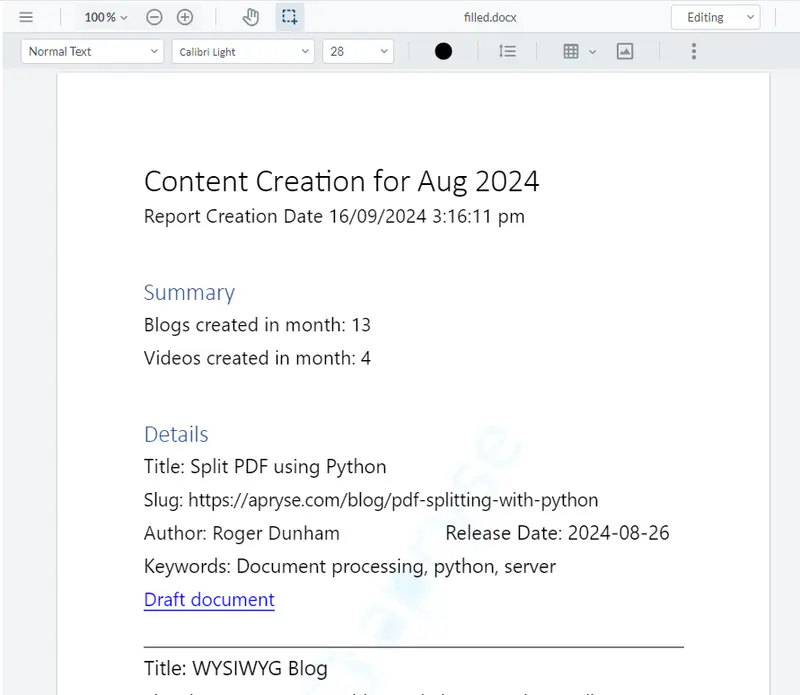
Figure 4 - The automatically generated report.
Because the file type is docx, and we specified enableOfficeEditing: true, it is now possible to edit the document, so let’s add a new paragraph at the top.
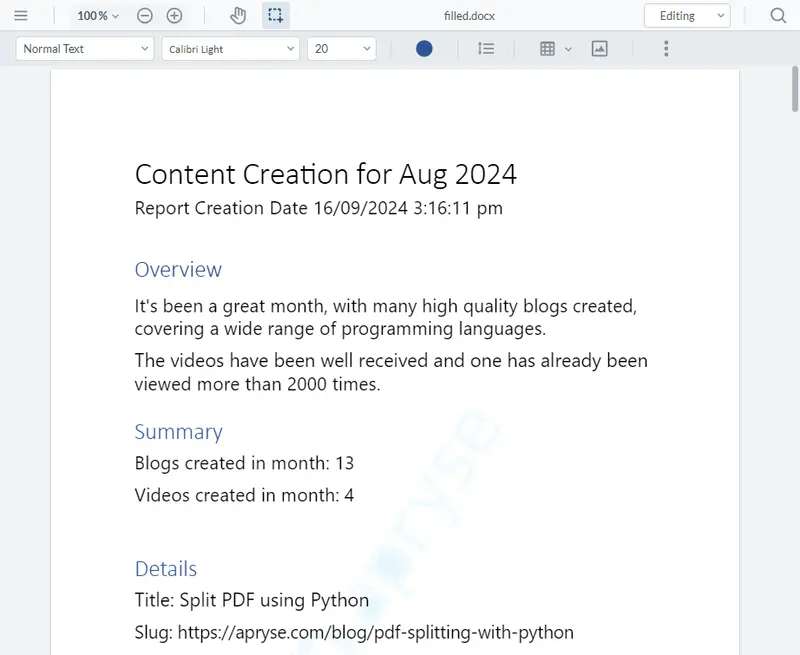
Figure 5 – Editing the document within WebViewer.
In this article we are editing the document as DOCX, but WebViewer also supports the ability to directly edit the contents of a PDF.
Step 6: Save the final document
The final step is to save the document, it could be uploaded to the cloud, or saved locally, or even saved to a record in Salesforce or elsewhere.
For now, though, we will just download the file using the WebViewer menu, and we can see that it can be opened in Word.
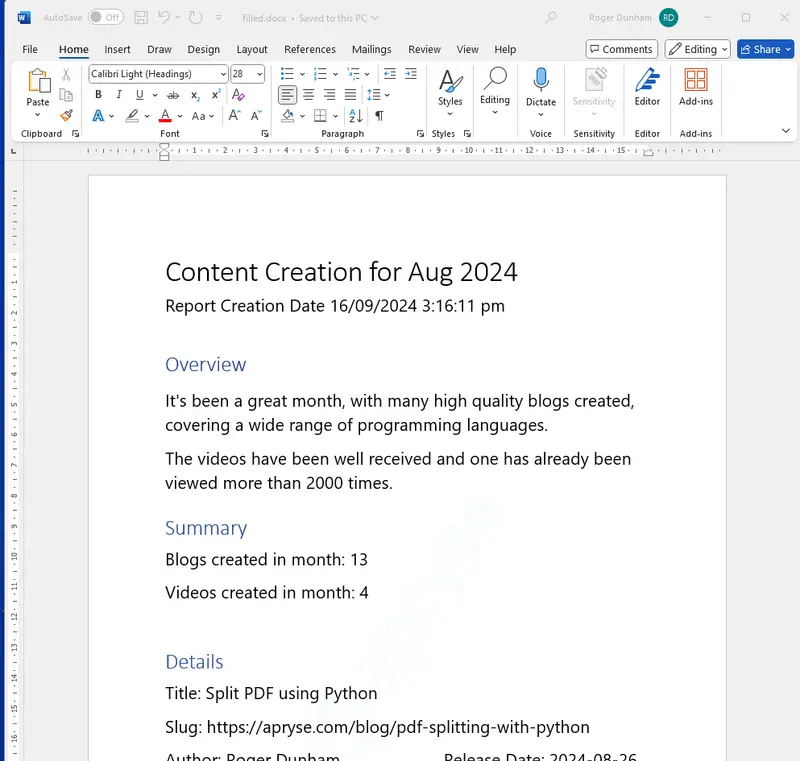
Figure 6 - The final document – downloaded then shown opened in Word.
Cool! We have a report where the document’s body was automatically generated from data, and the overview that was manually added. Exactly what we wanted.
Conclusion
We have seen how we can create editable DOCX files entirely within WebViewer, using a template that can be created in any familiar word processor, then populated with JSON data which could have been acquired from a range of sources.
Using this mechanism the entire document production is performed entirely within the browser and with no external dependencies.
Why not try this out for yourself? Get yourself a trial license and get started with WebViewer. If you run into any problems, then you can contact us via Discord.
You have seen how easy it is to automatically generate reports, but WebViewer offers much more than that, with the ability to view, manipulate, annotate and redact files.


