Roger Dunham
Published September 20, 2024
Updated May 18, 2026
5 min
Embedded Fonts in Word Documents for Document Generation
Roger Dunham
Summary: This blog highlights the importance of font embedding in templates for document generation, noting that embedding entire fonts ensures consistency while using font subsets can reduce file size but risk font substitutions for missing characters.
Introduction
We are regularly asked why a Word document sometimes looks different depending on the machine where it is opened.
One reason for this can be the range of fonts that are available on each of the machines. In this article we will look at how font availability affects the way that DOCX files appear, and see how we can solve that problem. We will also look at the implications when using a DOCX file as a template for Document Generation.
What’s the Difference Between a Typeface and a Font?
Technically, a typeface specifies a particular style of lettering (for example Helvetic, or Times New Roman), whereas a font specifies variations on that style, for example regular, bold or italic. In practice, the words get used interchangeably, and I am only going to use the word font in this article.
What’s So Special About Fonts?
Fonts are the number one way of controlling the style and look of a text-based document. In fact, huge amounts of effort go into choosing a font that fits a specific brand. As a result, there are hundred of thousands of fonts – far more than could possibly be installed on a single computer. Furthermore, many fonts have licensing fees, so there can be significant cost associated with having a specific font available on a particular machine.
As such, it is common for fonts that are used to create a Word document on one machine to not necessarily be present on all of the machines where the document might be viewed.
Let’s look at what that means, using an example document that uses a specific, reasonably rare, font.
We’ll use a font that is freely available, so if you want to things out for yourself you can. The font that we will use is called “Pirata One” and can be downloaded from https://fonts.google.com/specimen/Pirata+One.
Embedding Fonts in DOCX Files
Once you’ve downloaded and installed the font, you can use it within Word, so let’s create a simple document and save it as PirataOne-basic.docx.
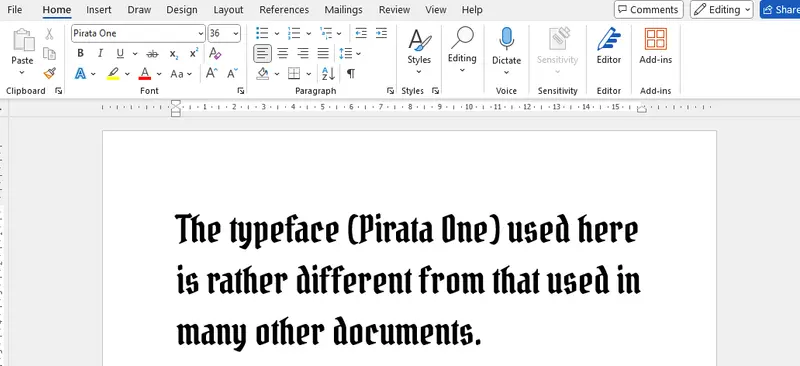
Figure 1 - A simple document that uses the font 'Pirata One'.
Deep in the options of Word there is an option to specify that the fonts used in the document should be embedded in the file.
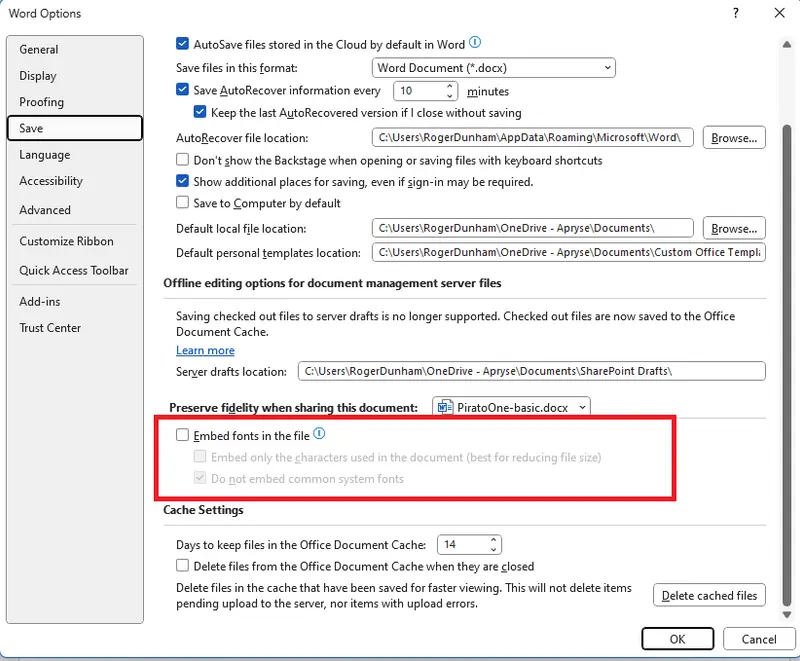
Figure 2 - The Save options, which allows you to specify whether or not to embed fonts.
Let’s change this so that the fonts will be embedded.
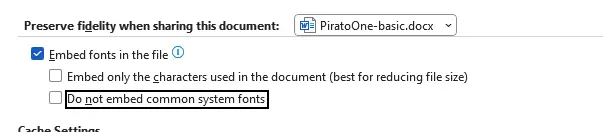
Figure 3- Specifying that the fonts should be embedded in the DOCX file.
Then save the file again, this time with the name PirataOne-embedded.docx.
Not all fonts can be embedded in a PDF due to licensing reasons.
Read more about font license restrictions.
Before we move on, let’s save a third version of the file – this time with the option “Embed only the characters used in the document” enabled.
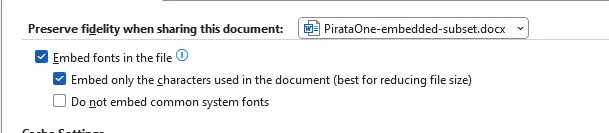
Figure 4 - Specifying to only embed the characters that have been used.
Save that file as PirataOne-embedded-subset.docx.
Great! We now have three files – so let’s look at those in Windows Explorer.
You can see that the basic file without the embedded font is 14 KB in size, the one with just the subset embedded is a little larger at 17 KB, and the file with the entire font embedded is more than 3900 KB in size – more than 250 times the size of the original file!

Figure 5 - The three files that we have created - note that the file size is much larger for the fully embedded font.
Viewing DOCX Files on a Machine Where a Required Font is Not Installed
Ok, now let’s try opening those files on a machine where the font “Pirata One” is not installed (if you want to try this yourself then you could just delete the font, then restart your machine – but it is way easier to try it on a different machine).
If we now look at the basic file, where the font was not embedded, then it now looks entirely different – not just with a different font, but with the text running onto a fourth line.
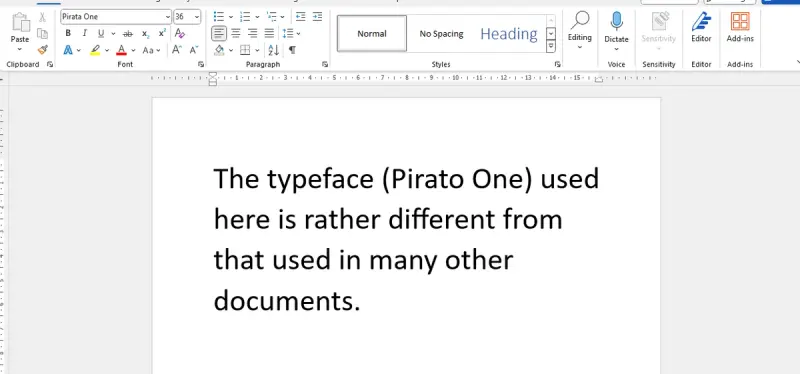
Figure 6 - The sample document when viewed on a machine where the font 'Pirata One' is not installed.
If you look at the font combo-box in Word then it claims that the font is “Pirata One”, but clearly that is not what is being used.
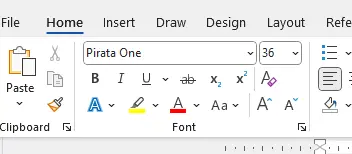
Figure 7 - Word recognizes that the font should be “Pirata One” - it just doesn't know how to show that.
Under the hood, Word is quietly substituting a different font – you can see what is going on by looking at the Advanced Options for Word. In this case the font “Calibri” is being used.
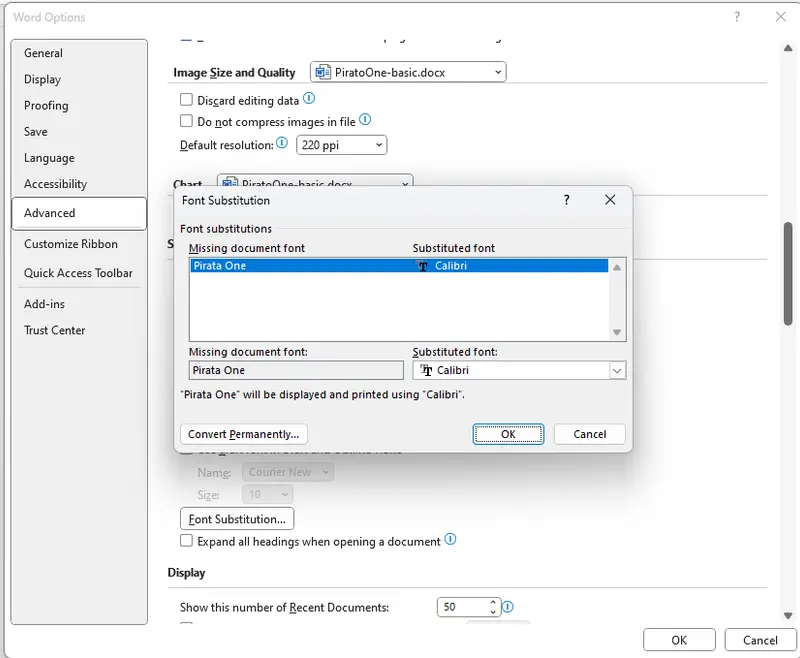
Figure 8 - The font substitution dialog.
Next, let’s look at the document in which the font was embedded.
Even though the required font is not present on the machine, the Word document still looks the same as intended.
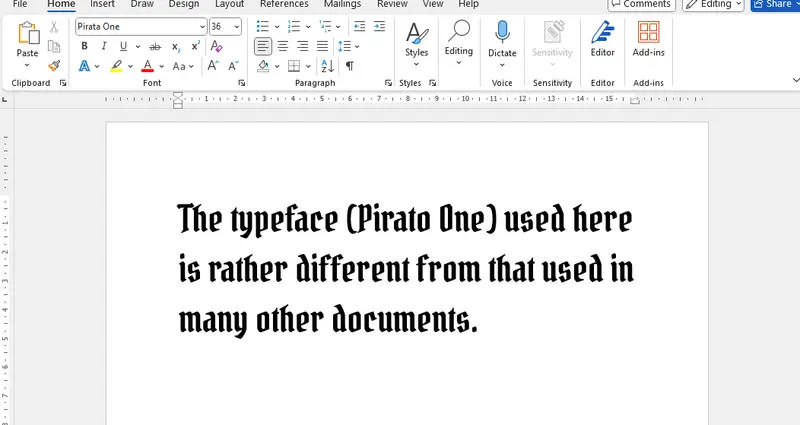
Figure 9 - The DOCX file that contained the embedded font.
What about the file with just the embedded subset? Well, that looks exactly the same as the one that had the full font embedded, and with a file that is just a fraction of the size.
What is the Disadvantage of Just Using an Embedded Subset?
Let’s try adding some text to each document, because the whole point of Office is that files can be edited.
We will add the phrase “Turbulence makes it very hard to walk” to both the document that has the fully embedded font and also to the one that has just the subset embedded. It’s a slightly odd phrase - I’ve chosen it because it uses a mixture of characters that we already have, and have not, used.
Let’s look at the document that has the fully embedded font first. When we add the new text, everything looks correct. It’s a great result even though the font is not locally installed. That’s not unexpected since Office has everything that it needs within the DOCX file.
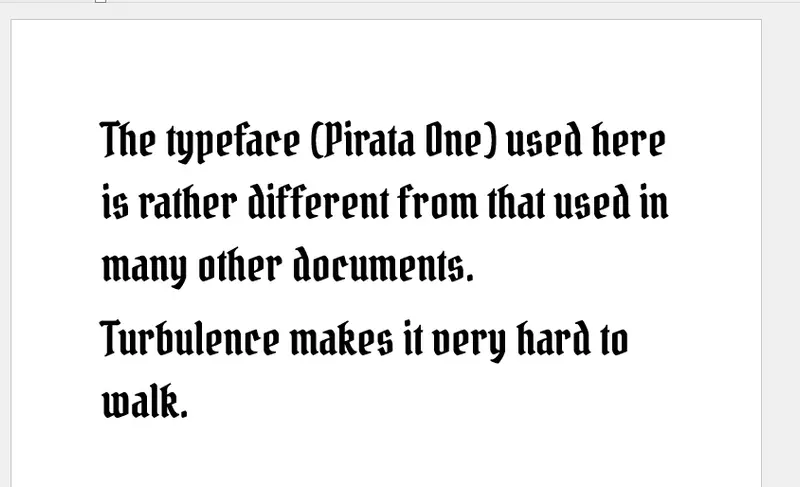
Figure 10 - Adding new text to the DOCX file that contains the embedded font.
Now, let’s try doing the same in the document that just contains the embedded subset.
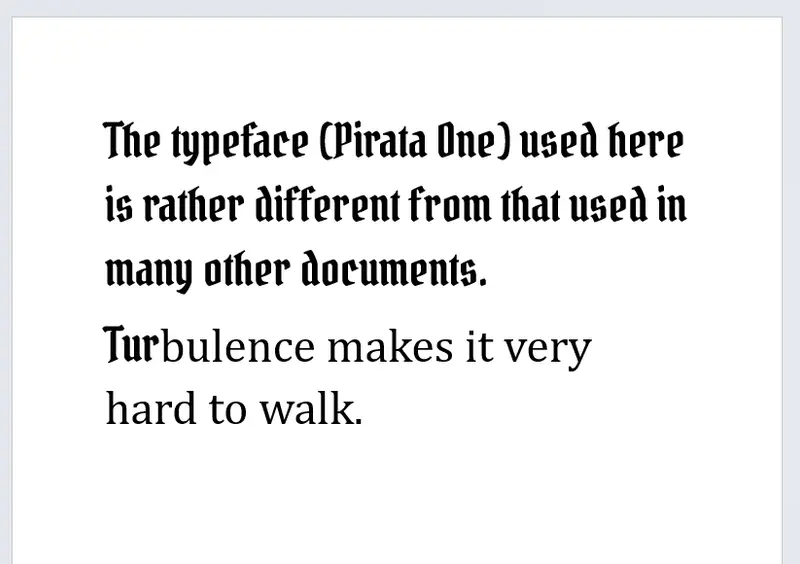
Figure 11 - The initial result of adding new text to the DOCX file that only contains a subset of the font.
That’s pretty strange – but it is easy to explain.
The first three new characters (“T”, “u” and “r”) have all been used elsewhere in the document – so Word knows what they should look like. However as soon as we use a character that hasn’t been used before (in this case “b”) then Word can’t display it using “Pirata One”, and changes font (in this case to “Cambria”), and the rest of the text continues to be written in that font.
When you have finished entering the text you can use the Format Painter in Word to copy the style from the original text to the new. That would swap the font back to Pirata One, where the character is known – but characters that were not in the embedded subset remain as Cambria.
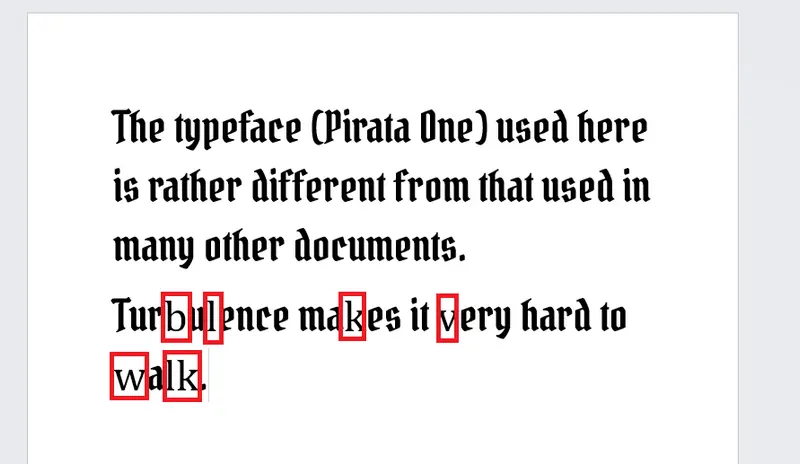
Figure 12 - If you copy the format from the existing text to the new - every time the character has been used before it will become Pirata One, but if it is new then it will stay as Cambria.
The result is not very useful – it is the tradeoff between a small file and having one that is easy to subsequently work with.
If you are trying this on your own machine, then you may come across some weird behavior if you have two files – one with a fully embedded font, and the other with just and embedded-subset of the same font.
It looks as though there is some “Microsoft magic”, so that when the first file is opened, then whichever version of the font is present is stored in a cache, and will be used in the other document when that is opened. That means that if you open the file containing the full embedded font first, then you will be able to use all of the characters even in the font that contains just the subset. But if you open the subset version first then only those characters can be used, even in the DOCX file that actually contains the full font.
In practice that is unlikely ever to be a problem, but you may come across this during testing.
Embedded Fonts and Document Generation
Another area where having access to the full font matters is with document generation.
The Apryse SDK allows you to generate documents from JSON data and Office based templates. (If you have data from sources other than JSON then you may want to check out Fluent.)
Document generation is supported both on the server and also within the browser using WebViewer. For now, though, we will use the Apryse Showcase as a way to quickly get started.
The document generation mechanism works by finding placeholders within the document and replacing them with data, while retaining the font information. As an example, we will take the default template from the Showcase, simplify it a little (it’s great, but more complex than we need just now), and then set it up to use our “Pirata One” font.
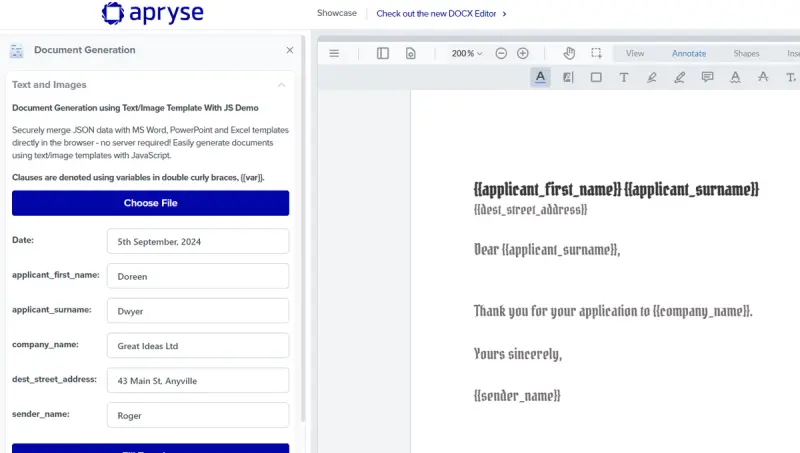
Figure 16 - A typical template to be used for Document Generation
If we fill that template on a machine where the font was installed, then we get what we expect – a new document with the places holders filled with data and the font set to “Pirata One”.
However, if the template was used on a machine where the font was not available then the result would be disappointing. Just as we saw earlier, our beautifully designed document, with our carefully chosen font, would end up with some other, default, font.
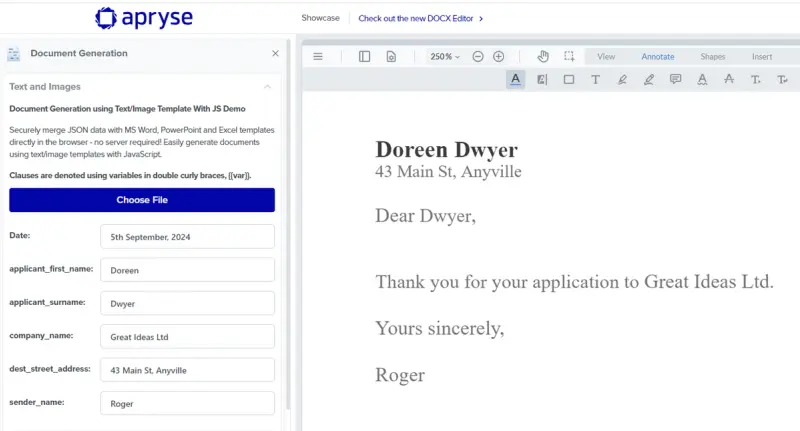
Figure 17 - If the template is used on a machine where the font is not available then a default font will be used.
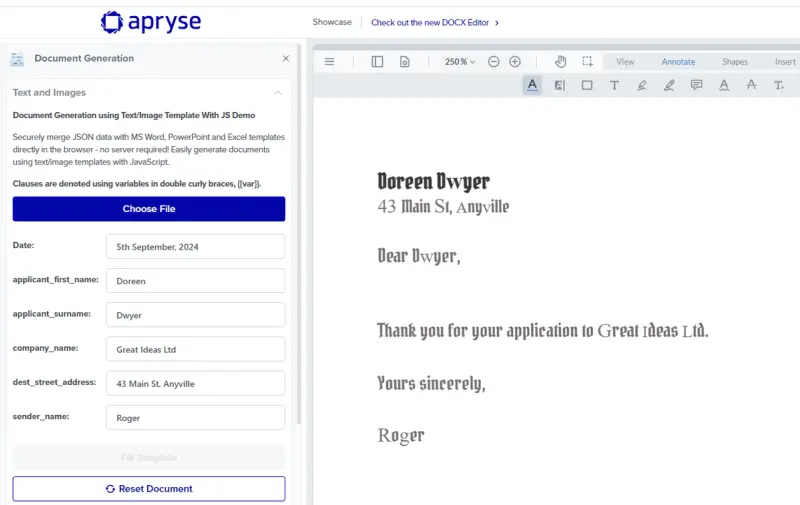
From what we have seen, an obvious option is to save the template with the font embedded. If we do that, then the result, even on a machine where the font is not installed, is a document exactly as designed.
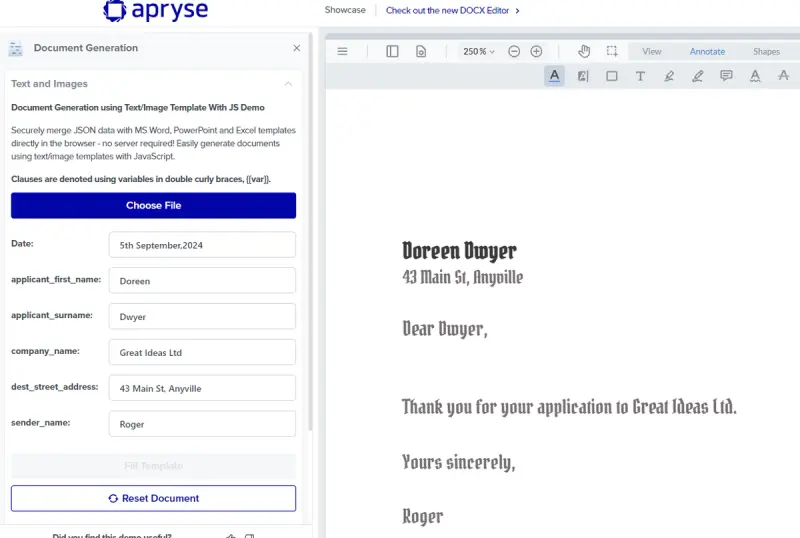
Figure 18 - If the template has the font embedded within it then it will be used when generating the new document.
So, what happens if you use just a subset?
We know that creating a template that contains just the subset will result in a much smaller file than if it contained the entire embedded font.
However, as we saw earlier when editing the file manually, after generating the document any characters that were not in the subset will use a different font.
Since this mechanism is often used as a way of automating document generation, these substitutions may not be noticed until after the documents have been created and sent to the recipient.
While in this sample the template document doesn’t contain much text (which makes it easy to spot substitutions), a real template might be much longer and, by chance, use nearly all of the characters from the font. In that case the template would appear to work perfectly during initial testing, only to show the problem when an unusual character (for example “q”, “x” or “木”) was included in the data.
Discover how to manage font substitution when converting PDFs to Office formats for smoother, more reliable output.
Conclusion
Font handling is a complex subject, and there are lots of things that we haven’t covered, for example Self serving substitute fonts, and How Apryse handles missing fonts in WebViewer.
If you have any further questions, then please reach out to us on Discord.