Liam Ross
Updated January 30, 2026
7 min
How to Edit & Manipulate PDFs With React
Liam Ross

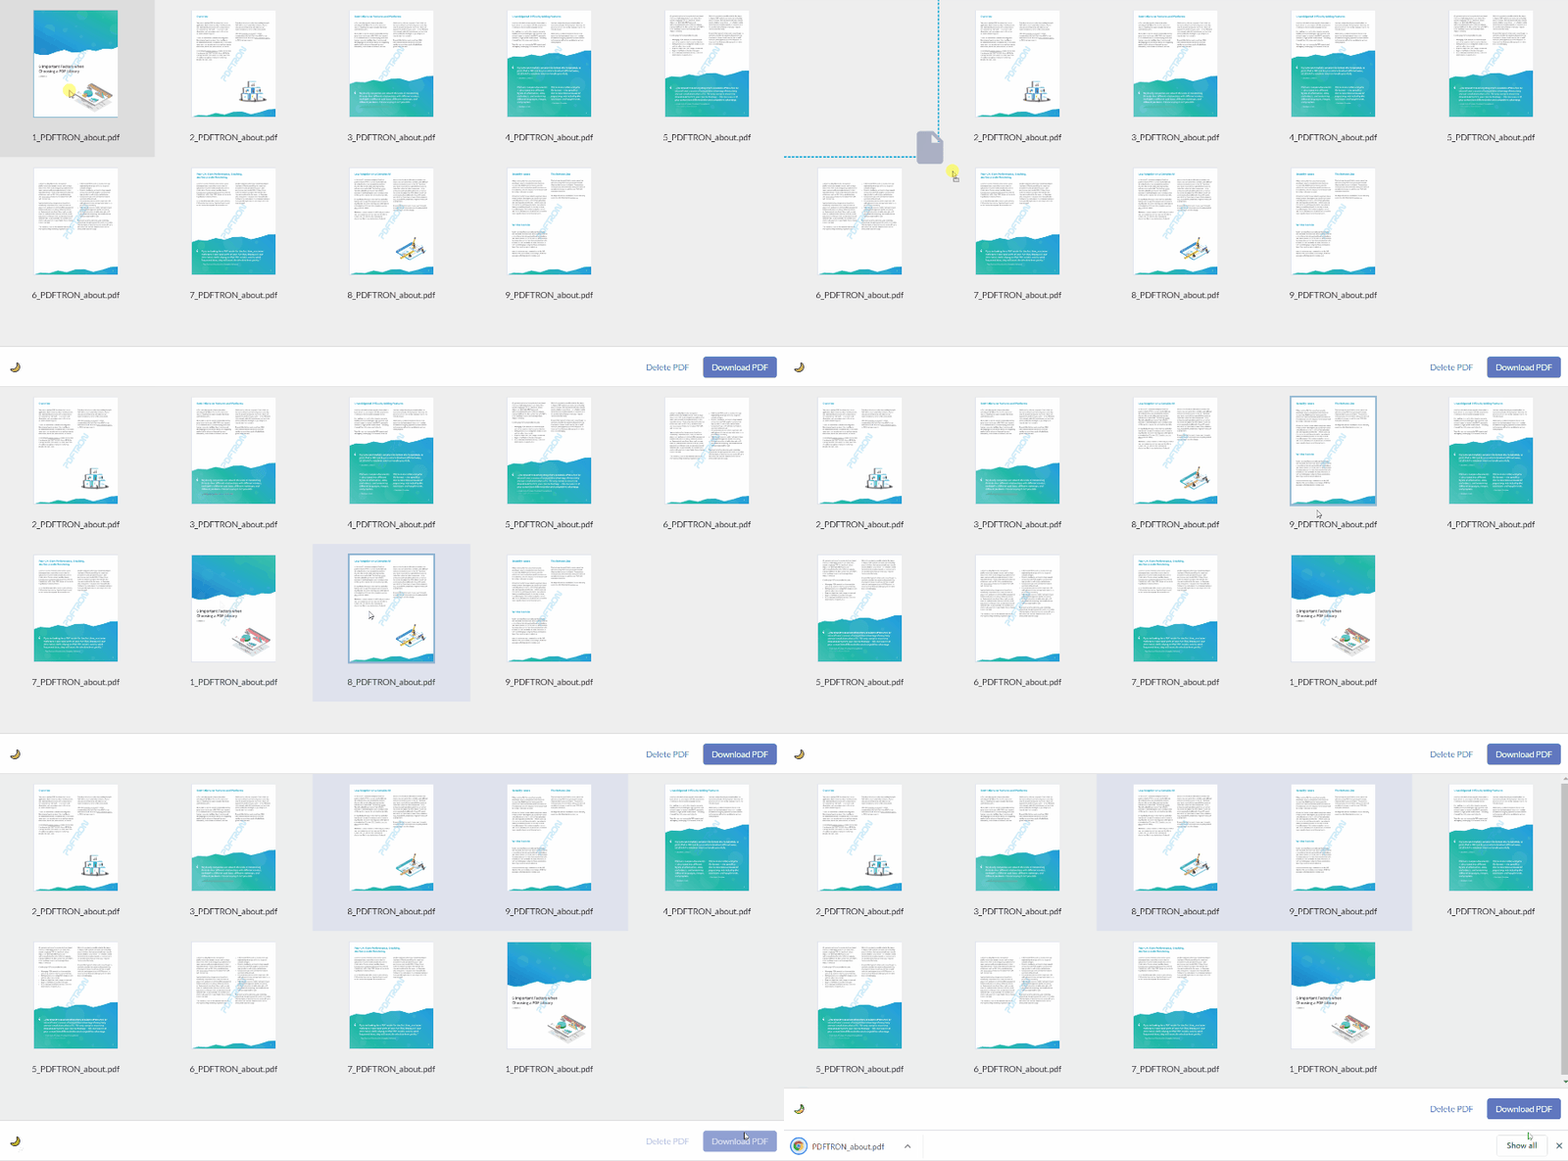
In this post, we’ll walk you through how to create a simple web app that will let users download a PDF and reorganize its pages. Here’s what it looks like:

The toolkit we’re using includes a handful of widgets that hook into the powerful WebViewer JavaScript library (compatible with React or any other JavaScript framework), making it ideal for basic document processing actions, including but not limited to:
- Opening a local file
- Reorganizing pages as drag-and-droppable page icons
- Moving multiple pages at once by shift-clicking icons
- Rotating pages
- Saving a file
While working through this tutorial, it may be beneficial to have the demo repo open. You can also individually click on commits to see what code has been changed (there is a commit for each step). You can find more information about the WebViewer React Toolkit in the GitHub repo, or on the documentation site.
Learn how to build a customizable PDF viewer in React and how to embed PDF Viewer in React app.
Step 1 - Set up Your Project
For this example, we will be using Create React App with TypeScript. Using TypeScript is not necessary for this project, but this demo will use it to show the benefits of the typing included in the toolkit.
We also added a .prettierrc file, but that's just personal preference since we use Prettier for code formatting.
Step 2 - Add WebViewer and the WebViewer React Toolkit
First, add WebViewer React Toolkit as a dependency:
npm install @pdftron/webviewer-react-toolkit

# or

yarn add @pdftron/webviewer-react-toolkit
Next, download WebViewer. Once this is downloaded, unzip it and move the lib directory into your public directory. You will not need anything else from the download.
Step 3 - Import CoreControls Into HTML
You will need to add CoreControls to your application, which can be done by adding the following to the bottom of <head> in your public/index.html file:
%PUBLIC_URL% is consumed by Create React App to point to your public directory. If you are not using Create React App, you will need to make this point to your CoreControls.js in whatever way works for your app.
Adding this script to the bottom of <head> will hold up rendering until the script is loaded (roughly ~90ms). This is obviously not optimal, but it simplifies this demo since it ensures that CoreControls will exist when we use it later on. If you want to optimize, you can add this script to the bottom of body or make it async, and then check to ensure that it has loaded prior to attempting any operations on CoreControls.
TypeScript Only:
In order for our application to be aware of all the types coming from WebViewer, you will need to reference the types file that comes along with it. To do this, you can add the following line to your d.ts file. In the case of Create React App, this is react-app-env.d.ts and is in your src directory. If you are not using Create React App, you can create a types.d.ts file in src. Once you have a d.ts file, add the following:
/// <reference path="../public/lib/types.d.ts" />This will point to the types file and prevent TypeScript from throwing errors.
Step 4 - Add WebViewer React Toolkit Styles and Fonts
For this step, you will import the toolkit styles, as well as the recommended Lato font. You will do this at the top of your src/index.scss file since it is the first CSS file imported in your application:
Step 5 - Basic Layout of Application

First, we are going to set the worker path for CoreControls in src/index.tsx and remove the serviceWorker that is provided by default with Create React App (service workers can be useful, but we are removing it to simplify the demo).
We are going to fix the styling of src/index.css in order to make the app mobile-friendly and to add some of the CSS variables provided by the toolkit.
We can now overwrite the content of src/App.tsx to set up the basic content of the app. We are going to add some components from the toolkit, such as Button and ButtonGroup.
Now that the content of App is set up, we can style it by changing src/App.css. We will use some variables from the toolkit in order to keep styling consistent.
Finally, delete all the unused files that were generated by Create React App. These are src/logo.svg, src/serviceWorker.ts and src/setupTests.ts.
Step 6 - Download a PDF File
You can download any PDF file you want, but for this demo we used one of our sample files. Once you have it downloaded, create a new directory at public/assets and add the PDF file to it.
Step 7 - Import and Split the PDF

We are going to create a brand new file for each page of the PDF so that they can be rearranged easily.
This is going to be a complex operation, so let's make a src/utils.ts file. Inside it, we will create an async function called splitPages which will do the hard work for us. View the function here.
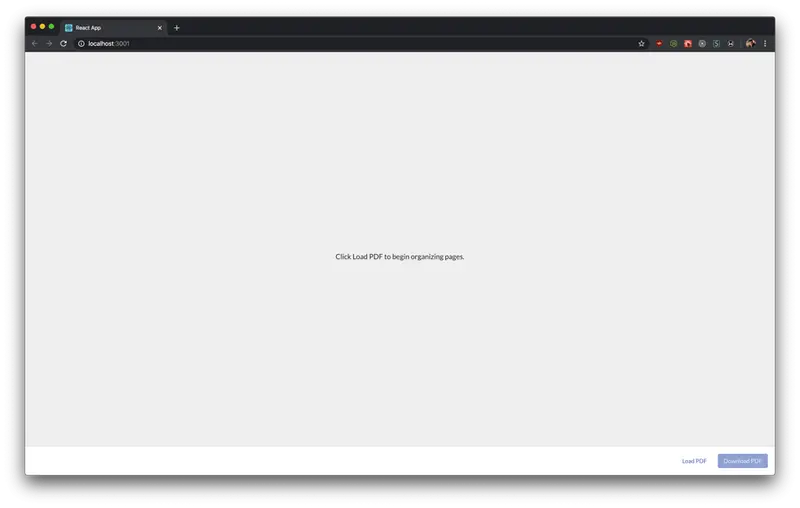
Finally, we will set up src/App.tsx to use the utility, and display the split up pages. This will use some new components from the toolkit, such as FileOrganizer, Spinner, Thumbnail, ThumbnailDragLayer, as well as the useManagedFiles hook and the File class.
Step 8 - Combine the Pages and Download

Now we want to allow the user to download the new PDF once they have reorganized the pages. We already have the Download button but it doesn't do anything. We are going to bring in a utility dependency that helps with saving files:
npm install file-saver

# or

yarn add file-saver
TypeScript Only:
Since file-saver doesn't ship with type declarations, which will cause our TypeScript code to complain. We will have to download them from the DefinitelyTyped repo:
npm install @types/file-saver

# or

yarn add @types/file-saver
Now that you have file-saver, let's add another async function utility called joinPages in src/utils.ts to do the hard work of combining the pages into a brand new file. View the function here.
Finally, we will add a function handleDownloadPDF within App (src/App.tsx) which will fire when the Download button is clicked. This will call the joinPages utility, and then call file-saver with the output file's blob. View the function here.
Step 9 - Bonus: Add a Dark Theme

Congratulations, you've done it. At this point your app is fully functional—you can reorder the pages of a PDF and download it with the new order.
But we are developers and developers love dark theme! The WebViewer React Toolkit ships with a dark theme, so this step will allow you to view the app in dark theme.
First, we will add a new component src/ThemeButton.tsx which will wrap all the theme logic. View the component here.
Next, we will add the button to App (src/App.tsx) inside some nested ButtonGroups so that it sits nicely in the footer. View the changes here.
Learn more about PDF editing and manipulation using React.
Wrapping Up
This example is intended to provide a simple proof of concept that just scratches the surface of what you can do using the full Apryse SDK. With hundreds of unique features including support for MS Office formats—no servers or MS Office licenses required—you can build a much more complex web app to fit virtually any employee workflow and maximize user productivity.
Learn about updates to WebViewer's real-time WYSIWYG PDF editing.
Questions or feedback? Please get in touch. Our developers, who helped build our SDK from the ground up, would be happy to walk you through your options.


