Apryse
Updated January 30, 2026
8 min
How To Build a Customizable React PDF Viewer?
Apryse

In this blog, we will cover how to build a customizable and feature-rich PDF Viewer in React. We will be using the Apryse SDK - Apryse’s rendering engine - and building a custom UI to display PDFs, scroll pages, zoom, and search with annotation and highlighting support.
For many users though, the open-source and easily customizable Webviewer-UI might be more appropriate - with many features straight out of the box, so you may want to check those out.
Getting Started
OK! If you are still reading then we'll go through the manual steps of setting up the UI.
We’ll assume that you already have a Node environment setup and you have a React app up that you want to add WebViewer to.
Alternatively, you can also just create a new React app (after setting up a Node environment), by running:
npm create vite@latestthen following the instructions.
If you are new to Vite and prefer a video, then see the first part of this video.
OK! Let’s get started adding PDF rendering to our app!
Installing a PDF Rendering Engine
First, we need a robust rendering engine that will display PDFs. There are several open-source rendering engines available such as PDF.js and PDFium, however in this article we will use Apryse’s proprietary engine since it offers so much functionality.
Why is Apryse SDK such a powerful tool?
Apryse’s proprietary engine comes with a lot of functionality, straight out-of-the-box. In addition to being great at rendering PDFs, it also supports:
- Full annotation, including commenting and replying
- Page manipulation to insert, delete, re-arrange, and merge pages
- Redaction, allowing you to remove sensitive information from documents
- Document search with ambient highlighting, meaning that it returns a full sentence where the hit was found
- Handling encrypted and password-protected documents
- Streaming documents from storage
- DOCX, XLSX, PPTX viewing and editing
- Image, video, 3D and other supported formats
Almost all functionality is performed directly within the browser (using WASM), making it extremely fast and keeping your documents secure rather than them being transferred over the internet and processed on a remote server.
Installing the Apryse Rendering Engine
Probably the easiest way to get the Apryse rendering engine is to run:
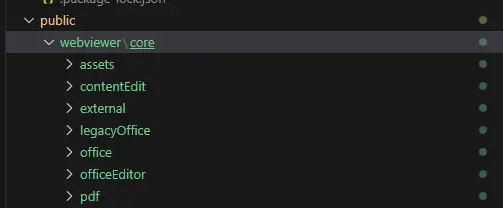
npm i @pdftron/webviewerOnce the package has been installed, copy the `public/core` contents located in your `node_modules/@pdftron/webviewer/public/core` to the `/public/webviewer/core` folder in your React app.
We need to do this because the library runs in the browser, so it needs to be accessible from the client-side code that will run there.

Location of copied WebViewer files in your React project
Now, you can reference the necessary scripts for rendering between the <body> tags of `public/index.html`, similarly to how it is done in the GitHub repository for this project: https://github.com/PDFTron/webviewer-custom-ui/blob/master/public/index.html#L29
Now, you should be able to reference it wherever you are building the PDF Viewer.
StrictMode in React 18.0
If you are using React 18 (which is the current default version at the time of writing this article), then it is likely to implement StrictMode which causes the React Components to render twice during development.
While that does not occur with production builds, it can be very confusing during development, so you may wish to remove the <React.StrictMode> element from main.jsx.
Creating a React PDF Viewer Component
You can now create a reusable PDF Viewer component in your React app.
In our example, though, we will keep things simple and just add the code directly to `App.js`.
Let’s add where the PDF viewer will be rendered,as well as some classes and ids for styling. This is done in the return method of your component or App.js:
Next insert a `useEffect` in App.js (which should only run once upon rendering the component - but see the warning about StrictMode), and add the following:
Okay, what is happening there?
- We load the Core rendering engine from Apryse.
- We set the path to the resources necessary for document rendering - in this case webviewer/core.
- We create a new document viewer and point it to the div element we created earlier.
- We then enable annotations and load our PDF from an s3 bucket. As analternative you could use a local file that was located in the `public` folder.
- Then we wait for an event that lets us know the viewer is ready to go and the document is loaded. Currently we just store the Annotation Manager into a State variable so that it can be accessed later, but you could do lots of other things in this event handler.
- Finally, we set the document viewer to the one we created.
Now, let’s add some CSS, to make sure the viewer looks its best. Inside of App.css (or your component’s CSS), add the following and do not forget to import it:
We also need to add some css to index.css, just to set the styles the way that we want.
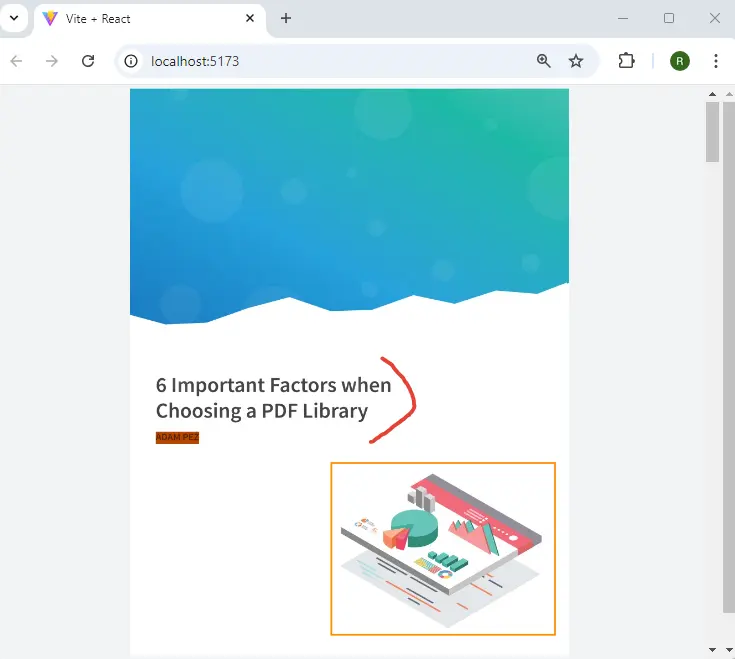
At this point, we are ready to start our React app and see the PDF render:
npm run dev
WebViewer running in the browser
If you ran into any trouble, or something is going wrong, just refer to our GitHub sample - it's based on create-react-app rather than vite, but the principles are the same. If you are still stuck, chat with us on Discord.
If you are looking for a pre-built UI that is battle-tested by millions of developers, check out our other blog: https://apryse.com/blog/embed-react-pdf-viewer.
Add Annotation Support to Your PDF Viewer
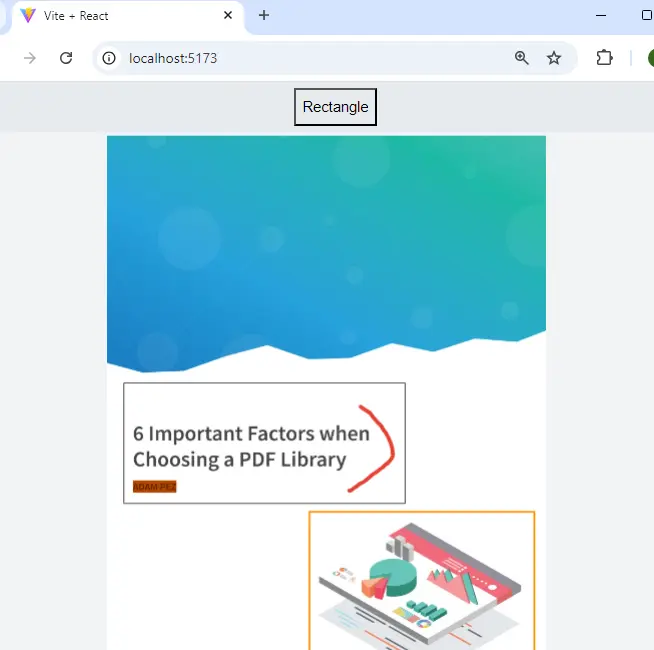
The next step, in this demo, is to allow users to draw annotations and comment on a PDF. Thanks to the Apryse Core rendering engine, WebViewer comes with out-of-the-box support for all annotation types supported in Adobe Reader. So, in this section, we are going to add a button to the UI that allows us to draw rectangles on a PDF document.
Inside the return method for App.js or your component, add the button tag just before the scroll view:
Let’s now add the code that will set the tool to be a rectangle whenever that button is pressed.
Somewhere between useEffect and the return statement, add the following:
const createRectangle = () => {
  documentViewer.setToolMode(documentViewer.getTool(window.Core.Tools.ToolNames.RECTANGLE));
};
We have already added some basic CSS for the button, but feel free to play around with it to get it to match your overall theme.
Now, the button press will allow users to add rectangle annotations. Restart the app and try it yourself.

Clicking on the Rectangle button allows the user to add annotations.
Java or JavaScript PDF Viewer: Which One to Choose?
Next Steps
At this point, you can add more tool support, page manipulation, search, redaction and more. Check out the full sample available on GitHub and refer to our guides for more information.
Alternatively checkout the open-source WebViewer UI which gives you huge functionality straight out of the box. It now has a modular UI that gives you rapid customization abilities that will allow you to be WCAG 2.1 compliant.
This article was updated in October 2024.


