Apryse
Published October 13, 2023
Updated May 18, 2026
6 min
WebViewer Cropping and Snipping – the Understated Tools
Apryse
Learn about the cropping and snipping tools, with practical examples of how to use them, and see how toenable or disable these features within Apryse WebViewer.
Introduction
The Apryse PDF WebVieweris a powerful JavaScript-based PDF Library that provides a slick out-of-the-box responsive UI for viewing, annotating and manipulating PDFs and other documents. It can be embedded into any web project. with just a few lines of code, and has an extremely configurable UI.
In this article we will look at two of the options for dealing with parts of pages and documents - the cropping and the snipping tools. We will look at the difference between the two tools, see some worked examples, and see how to hide one, the other or both of them.
What is the Difference Between Cropping and Snipping?
In terms of the Apryse WebViewer, both cropping and snipping involve parts of the document that have been selected within a rectangular area. Cropping is straightforward – everything that outside of the selected area -either just on that page, or on all pages of the document, is discarded, and the page is resized to exactly fit what remains.
The snipping tool, added in WebViewer 10.4, on the other hand, deals with what is inside the selected area. That area can either be copied to the clipboard, downloaded as an image, or it can be kept on the page, but everything else on that page and all other pages is discarded with the page size remaining the same.
It is probably easier to see this in action. The sample code used for this article is the React sample which can be downloaded from Github, where you will also find instructions on how to install dependencies and get WebViewer running. If you have any problems then please reach out to us on Discord.
Once the sample code is running, it should look something like this (although since the page is responsive, it may look slightly different depending on screen resolution).
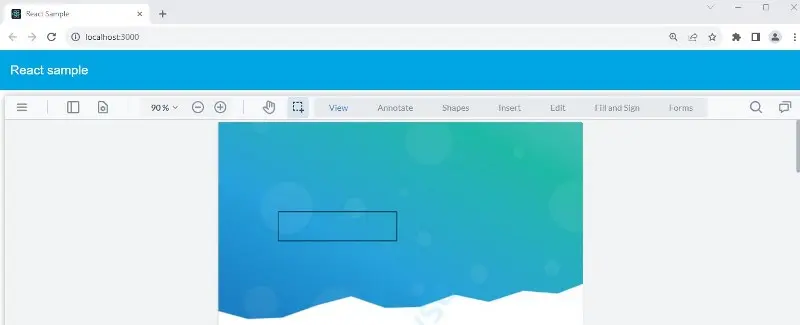
Figure 1 - The webpage created by running the React sample.
Find the Edit option and click on it, to see the clipping and cropping tools.
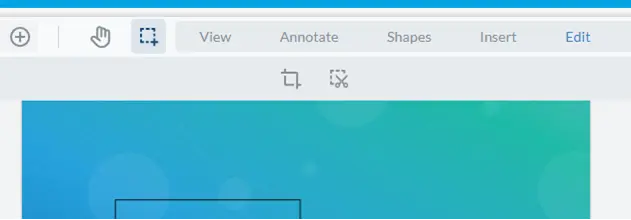
Figure 2 - The cropping and snipping tools that are visible when the Edit option is selected.
The Cropping Tool
Clicking on the cropping tool opens a new dialog.
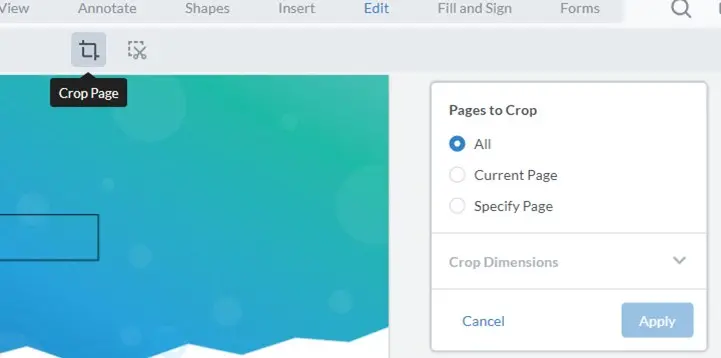
Figure 3 - The options for the Cropping tool.
With the button selected drag an area within the PDF.

Figure 4 - A selected area, and the options that are available once something is selected.
Once an area is selected, its size can be adjusted using Crop Dimensions. This is great if a precise size and location is required. You can even use the Presets to set the page to common sizes, including adding custom sizes. It is straightforward to use.
Now let’s look at the options for how things should be cropped.
We will skip over the All option for now and come back to it later, since the Current Page option better demonstrates what the tool does.
Having selected an area on a single page when the Current Page option is checked, clicking on the Apply button will show a dialog warning you that the changes will be permanent.
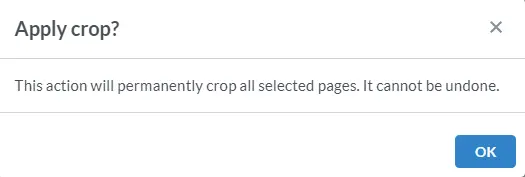
Figure 5 - The confirmation dialog that warns you that cropping will change the document.
In this case it is OK to continue. The previous and following pages will remain as they were, but the current page will have been reduced in size and just contain the selected area.
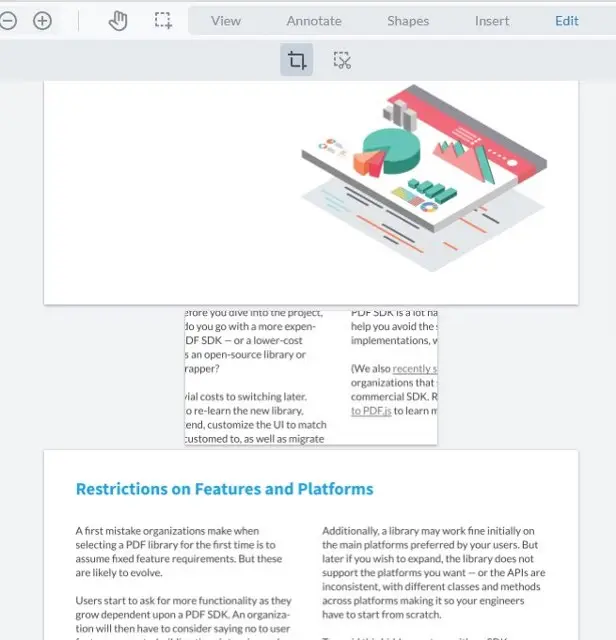
Figure 6 - The effect of cropping a page, showing how the size of the page has been changed.
The Specify Page option works in a similar way – while it can be used to just crop the current page, it can also take a selected area as a template for cropping one or more pages. This could be very useful if you have a PDF that was created by merging documents with different page sizes, perhaps some were Letter size, and others were A4, and you want to make all of the pages the same size.
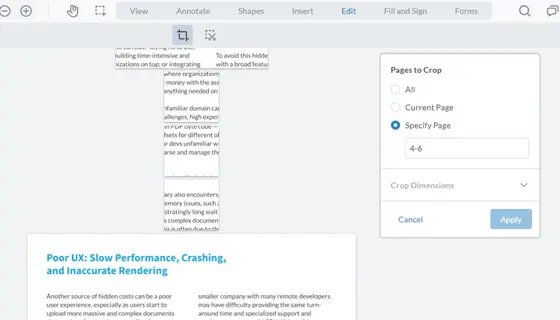
Figure 7 - The result of cropping several pages.
The All option takes this idea further, and uses the selected area as a template for cropping all of pages in the PDF. One use case for this would be to remove the border from every page of a PDF if it has been created with one that is no longer required.
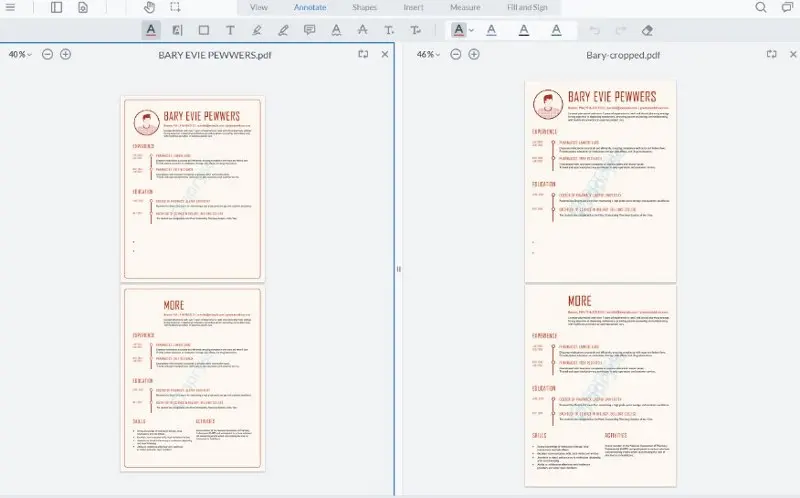
Figure 8 - The WebViewer Side-by-side view illustrating the “before” and “after” PDFs where the border has been removed by cropping all pages.
The Snipping Tool
Area selection for the Snipping tool is performed by dragging over the PDF in exactly the same way as for cropping. Three options are available, and we will look at these in turn.
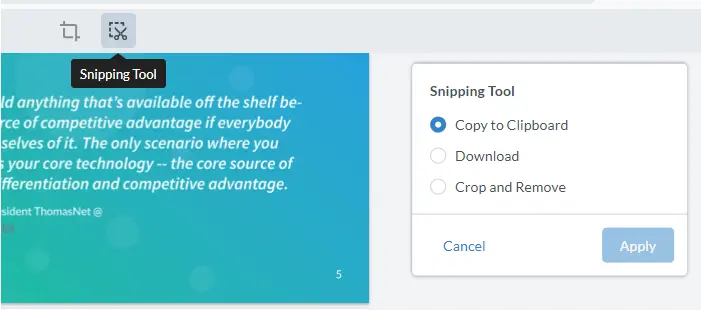
Figure 9 - The snipping tool options.
Copy To Clipboard makes a copy of the selected area as an image, and puts it on the clipboard. It does not affect the original document.
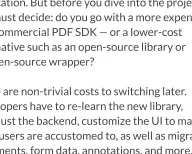
Figure 10 - The result of pasting an area that copied to the clipboard.
Download does exactly the same, but instead of the image being placed on the clipboard it will be downloaded onto the local machine. Again the document is not modified.
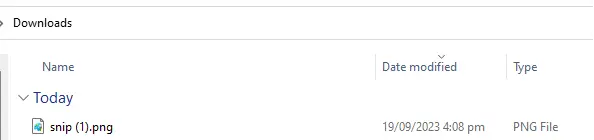
Figure 11 - A file that was created by downloading the area selected within the clipping tool.
Crop and Remove, on the other hand, does affect the PDF, and you will be warned of this, and need to press OK to continue.
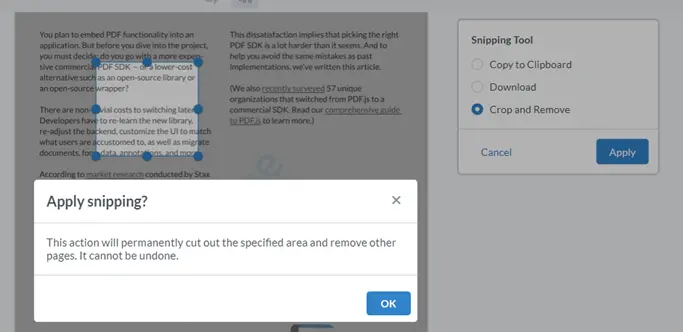
Figure 12 - The confirmation dialog that is shown before Crop and Remove completes.
This will result in everything in the PDF being removed apart from the selected area, including all of the other pages. One use case for this would be if you have many large PDFs each from a different person, where the content is the same except for the person’s details. Snipping in this way provides a mechanism to discard everything that is not of interest, resulting in smaller documents where it is easy to find what is of interest.
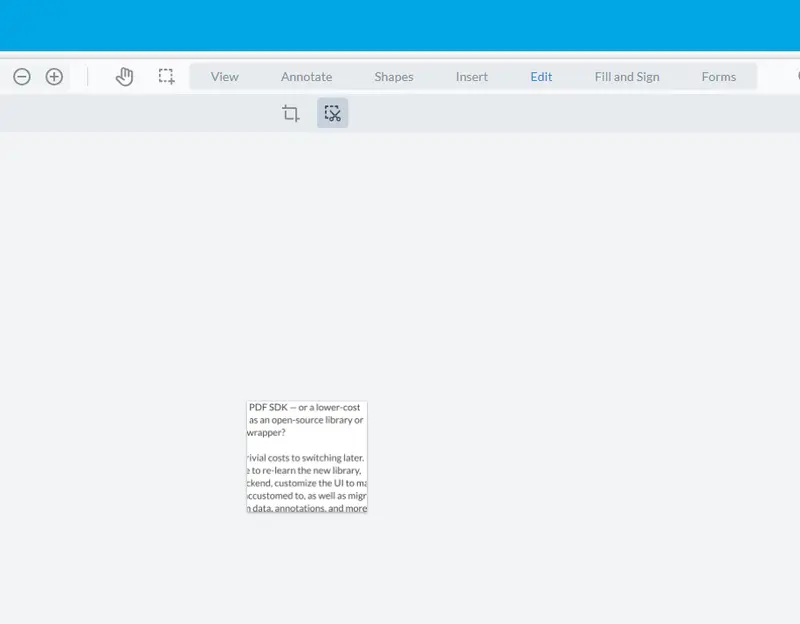
Figure 13- The effect of Crop and Remove. Everything has been discarded apart from the selected area.
Enabling Snipping and Cropping in the UI.
Both snipping and cropping are automatically enabled, so they are available straight out of the box. However, if you don’t want them, it is possible to remove them, since the Apryse WebViewer has an extremely configurable UI. While this can be done using css, it is often simpler to hide features programmatically.
This is done by calling instance.UI.disableElements for the appropriate element. The following snippet, based on the React sample which we have been using, shows how this can be done for either, or both, of the Snipping and Cropping tools. The same technique can also be used for the other tools.
Conclusion
We have seen how the snipping and cropping tools can be used to discard or extract content from the pages, and how to hide these tools if they are not required. While you may not use these tools very often, having them available adds to the range of functionality - editing, redaction, and page manipulation, to name but a few - that the Apryse WebViewer offers for working with PDFs and other file types.
When you are ready to get started, see the documentation for the WebViewer. If you have any questions then please reach out to us on Discord.