Matt Parizeau
Published April 17, 2024
Updated May 18, 2026
5 min
Editing PDFs Programmatically in the Browser
Matt Parizeau

Related Products
Although WebViewer is often used for document viewing and annotating, you might not realize that it also exposes a full PDF editing and manipulation API that previously would only have been possible on the server but now is available completely client side in the browser.
The full APIs sample page provides many code samples showing how to use these APIs and we'll walk through a few of them below.
Learn more about Apryse's PDF and DOCX editor functionality.
Modifying and Saving the Resulting File
The viewer preprocessing sample shows how to process a PDF file before loading it in the viewer.
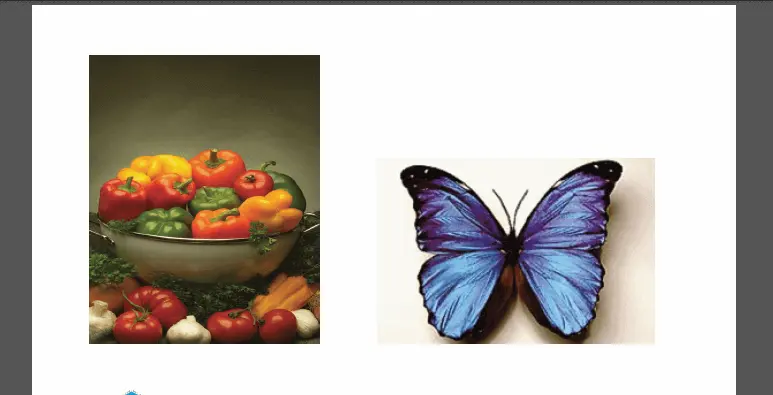
The initial document looks like this

The original PDF
and we want to replace the images of vegetables and the butterfly with some other image. In this case we will use one called sigImg
The image that we will insert programmatically
The entire sample code is located here and we'll go through key parts of it.
First we create the PDFDoc object from a URL:
doc = await PDFNet.PDFDoc.createFromURL(url);
Then replace the appearance for the stamp annotations in the document with our image:
Then we can view the PDFDoc object that we've modified directly in WebViewer by calling loadDocument and passing in the PDFDoc:
You can now see the modified PDF within WebViewer.
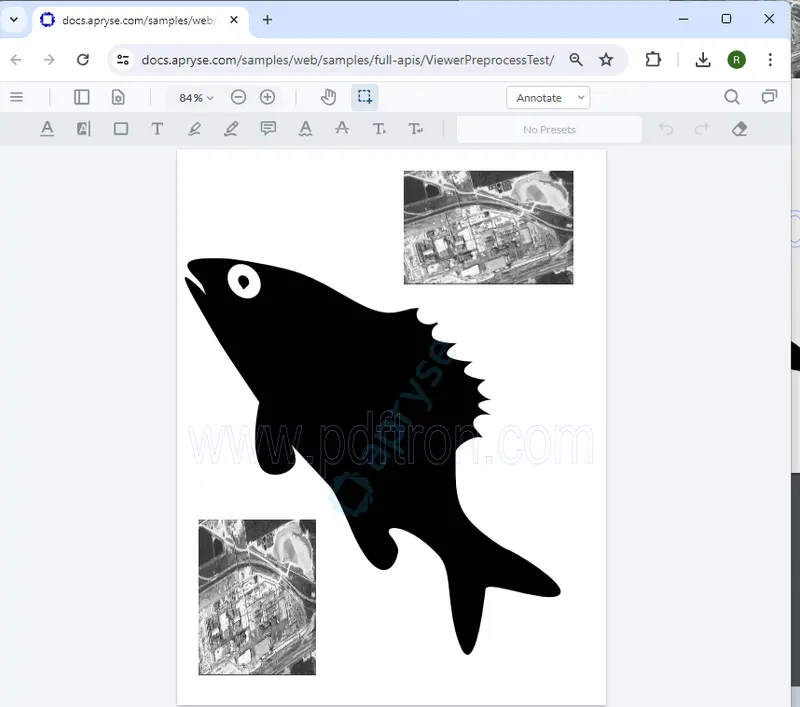
The modified PDF shown within WebViewer. The two stamp annotations have been replaced.
Click the download button in WebViewer; the downloaded PDF will have all the modifications that we made.
Alternatively, if you want to get the file data as a blob from the PDFDoc, you can use the following code (which is not in the sample code):
Converting Office Files to PDF
WebViewer was the first SDK in the world that could convert Office files to PDF without a server component or MS Office dependencies. Using the officeToPDFBuffer function you can easily convert and then download office files without having to upload them to a server. Note: in old versions of the SDK, the function name was office2PDFBuffer.
Adding Images and Text to a Page
WebViewer allows adding stamp annotations to a document, but these are editable and resizable. What if you want to add an image so that it isn't editable and becomes part of the document content?
Using PDFNet.ElementBuilder this can be done directly in the browser. We'll walk through parts of the code sample found here.
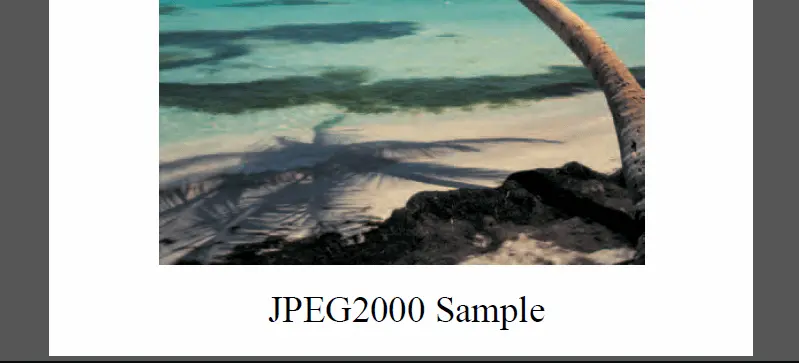
We've created an ElementBuilder to build new elements and an ElementWriter to actually add them to the document. We can then add a jpg and png to the page:
We can add a number of other image formats (for example, JPEG2000) and add text to the document as well:
The full running sample can be found here.
Learn more about WebViewer's updated real-time WYSIWYG PDF editing.
Select Elements of the Page in a Viewer
The ViewerDisplayPoints sample demonstrates how you can integrate with the full WebViewer APIs while viewing a document. When you click on an element of the page you'll see a bounding box and outline.
The sample code is extensive but we'll walk through a few key parts.
Setup a listener for mouse clicks:
documentViewer.getViewerElement().addEventListener('mousedown', handleMouseClick);Extract the elements from the page, processing each in a way appropriate to its type:
Draws annotations at the location of the selected page element:
Here's a picture from the viewer where you can see the points around the selected letter "e".

The full running sample can be found here.
Conclusion
The examples above are just scratching the surface of what's possible using WebViewer's full PDF APIs. Be sure to check out the samples and guides for more information.
If you have any questions about Apryse's PDF SDK, please feel free to get in touch or contact us Discord!
[This article was original released in 2019, but was updated to use WebViewer 10 in April 2024]


