Roger Dunham
Published December 05, 2025
Updated May 18, 2026
8 min
AI Powered Document Classification in Apryse 11.8
Roger Dunham
Summary: Apryse SDK 11.8 adds AI-powered document classification to Smart Data Extraction, automatically identifying 19 document types with minimal code. This article shows how to set up the sample and test the feature using C# on Windows.
Introduction
Businesses today are drowning in documents: contracts, invoices, reports, emails and expense claims to name just a few.
While some documents might be intended to be read and forgotten, often documents contain unstructured data that has ongoing value to the business, and being able to extract that data improves business efficiency.
Tools such as the Apryse SDK do exactly that, making it easy to extract content from the documents. Nonetheless, knowing the type of document also matters as the processing route for an invoice is likely to be different from that for a safety audit.
In this blog we will look at
- Why document classification matters
- Document types that can be classified with Apryse SDK 11.8
- Seeing document classification in action
- Understanding the code
- Doing more with the code
- Where next?
Why document classification matters
You could, of course, sort the documents manually, but that is slow, expensive, and inevitably leads to mistakes.
Imagine how much better it would be if you had a process that automatically classified documents into various different types.
That’s where the Apryse SDK Document Classification option within Smart Data Extraction comes in.
New in version 11.8 of the SDK, this AI driven tool can identify 19 types of documents, based on their structure and content, using as little as a single line of code.
In this article, we will look at how easy it is to get started, and we will work through a set of documents and review the accuracy of the classification.
Document types that can be classified with Apryse SDK 11.8
Currently, in 11.8, there are 19 types of documents that can be identified. These are (in alphabetical order):
- "advertisement"
- "budget"
- "email"
- "file_folder"
- "form"
- "handwritten"
- "id"
- "invoice"
- "letter"
- "memo"
- "news_article"
- "passport"
- "presentation"
- "questionnaire"
- "receipt"
- "resume"
- "scientific_publication"
- "scientific_report"
- "specification"
As we continue to invest in the development of the SDK, you can expect this number of types to increase.
Seeing document classification in action
As you would expect with the Apryse SDK, there’s a code sample that demonstrates how to use the functionality.
There has been a DataExtraction sample for several years which already showed how the SDK can identify document structure or form fields, etc., and this has now been extended to include document classification.
There are a few steps to getting the sample to work, so let’s look at those.
For this article I will be using C# for .NET framework, on a Windows 11 machine. The SDK is available in many other languages too (for example Python, Java, and C++) as well as for Linux and macOS.
Step 1: Download the Apryse SDK
You will find a link to the SDK at https://docs.apryse.com/core/guides/get-started/dotnet (or in a similar location for other languages).
Click on that link to download the SDK, which is a zip file.
Step 2: Extract the zip file
Extract the contents of the zip file.
For my testing, I just extracted it into my “Downloads” folder, but you might prefer to extract it somewhere else.
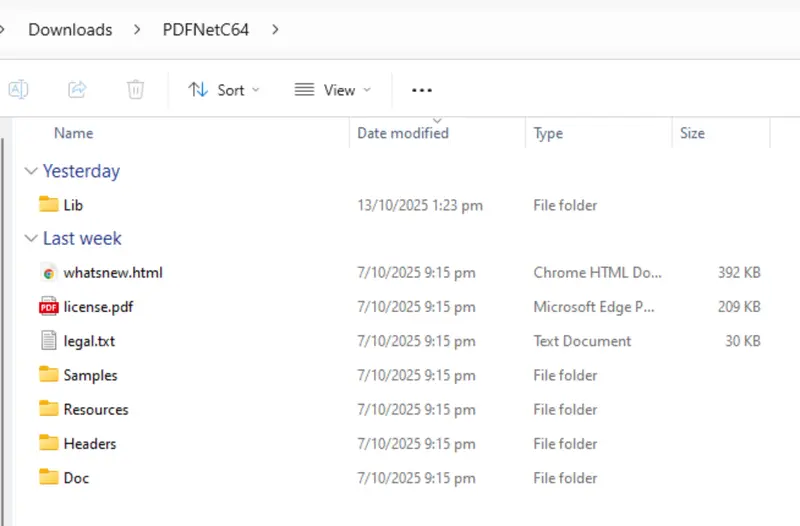
Figure 1: The result of extracting the Zip file on Windows 11.
There are two folders that are of particular interest to us now, the Samples folder which contains dozens of sample projects, and the Lib folder.
At the moment, if we try using the Data Extraction sample, we will get an error telling us that an add-on module is missing.
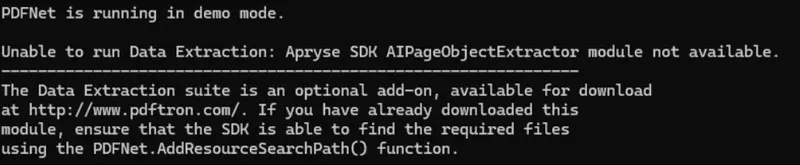
Figure 2: Data Extraction needs an add-on module. You will get an error if it is not available.
Let’s resolve that problem.
Step 3: Download and unzip the “DataExtraction” Module
Document classification requires functionality that is not included in the main SDK.
It’s easy to add it though via the add-on module that we were told we needed in step 2. Navigate to the Downloads page and click the Download button for the Data Extraction Module.
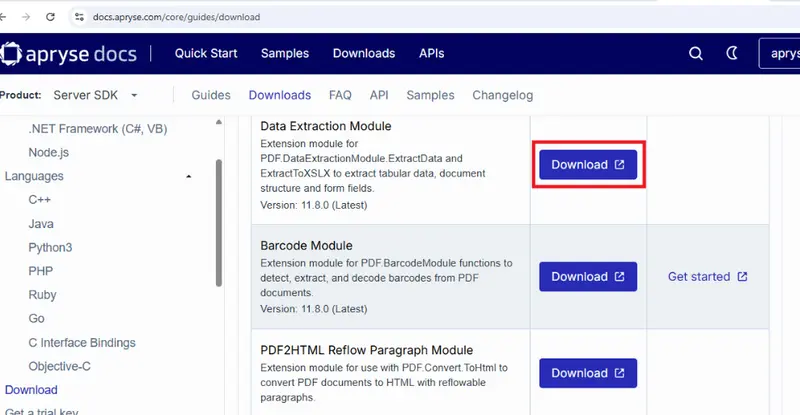
Figure 3: Screenshot of the Downloads page which shows how to get add-on modules.
Once that file has downloaded, extract the contents and copy them into the Lib folder of the Apryse SDK.
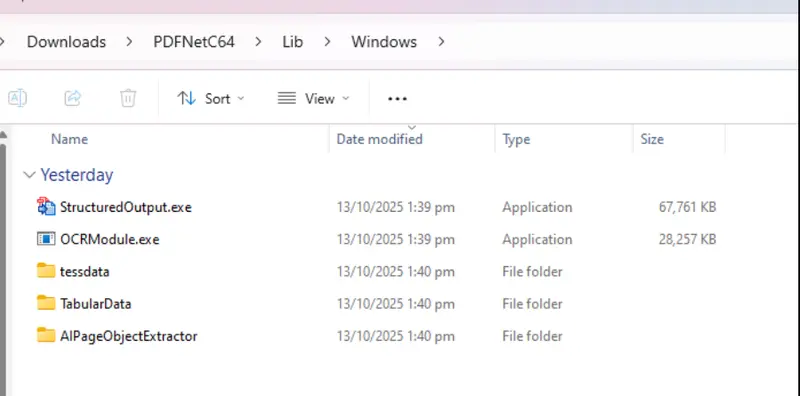
Figure 4: The contents of the DataExtraction zip file should be copied into the Lib folder.
Step 4: Get a Trial license for the SDK
Before you can use the samples, you will need to specify a license in the LicenseKey.cs file.
For testing purposes, you can get a free trial license.
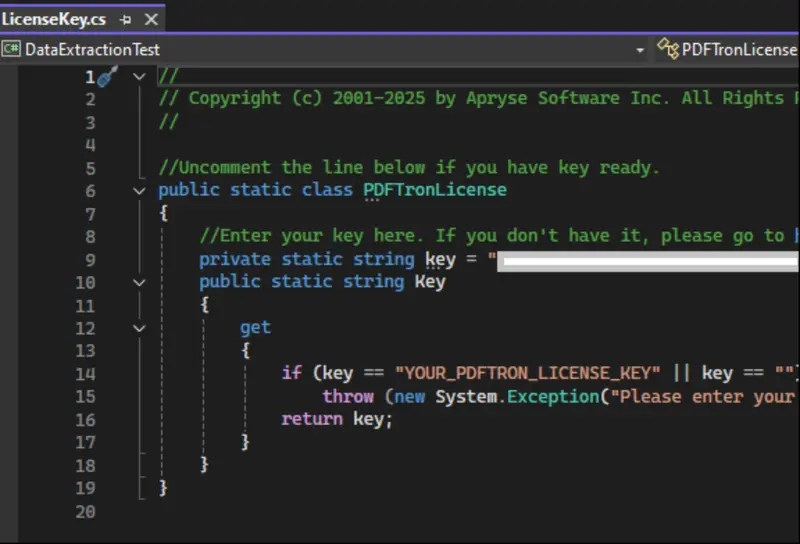
Figure 5: Paste your license key into the LicenseKey.cs file.
Step 5: Be amazed at how easy it is to use!
You can now run the samples using the .bat file that is present in the folder.
If you want to run the code within a debugger such as Visual Studio, rather than by using the .bat file, then you will need to adjust the paths for PDFNet.AddResourceSearchPath, as well as input_path and output_path to allow for the different working directory that will be used by Visual Studio.
The sample code does a lot of different things: extracting document structure, key-value pairs, form fields and table data, as well as table-classification. There is no logging to the console, but lots of files are created.
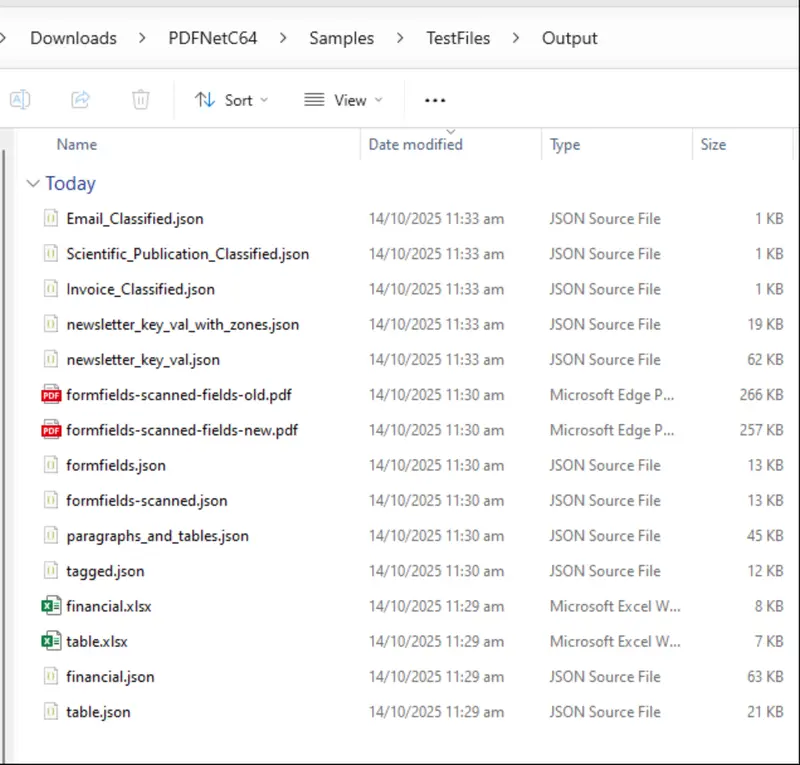
Figure 6: Files created by the default Data Extraction sample code.
By all means, check out any of those files, but for this article the ones that we are particularly interested in are the three .json files that have “Classified” in their names. Let’s look at the one for the email.
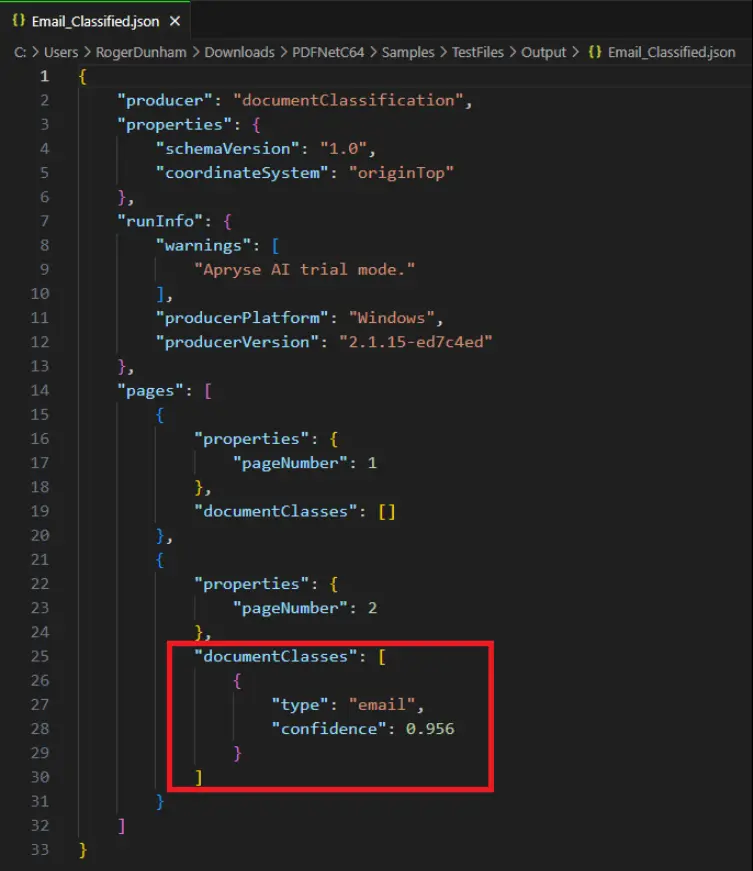
Figure 7: The contents of the file email_classfied.json, showing the documentClasses.
There’s information about the version of code that was used, and, in this case, a note that we were using “AI trial mode.” A little further down there is information for each page in the document, and the detected documentClasses.
For this example, we can see that the PDF was classified as type “email” with a confidence of 0.956. The confidence value lets us know how certain Smart Data Extraction is that it correctly identified the document type. A number close to 1 (as in this case) indicates that it is very certain.
If we open the PDF, then we can see that it really is an email.
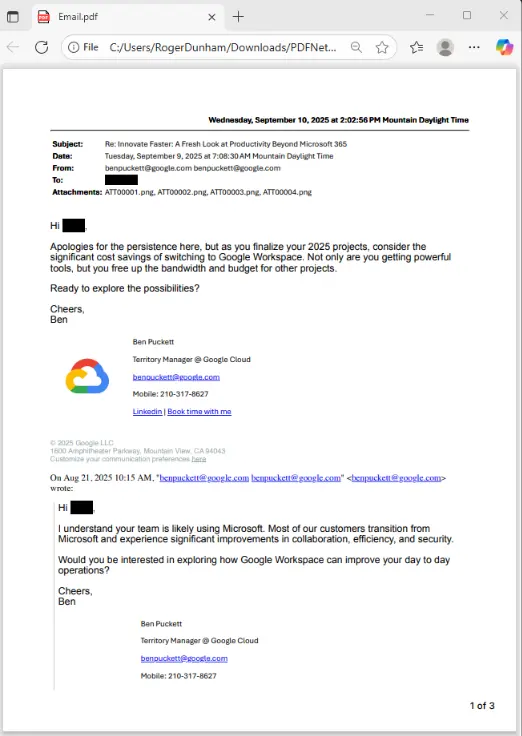
Figure 8: The file Email.pdf really does contain an email.
Nice work Apryse!
Understanding the code
The important part of the code is the single line containing ExtractData, and specifies e_doc_classification as the DataExtractionEngine.
DataExtractionModule.ExtractData(pdfFile, DataExtractionModule.DataExtractionEngine.e_doc_classification); At its simplest, that is all you need to classify documents (though there are also a few options that we will look at in a moment).
ExtractData creates a JSON object based on this schema, such as the one that we previously saw for the email.pdf. It either returns that JSON object as a string or alternatively saves it to a file for later processing.
It really is that simple!
Doing more with the code
Let’s take that line of code and use it to create a method that will process all of the PDFs in a specific folder. We’ll get it to return a JSON string, and we’ll log the identified Document Classes to the console.
There’s a little magic missing from the code, for converting the JSON into an object based on its schema.
Now, let’s add a set of files to that folder. Some came from the sample files that ship with the SDK, some from the Apryse showcase, and others, the receipt, passport and driver's license, were files that I found online.
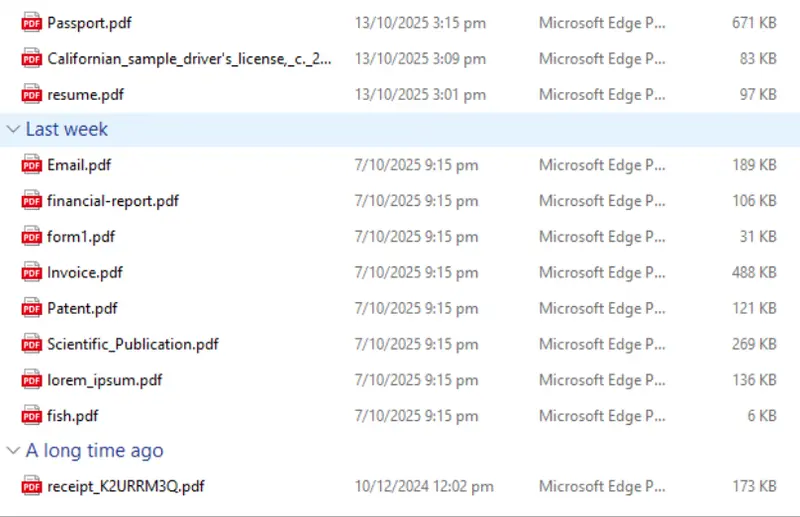
Figure 9: The set of files that we will process.
If we run that code, then we can see how the document classifier works with a wider range of files than just those used in the shipped sample.
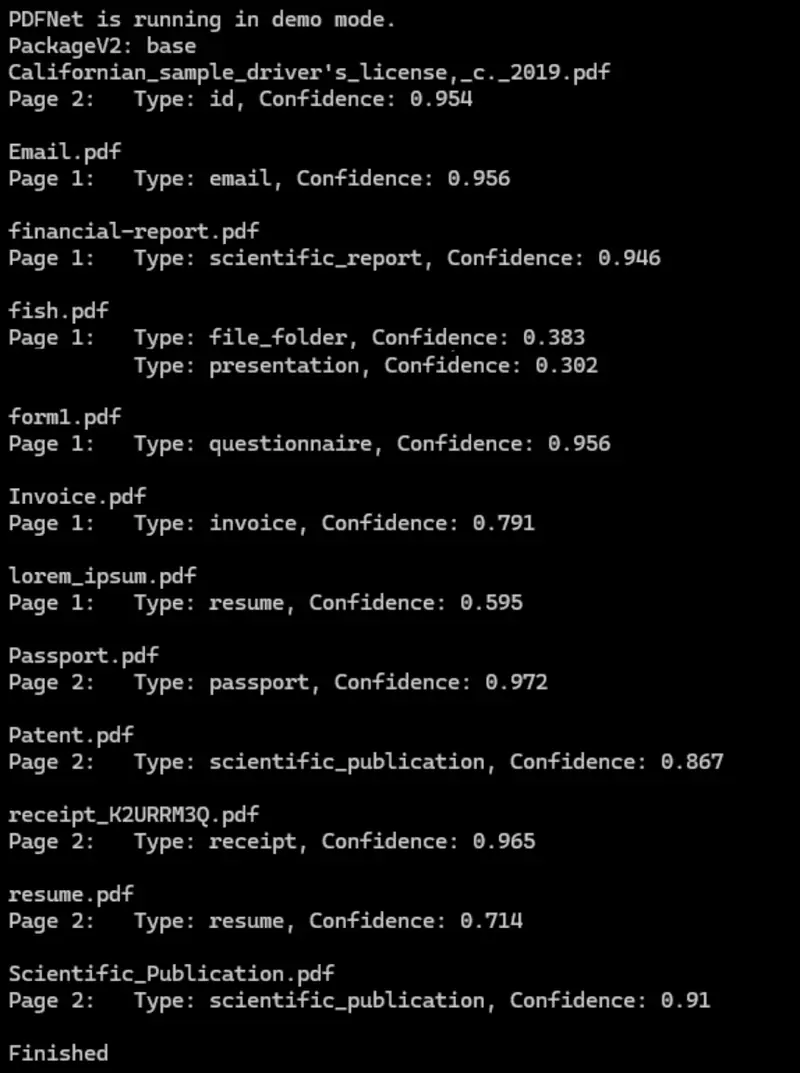
Figure 10: The result of running the document classifier on a wider range of files. It is generally excellent.
Generally, we are getting great results. The confidence is mostly over 90% and:
- The driver's license was correctly identified as an ID, and
- The receipt was correctly identified as a receipt, and
- The invoice was correctly identified as an invoice.
But what about fish.pdf? That was identified as two types of document: as a file folder and as a presentation, both with confidence of less than 0.4?
To find out what has happened, let’s look at what the PDF contains.

Figure 11: fish.pdf was classified as a file folder and a presentation, both with low confidence.
What? It’s just an image of a fish with no other content at all, so it’s hardly surprising that it confuses the classifier. At least the classifier said that it had low confidence, so we had a clue that something was wrong.
Similarly, lorum_ipsum.pdf was identified as a resume with just under 0.6 confidence. Let’s look at that file, too.
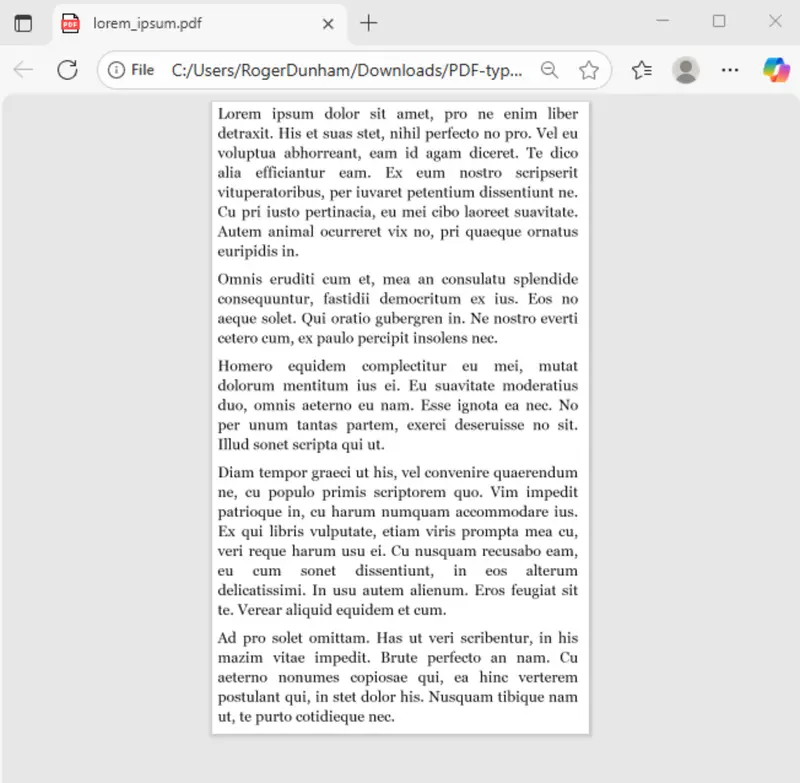
Figure 12: The Lorum Ipsum document was incorrectly classified as a resume.
Well, it’s definitely not a resume, but since it isn’t a real document, I’m not sure what such an artificial PDF should be identified as.
And that’s important. The classification model was trained using real, not dummy, documents, so if you use it with made up documents (such as a lorum-ipsum), then the results are never going to be meaningful.
As such, you should test the functionality with real documents and since the processing is performed on the machine that you are using, your files are safe. They are not transmitted over the internet to some random Web API for processing, risking confidential documents being compromised.
What you do with documents where the classification has low confidence is up to you. You might choose to ignore them, or else flag them for manual review.
What about longer documents?
The example documents are all quite short, but the classifier also works with longer documents with each page classified separately. Page by page classification is essential with real PDFs which may be a collection of separate files that have been stitched together, perhaps a contract, financial projections, copies of emails, and so on.
Are there any limitations with the Trial License?
If you are using a trial license, then you can extract document classes for up to 100 pages. Note, though, that with a trial license, blank pages will be randomly inserted into the JSON.
With a full commercial license, these limitations are removed.
What about options?
By default, all pages in the PDF will be processed, and the document class will be reported even if the confidence is as low as 0.25. As mentioned earlier, it is possible to specify options to modify the defaults.
- SetPages: Allows a contiguous range of pages to be specified. Other pages will be ignored.
- SetMinimumConfidenceThreshold: Any classifications with a confidence lower than this value will be excluded from the JSON.
- SetPDFPassword: Allows a password to be specified that will be used if the PDF needs one.
Some options that can be used with other Data Extractions options, for example “exclusion zones”, are not supported for document classification.
Where next?
This is just the first release of the document classification API, and we are actively developing it. You can expect that over the next few releases the number of document types and accuracy of classification will increase.
But don’t wait. Get yourself a free trial license and try things out for yourself. The Apryse SDK does much more than just extracting data from documents. If you have any questions, then please reach out to us on our support channel.


