Roger Dunham
Published November 08, 2023
Updated February 07, 2024
8 min
Transforming PDFs to Office Documents with Apryse and C++
Roger Dunham
Introduction
When you need to transfer information between people, the Portable Document Format (PDF) excels for both presentation and archival purposes. It offers an accurate view of what you intended that looks the same to the reader, irrespective of what operating system of hardware they are using. (Sometimes there may be issues with font availability when viewing the document, but Apryse have a solution for that).
However, situations may arise where you need to transform PDFs into editable and well-structured Office documents. Perhaps a change is needed but the original Word document no longer exists or cannot be found, or the PDF was created from a hard-coded report generator and a minor change, such as a change of logo is required, or you just want to use the PDF content as the basis for a new document.
While PDF documents can often be directly edited, non-trivial changes that result in more text than will fit in the available space, or changes in the items within a numbered list, can be extremely difficult and laborious to do, and can be very time-consuming to get to look correct.
Fortunately, the Apryse SDK offers a mechanism for converting PDFs into Office documents. This SDK is available for multiple programming languages including C#, C++, Python, Go, Ruby and JavaScript. In this article we will:
- see why converting a PDF into Office is useful
- try out Apryse sample code for reconstructing a document from PDF
- look at how this functionality can be used within a C++ application.
Why Use Apryse to Convert PDF to Office?
With the advanced document processing features Apryse offers, you can not only convert Office documents to PDF, but also reconstruct those documents back from PDF, maintaining their formatting and structure.
With the acquisition of Solid Documents in 2021, Apryse gained access to the world’s best document reconstruction library, which is now an optional module available within the Apryse SDK.
Sample Project for Reconstructing a Document from a PDF
The Apryse C++ SDK is available for Windows, Linux and macOS. In addition to the actual SDK, there are a wealth of examples that illustrate the functionality of the SDK, not just for converting PDFs into Office documents, but also for viewing, editing and manipulating documents, and viewing CAD drawings, among many other features.
In this article we will look at the sample for reconstructing an Office document from a PDF. If you are interested in going the other way, then have a look at converting an Office document into a PDF.
In order to simplify the set-up, the sample code uses a hard-coded file, and places the output into a hard-coded location. In a real-life scenario you would want to specify which PDF is to be converted, and what to do with the generated Office document, and of course that is possible. As such, the sample code should is an example of how to convert a file and see the result, rather than as a template of how to write an entire document processing solution.
Prerequisites
You will need a code editor and C++ compiler installed. I used Visual Studio 2019 on Windows, but other IDEs are also supported.
How to Get an Apryse SDK Trial Key
If you don't already have an Apryse account, go to https://dev.apryse.comand register a new account.
This allows Apryse to grant you a demo license key which will be used with the Apryse SDK to enable demo functionality.
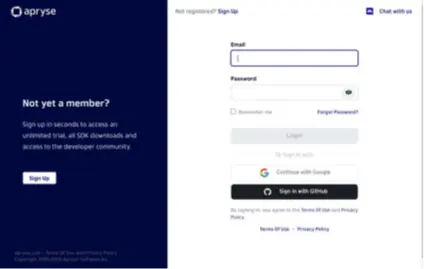
Figure 1- The Developer Portal.
Log into https://dev.apryse.comwith your registered account, select the platform that you are using, then click on the Reveal button to get your personalized Trial key.
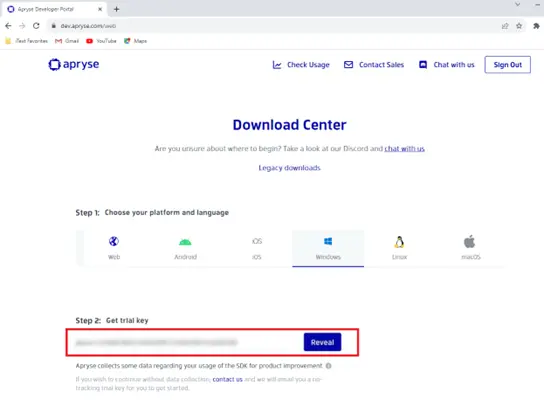
Figure 2- Download Center Platform and Trial Key.
How to Obtain the Apryse SDK
Having selected the platform and found the trial key, if you scroll a little further, you will see the multitude of languages that are available for download.
There are several options for C++, including versions for working on multiple different platforms including mobile, and an SDK with a bundled PDF Viewer, as well as the most basic version which can also be used in Azure.
For this article we will use the 64-bit SDK. Click on the Download button.
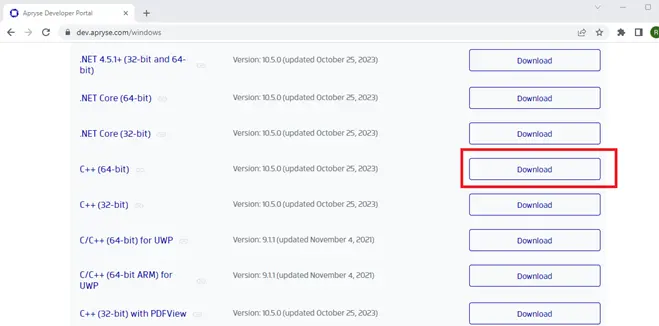
Figure 3 - The button that downloads the Apryse C++ SDK.
The SDK is a zip file called PDFNetC64.zip. (On macOS and Linux, the name is slightly different).It has been set up so that the same library can be used with .NET, C++, and Java.
Extract that file to a location of your choice. I chose to extract it to a folder called source. Within the folder there are the executable files, documentation, and a lot of samples.
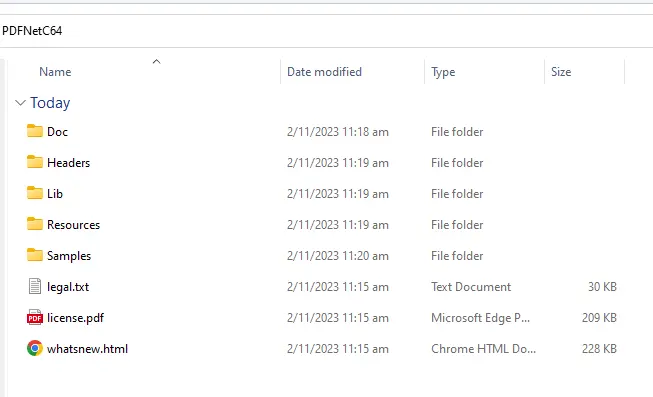
Figure 4 - The contents of the downloaded SDK after extraction.
In this article we are just going to look at the OfficeToPDFTest folder.
While many of the samples can be run immediately using just the SDK, back-converting PDF to Office requires the add-on module “Structured Output”. This is one of several optional modules that provide additional functionality – others include support for Computer Aided Design (CAD), Data Extraction, and Optical Character Recognition (OCR).
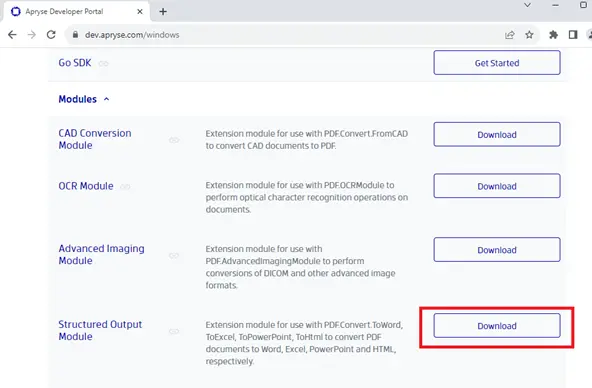
Figure 5 - How to get the Structured Output module.
The Structured Output module is a prebuilt executable which is compressed for download and can be used from any of the languages that the Apryse SDK supports.
Extract the StructuredOutput archive into the PDFNetC64folderwhich you previously created. If this is done correctly, the contents of the lib folder will now contain the StructuredOutput.exe file.
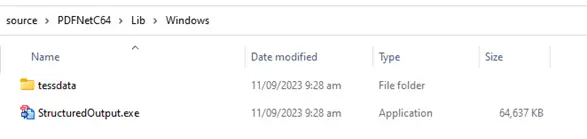
Figure 6 - The contents of the lib folder, after the StructuredOutput file has been successfully extracted.
Setting Up the PDF to Office Test Project
The Windows version contains project files for multiple versions of Visual Studio. The Linux and macOS samples contain a Makefile instead.
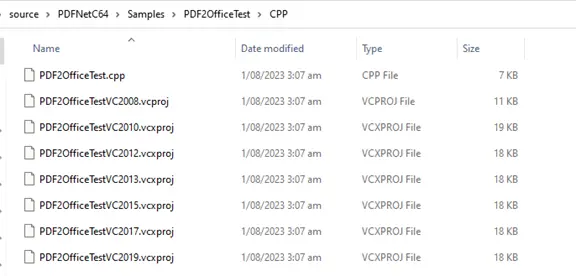
Figure 7 - A selection of the samples that are shipped with the Apryse SDK.
For this article I used Visual Studio 2019, so things may look a little different if you are using a different IDE. If you run into problems then please reach out to the Apryse support team.
The sample code takes a PDF and converts it, sequentially, into various Office file formats, either using default, or user-specified, options.
Before running the sample you will need to enter the trial license that you have already acquired. To do this replace the text in the string LicenseKey within the file LicenseKey.h with your actual key.

Figure 8 – Entering a LicenseKey value into the project.
Also, before you build the project, set the Platform to x64.
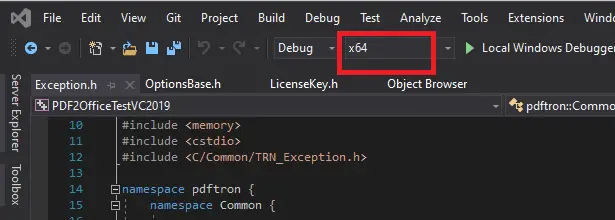
Figure 9 - Remember to set the target platform to match the downloaded bitness.
If the target bitness does not match the SDK version that you downloaded, then you will get unresolved external symbol errors.
Now build and run the project.
After a few seconds, a set of conversions will occur.
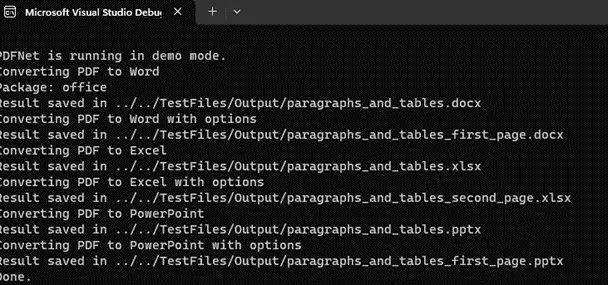
Figure 10 – The output when running the program.
Reviewing the Output of the Conversions
Before we look at how the conversions work, let’s look at the results.
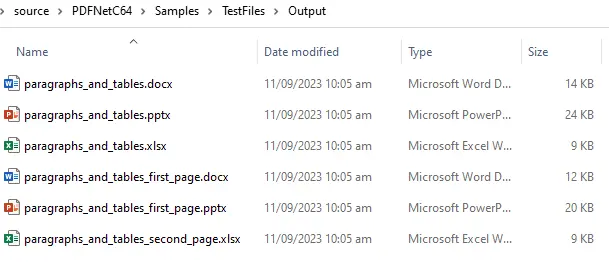
Figure 11 - The output folder after the conversion completes.
We have the source PDF converted into Excel, PowerPoint, and Word.
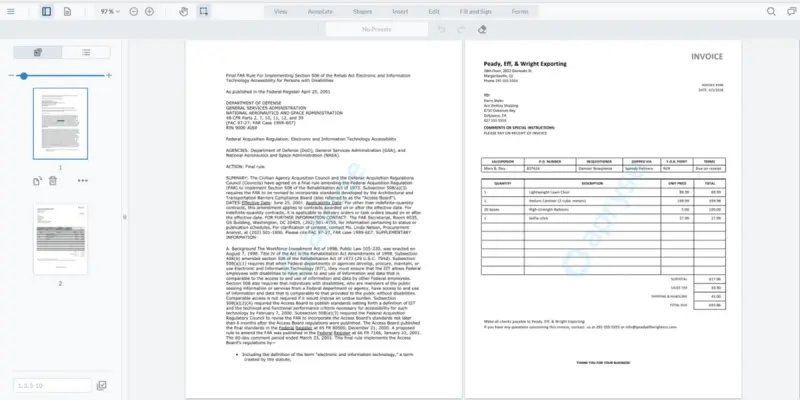
Figure 12 - The original PDF – it contains a page of text, and a page containing an invoice with a table.
Not only has an editable Word document been recreated, but the fonts, line, and paragraph, breaks are the same, wherever possible, in the new document as they were in the PDF– exactly the way that you want it.
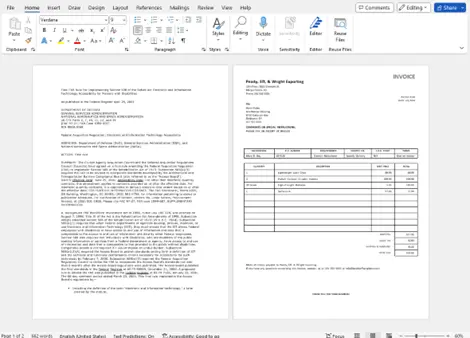
Figure 13 - The reconstructed Word document, shown within Word.
In the same way, the PowerPoint presentation that was created from the PDF faithfully represents the original file, with each page in the PDF converted into a separate slide.
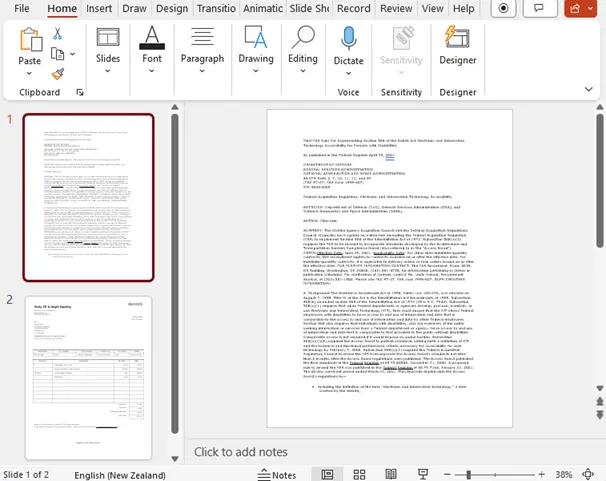
Figure 14 - The file reconstructed as a PowerPoint presentation.
It is easy to imagine how a PDF that was created from a Word document should look when it is reconstructed back into a Word document. What we have done here, though, is take a Word document, convert it to PDF, then convert it back into a PowerPoint presentation. As such, some of the functionality may be a little different, since PowerPoint does not support everything that Word does. Nonetheless the result is extremely good.
But how should the PDF look when converted into a spreadsheet? That is a very different format from a Word document. Let’s open the converted file and see.
The first thing that you will note is that it contains two sheets. However, neither sheet contains the text from the first page of the PDF.
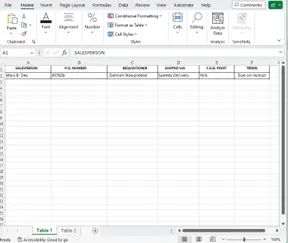
Figure 15 - The first sheet reconstructed from the PDF.
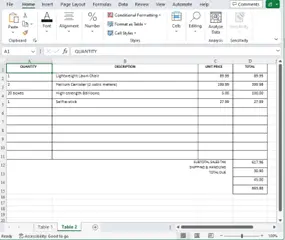
Figure 16 - The second sheet reconstructed from the PDF.
What has happened is that the Structured Output module has correctly identified that there was no tabular data on the first page of the PDF, but on the second page, it identified two separate tables.
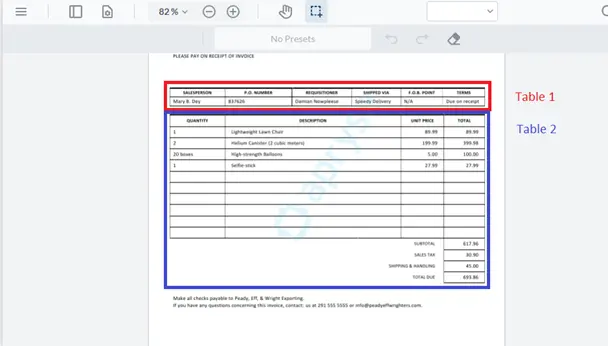
Figure 17 - A detailed view of the second page of the PDF, indicating the two tables that are present.
The Structured Output module was developed to be useful rather than just dumping the text into a spreadsheet so that it looks like the PDF.
In the vast majority of cases, extracting the text from a page that contains just text (such as the first page of the sample PDF) into a spreadsheet would have little useful value. As such, the default options for converting from PDF to Excel are to discard non-table data and to place each identified table onto a separate sheet. That means that, in this case, the whole of the first page is discarded. These options can easily be over-ridden if you need something different, but experience has shown that the default options give the best results for the largest number of users.
Note: this is not the only way within Apryse to extract tabular data from PDFs.
Interested in extracting data with the Intelligent Document Processing (IDP) add-on? Check out our recent blogfor more information about that module.
The effect of using options when converting files can be seen in the three remaining files produced by the sample code. These files contain the output of just a single page, and were created byspecifying a page range in the conversion options.
How the Code Works
The sample code has been created to illustrate how easy it is to get started, while giving a hint as to what other options are available.
At its very simplest, conversion can (after library initialization) be as simple as:
Convert::ToWord(inputPath + "paragraphs_and_tables.pdf", outputFile);That’s right, you can convert a PDF to Word with just a single line of code!
This can be extended to include options by using a WordOutputOptions object. In the following example the page range is being specified, but many other options are supported to fine tune the conversion.
Conversion to Excel or PowerPoint is performed in a similar way, either with or without options, simply by using the ToExcel or ToPowerPoint methods.
Convert::ToExcel(inputPath + "paragraphs_and_tables.pdf", outputFile);It really is that easy.
Reconstructing Word Documents from Scanned PDFs
With no extra effort or coding, the Structured Output module can reconstruct a Word document from a scanned PDF, provided that the scan quality is good enough. The technology is even clever enough to include Word features such as lists and tables of contents.
For example, if there are rows with numbers in front of them, then these can be interpreted as a numbered list.
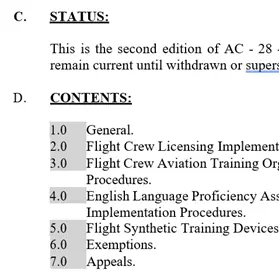
Figure 18 - part of a Word document reconstructed from a scanned PDF. The elements of a numbered list are shown.
This is fantastic from an editing point of view, since if a new list item is added, or an existing one is deleted or moved, then Word deals with the renumbering automatically.
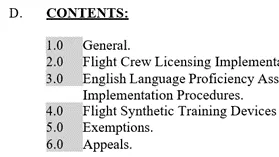
Figure 19- the same document after the removal of the original item 3.0. Note how the other list items have automatically updated.
Imagine just how much time that will save.
Conclusion
With Apryse's SDK, developers have an efficient and straightforward method for reconstructing Office documents from PDFs.
Whether you're creating a document recovery tool, an application for content extraction, or any solution that necessitates the reverse conversion of documents, Apryse gives you the essential tools to achieve this task.
By harnessing the combined strengths of Apryse and the power of C++, you can bring flexibility and efficiency to your document processing workflows, enhancing your users' experience and productivity.
Extensive documentation is available for comprehensive insights into the library’s capabilities and provides guidance for customizing the reconstruction process to meet your own specific requirements.
If you encounter any issues, remember that you can also reach out to us on Discord for assistance and support.


