Roger Dunham
Updated August 29, 2025
6 min
Using Base64 to Encode Images with Apryse Document Generation
Roger Dunham

Summary: This article explains how to use Base64 encoded images in dynamic document generation with Apryse. It covers the advantages of Base64 over file paths or URLs—especially in browser environments where security and CORS issues can arise—and provides a practical example using the Apryse SDK.
Introduction
Apryse Document Generation allows you to dynamically create documents using a DOCX (or PPTX or even XLSX) template and JSON.
You can even try that out for yourself, right now, using the Apryse Showcase, or the sample code that ships with the Apryse SDK.
While those samples demonstrate the power of the system, they are using a file or an URL to specify images that should be included in the document. Sometimes that is fine, but particularly when working with client-side code in the browser, you can run into security issues when trying to access local files programmatically, or else have to contend with CORS issues when getting data from the web.
As a result, one of the questions that our Solution Engineers are regularly asked on the Apryse Discord channel is whether it is possible to use Base-64 encoded images, rather than local files or URLs. The quick answer is Yes.
In this article, we give a slightly longer answer. We will also look at what Base-64 encoded images are, see their benefits (and disadvantages) compared to using image files directly, and work through an example of how to use them with the Apryse SDK.
What is a Base64 encoded image?
As an example image, I asked ChatGPT to create a Morris Dancing penguin. Fun, slightly nonsense, but certainly memorable.

Figure 1: The image that we will be working with.
The original file is in .png format (which apparently doesn’t stand for “Penguin” format, but instead for Portable Network Graphic).
.png (or .jpg) is a great format for describing an image – but it’s a binary file - which means that if you open it in a text editor, then it will have lots of strange, non-printing characters.
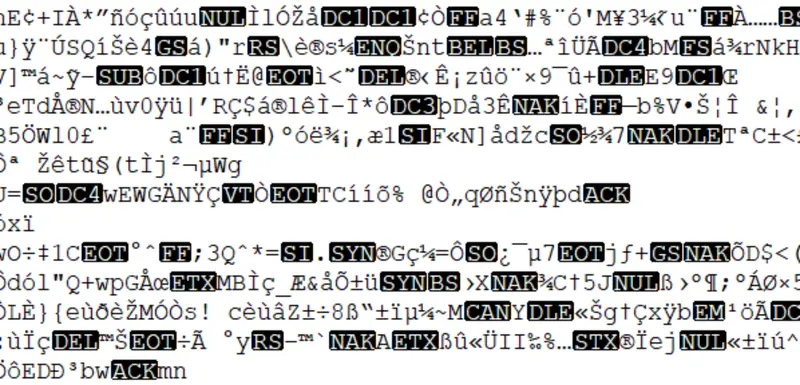
Figure 2: Part of our image file, opened in Notepad++. Since it is a binary file there are lots of non-printing characters included.
While we don’t need the file as text in order to edit it, having it as text is useful if you want to transfer the image over the internet via a call to a RESTful API when you may run into issues with the non-text characters being misinterpreted. It is also difficult to transfer files to and from websites that use JSON, since a binary file doesn’t fit into the JSON structure.
This is where Base64 encoding comes in – the entire image file is converted into a string that contains only 64 characters – upper and lower case A-Z, and the digits 0-9 (plus, typically, “+”, “/, with “=” used for padding).
We’ll look at how to convert to and from an image into Base64 encoding in a moment. If you’re keen to try it out right now, you can convert images with sites such as https://www.base64-image.de/.
That’s exactly what I did – and I received a block of text back that included the encoded image.
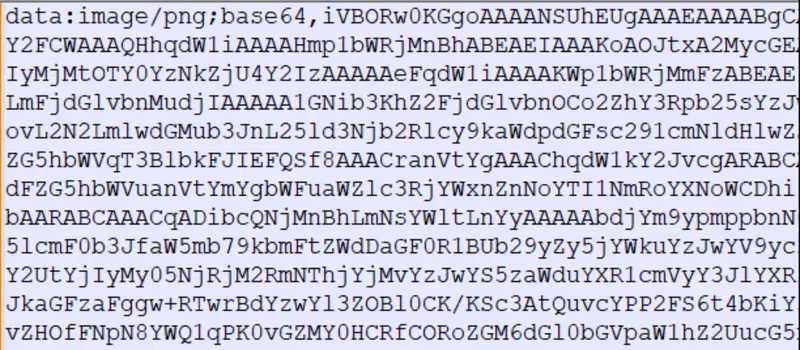
Figure 3: The encoded image file, including information about the MIME type.
While technically it’s not part of the encoding, the file includes some information about the original image format, as well as the Base64 data itself – we’ll talk about that later.
Now we have the image in a format that is easy to transfer over the internet as a string.
There is a downside though – the encoded image is generally larger (typically by about 33%) than the original image file. Image editors also generally can’t work with Base64 encoded files directly, so if you need to edit that file you will need to convert it back into an image file beforehand.
Converting to and from Base64 encoding
The need to convert to, and from, Base64 is so common that it is built into many languages such as Python, C#, and NodeJS.
For this article we will look at Python, where it is implemented via the base64 library. We will use that library to encode an image file called “MorrisPenguin.png”, then print out the resulting string.
That was easy! You can also decode the string back into a file.
That’s all great, but what about document generation?
OK, let’s look at what ships with the Apryse SDK.
File It Under Awesome: Generating Docs with Apryse
The Apryse SDK allows you to create a template (usually, but not always as a DOCX file). It’s just a regular DOCX file, so you can edit it using anything that understands that format. You can include whatever text you want, plus “placeholders” which are marked with mustache braces. During document generation the placeholders will be replaced with data taken from a JSON string.
Document Generation is great for relatively simple templates and JSON data. However, if you need something more, then you may wish to check out Fluent which supports more complexity, and accepts data in dozens of different formats.
The JSON could be hard coded, or it could come from an API – for example, it could be
- weather data for Antarctic from https://open-meteo.com/ (which is handy for the penguins!)
- or financial data from a share-price service,
- or data from Salesforce or another CRM,
- or many, many other types of data that have value to your organization.
Once the placeholders in the template have been replaced with data, the Apryse SDK generates a PDF (or DOCX) file.
For now, let's use a template from one of the Apryse samples, and we will show it within the Apryse WebViewer.
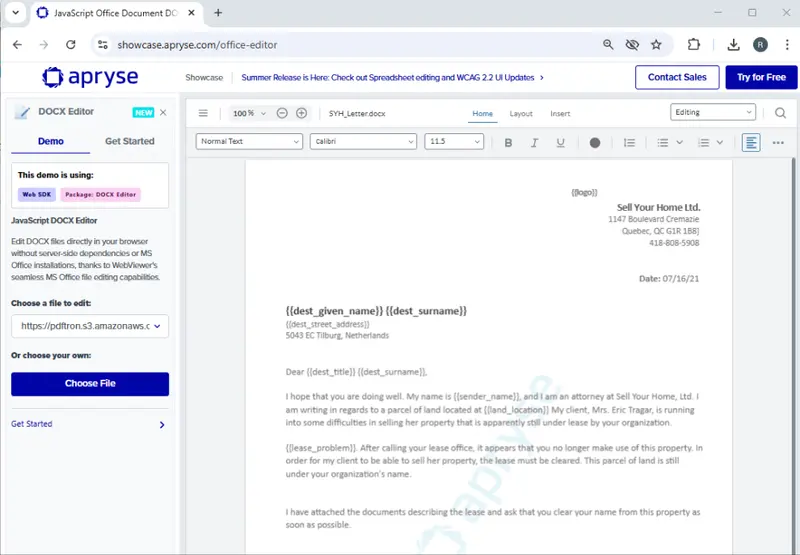
Figure 4: The Apryse WebViewer showcase showing a typical template file.
You can see the various placeholders – marked with mustache braces, such as {{dest_given_name}} which will be matched up to and replaced with data from the JSON.
What we are particularly interested in is {{logo}}.
In the sample code (which we will get to in a minute) this is described via a URL, and name of the file (“logo_red.png”) and a width and height.

Figure 5: An image of the JSON data taken from the OfficeTemplateTest sample file.
Let’s replace that logo with a Base64 encoded string – this makes the code rather long (so I won’t do a code snippet), since the image is now stored entirely in the string, rather than just being a reference. It’s generally not an issue though, since this is exactly the kind of thing that web APIs handle with ease.
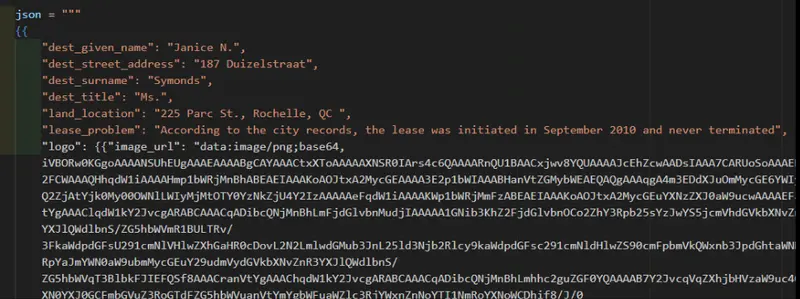
Figure 6: An image of the JSON data, after replacing the filename with a base64 encoded image.
Note: The prefix data:image/png;base64, is important — it tells Apryse the type of image and that it’s Base64 encoded – if you get that wrong then the image will not be correctly interpreted.
Running the code
The sample code is available in many different languages – I’m using Python, but it is also available for Node, C++, Java, C#, and many more.
There is a little set-up code, and you will need to specify a license key, which I haven’t shown. The important part of the code, relating to this article is where the document generation magic occurs.
If we run that code then after a few moments a new PDF is created – with the placeholders, including the logo, replaced with the real data.
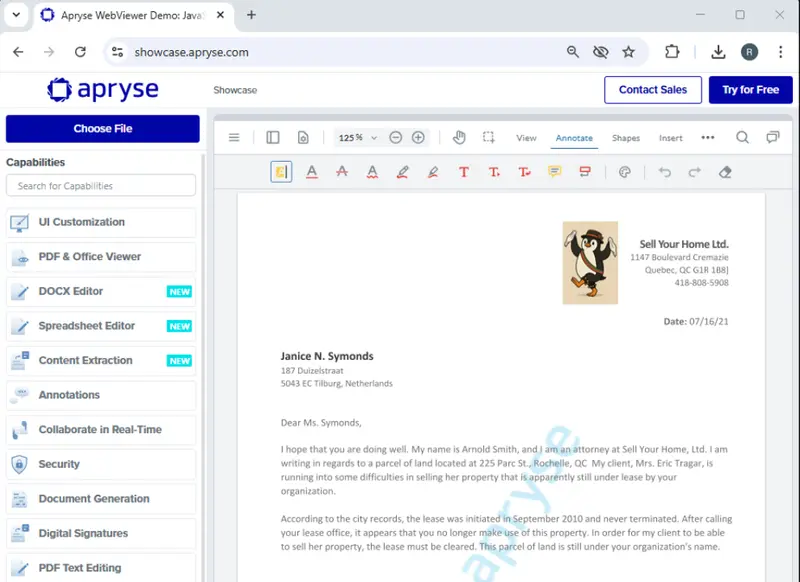
Figure 7: A PDF created from a template with the base64 encoded image included as the logo – shown in Apryse WebViewer.
In fact, if we change the code very slightly, we can generate a DOCX file rather than a PDF.
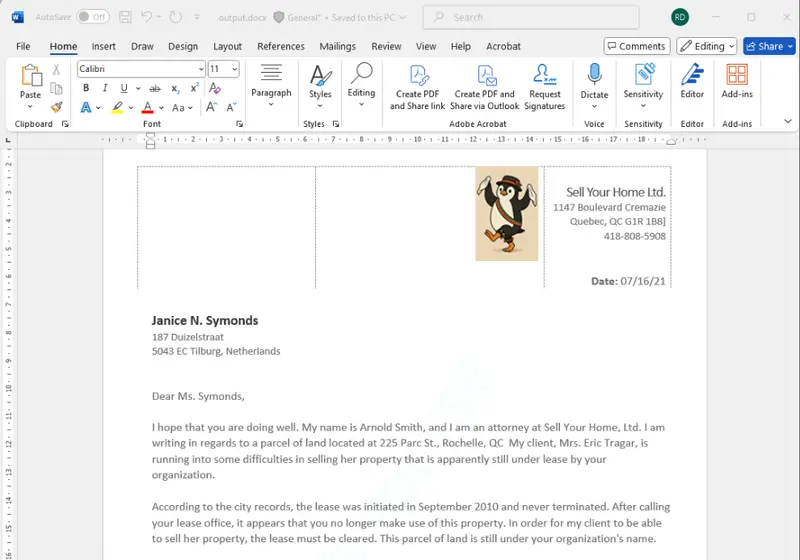
Figure 8: The document generated as a DOCX file including our base64 encoded image. It is shown here in Word but could also be opened in the DOCX editor of Apryse WebViewer.
That was easy! All we need is for the JSON file to contain the Base64 encoded data in the format that we expect.
Common pitfalls when working with Base64 encoding
- Forgetting the prefix — Always include data:image/<type>;base64,.
- Incorrect MIME type — Ensure the <type> matches the actual image format (png, jpeg, etc.).
Conclusion
Embedding Base64 encoded images in your Apryse Document Generation workflow is easy. This allows you to build fully self-contained document pipelines, remove dependency on external file hosting, and simplify deployment across environments. You also reduce the potential security risk of having to access local files.
Whether you’re generating invoices with company logos, reports with charts, or any other type of image, Base64 encoding makes image handling seamless.
So, check out the documentation, grab yourself a free trial license, either for the server side SDK, or the client-side WebViewer SDK (you can generate documents in either), and try things for yourself.


