Andrew Varley
Chief Product Officer
Josh Coffey
Chief Technology Officer
Published August 11, 2023
Updated May 18, 2026
5 min
Adding a Digital Signature to a PDF using JavaScript with Node.js SDK
Andrew Varley
Chief Product Officer
Josh Coffey
Chief Technology Officer
Few things are as ubiquitous as Digital Signatures these days, and yet most documents are still signed with physical pens and paper in the world. As more Enterprise processes digitize, the growth in digital signatures will continue to explode, and making sure your application supports this need is more critical than ever. Besides the obvious benefits of being able to sign on a computer, there are several other advantages of Digital signatures, the electronic equivalents of physical or ink-and-paper signatures, such as:
- Authentication: A digital signature allows for the precise identification of the signer. When a signature is valid, you can safely assume that you know who signed the document.
- Integrity: A digital signature allows users to easily validate whether the contents of a document have been changed since it was signed.
- Non-repudiation: A digital signature ensures that the signer cannot deny that they signed the document.
The Apryse SDK is a powerful tool that can be used to create and manage digital signatures. It includes a number of benefits, such as:
- Import and export signature fields: The Apryse SDK can be used to import and export signature fields from XFDF/FDF files. This makes it easy to integrate with existing document workflows.
- Built-in support for PKI signing: The Apryse SDK includes built-in support for PKI signing (and PFX digital certificates). This makes it easy to create secure and legally binding digital signatures.
- Support for custom signature handlers: The Apryse SDK allows you to create custom signature handlers. This gives you the flexibility to customize the appearance and behavior of digital signatures.
- Sign with images, ink annotations, or entirely custom appearances: The Apryse SDK allows you to sign documents with images, ink annotations, or entirely custom appearances. This gives you the freedom to create digital signatures that are both secure and visually appealing.
Ensure Legal Compliance and Secure Your Documents - Discover the Benefits of PDF/A and Digital Signatures
In our Ultimate Guide to Digital Signatures, we looked at each area of the digital signature technology stack and how the Apryse Developer Suite can solve your signature use cases. We’ll give a short overview here, though you should refer to that article for the full story since this blog will focus on the actual nuts and bolts of signing a PDF in JavaScript with our Node.js SDK.
Before we begin, you should know there is an important distinction between e-Signatures and Digital Signatures.
E-Signatures and Digital Signatures: What’s the Difference?
E-signatures are electronic annotations that appear in a document. They do not contain any additional identifiable information about the creator other than an author field, which can be altered.
Digital signatures are a more secure form of electronic signature. They use a cryptographic algorithm to uniquely identify the author of a document. Any alterations to the document, including the annotations or e-signature, will result in an invalid digital signature validation.
Here is a table that summarizes the key differences between e-signatures and digital signatures:
Feature: Information about creator Security Tamper resistance Legal validity | E-signature Author field only Less secure Can be altered Varies by jurisdiction | Digital signature Author's public key More secure Can't be altered More widely accepted |
|---|
With that out of the way, we’ll now walk through how to add an approval signature field and digitally sign it all using Apryse’s Node.js SDK.
Setup for development
To start, head over to our documentation and download the latest SDK build and test files for your operating system. Next, you’ll want to Initialize the Apryse SDK with our trial license, which you can get for free after downloading, see the Get Started link for more details.
Adding a Digital Signature Approval Field
To begin, we need to add an Approval Field to the document, which is used to indicate to the next participant in the process where to digitally sign the field.
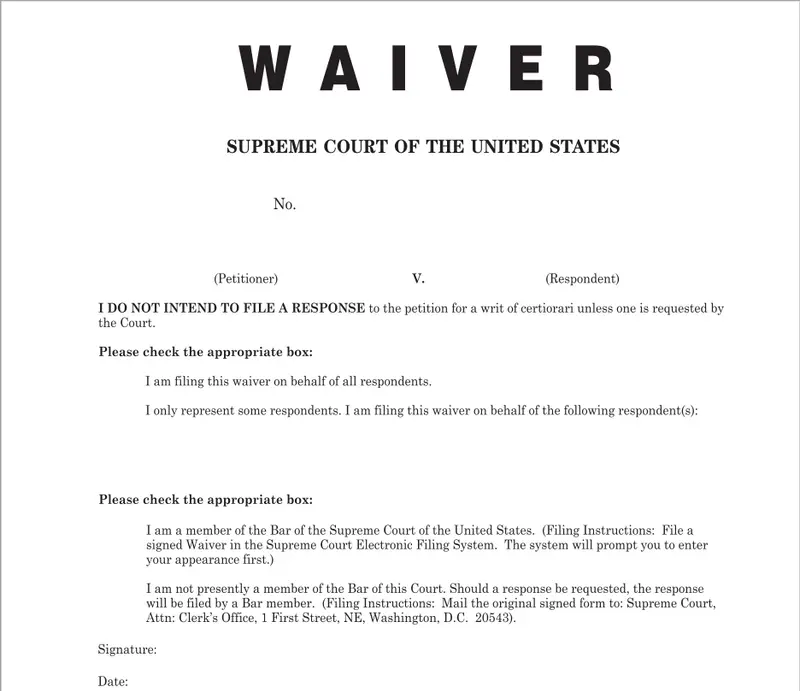
Original file without a signature field.
We want to put a signature box directly on the file, which will be a rectangle with a height and width set in pixels. This code places the signature annotation onto the PDF and saves the output for the next step in the process.

Adding a Certified Signature Field to a PDF
In certain scenarios involving a third-party entity between a sender and other parties, the use of a Certificate Authority becomes essential. However, when a CA is unavailable or not required for your use case, a self-signed certificate can be utilized instead, as demonstrated in our digital signature sample or WebViewer demo. Please note that Apryse does not offer CA services; therefore, it is the responsibility of users to incorporate a CA into their digital signature workflow if required for their specific use cases.
For our example, we’ll add our certificate into the PDF. We need to first add a text field that can be used to lock the field permissions. It’s also important to add your digital signature field into a Widget, as some PDF Editors will not properly show that field to the user in a friendly way. We can make the dimensions of the widget 0 and add a NoPrint/Invisible flag which will make it invisible. We then set the field-level permissions to be restricted and attach our logo to the widget. Finally, we can add additional information into the signature dictionary of the PDF, including HQ headquarters, website, or contact information.
Create, annotate, and digitally sign PDFs in your browser with Apryse WebViewer. Start your document workflow now!
Digitally Signing the PDF
Now that the document has an approval field and has been certified, it’s time to digitally sign the PDF. We are using an image of our signature in this example and applying it to the widget and field that we created for the signer. In more complex examples or multi-signature PDF portfolios or pages, we can loop through the DigitalSignatureField to apply the same or different sets of signatures.
The final version of the document now has a digitally trusted signature that can be verified to ensure the document has not been tampered with since being signed.
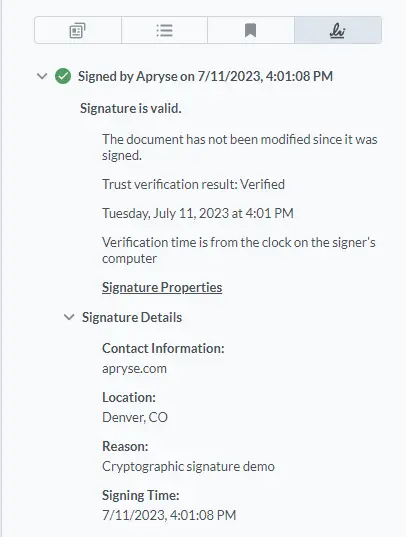
Verified using Apryse’s WebViewer.
Read More: Learn to sign PDFs programmatically with the Apryse Python SDK, Learn how to add digital signatures to PDFs using the .NET SDK
Conclusion
And there you have it, a digitally signed and verified PDF document! We hope you have found this guide useful, and you can check out the documentation for our JavaScript and Node.js Digital Signature Library. Don’t forget you can also reach out to us on Discord if you have any issues.