Logan Bittner
Published February 27, 2019
Updated May 18, 2026
5 min
How to Create a PDF Using Node, React PDF Generator, and Headless Chrome
Logan Bittner

Related Products
Google's Puppeteer is a Node API that allows you to control an instance of Chrome using a Node service. Leveraging this technology, we are easily able to use Node to generate PDFs using any Javascript framework we wish.
In this post, we discuss how to build a React PDF Generator that leverages Puppeteer to generate styled PDFs.
Learn how to build a customizable PDF viewer in React.
Step 1 - Prepare Project for the React PDF Creator
We will use create-react-app to quickly set up our front end development environment. Navigate to an empty directory and create a new React app by running:
npx create-react-app react-to-pdf
If the command asks you to install any packages, type 'y' to continue.
Once the project is generated, start the local server by running:
cd react-to-pdf
npm start
Your default browser opens automatically and displays the default create-react-app screen!
Step 2 - Create the UI
Now, let's clean up the project and set up our UI. First, delete all the code in src/App.js, except the outer div and remove the logo.svg import. App.js now looks like:
Let's also delete all the unused files that come with the template. Delete src/App.test.js and src/logo.svg.
To make sure our UI fits inside the bounds of a PDF viewer, set up our UI to roughly match the default size of a PDF. Inside App.js, let's create a new div that holds the contents of our native PDF. App.js looks something like this:
Now, set the .pdf class to match the size of a PDF. In src/App.css, delete all the existing CSS and replace it with:
If you check out http://localhost:3000/, you should see a gray background with a white 'pdf' in the middle!
Now, put some content inside our PDF. For this example, we'll use fake data, but you can do whatever you want here (fetch data from a remote server, for example).
Let's add some fake data to App.js:
Now, let's render these this data as a list of users. Create the file src/components/User.js and set up a component to render a user. The component should accept a user object as a prop. The file might look like this:
Back in App.js, let's import this component and use it to render our user list.
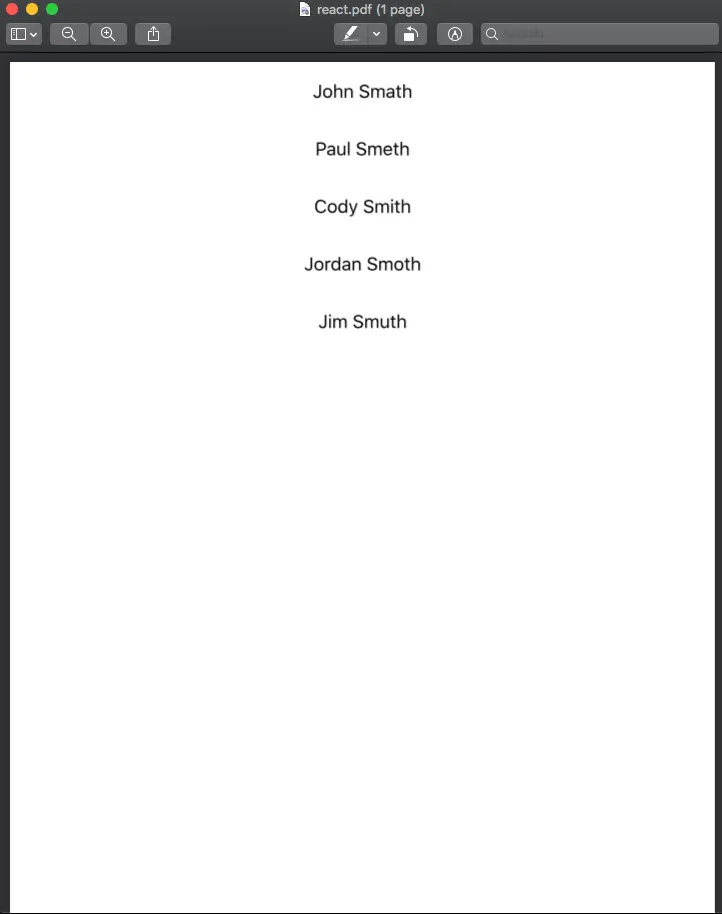
If you check out http://localhost:3000/ now, you'll see a simple list of users rendered in your "pdf".
We'll leave the UI as is, but you can do anything you want at this point to make the PDF look how you want. Go crazy, there no limitations here.
It is important to note that what you see is what you get. When we generate the PDF, the PDF looks exactly like the content displayed at http://localhost:3000/. Use images, canvas, third-party libraries, and whatever PDF editor you want!
Step 3 - Create the Node Service to Generate PDF
Our Node service needs Puppeteer. Install it with the following command:
npm i puppeteer --save-dev
Then, let's create our service. From the root of the project, make the file scripts/generate-pdf.js. This is the file that the service lives in.
The code for the service is actually pretty simple. Start by creating a new instance of Puppeteer and navigating it to our local server.
Note: The local server we set up in Steps 1 and 2 must be running! This means that http://localhost:3000/ must be serving your React project.
generate-pdf.js should look like this:
This code creates an in-memory instance of Chrome, creates a new tab, and navigates the tab to http://localhost:3000/. If you are unfamiliar with async/await syntax, I recommend learning about it.
We can now generate the PDF! Luckily, Puppeteer provides an amazing API for this.
We'll add some code that tell Chrome to emulate a screen when it's generating the PDF, and also a call to page.pdf() to generate the PDF. We'll also pass in a couple options to make the PDF look the way we want.
Update generate-pdf.js to look like this:
You can also view additional page.pdf(options).
And that's it! Our service is done and we are ready to generate a PDF.
Step 4 - Execute the Service
The last step is actually executing our script. In the root of the project there is a package.json file. Let's write a script to execute our file here. Add the following line to the scripts section in package.json:
In the root of the project, make sure http://localhost:3000 is still running, then run the following command:
npm run generate
When the script finishes, you'll find a react.pdf at the root of the project that matches your React UI.
Conclusion
Google's Puppeteer project created tons of opportunities in the PDF space. Using Node JS, Puppeteer, and HTML to generate PDFs, along with the CSS, we can easily generate PDFs geared toward UI in the first place!
For more information, check out our video on generating PDF with Apryse's PDFNet Node.js SDK.
To view and annotate the generated PDFs in your website, download a free WebViewer trial, Apryse's JavaScript PDF viewer that allows you to open, edit, and annotate PDFs right in the browser (and much more!).
Also, check out our How to Build a PDF Viewer in React Native blog post.
If you have any questions regarding WebViewer or, this article, or anything else, please feel free to contact us.


