Garry Klooesterman
Senior Technical Content Creator
Published March 19, 2026
Updated May 18, 2026
6 min
How to Programmatically Add Watermarks to PDFs Using an SDK
Garry Klooesterman
Senior Technical Content Creator

Summary: Protecting your documents with watermarks can be a tedious task, but also a necessary one. From choosing the type to implement, to the method, and to the goal of the watermark, there’s lots to decide. This blog looks at the types of watermarks and when to use them. It also covers how to programmatically add watermarks to a PDF using one of two methods from Apryse: the server-side Stamper class for backend/batch watermarking and the client-side Overlay method.
Introduction
Watermarks have been around for quite some time, dating back as early as 1282. Today, digital watermarks are used for copyright protection, ID card security, fraud and tamper protection, content management (such as declaring something confidential), and more. This blog will discuss the types of watermarks and how to programmatically add them to your documents.
What Type of Watermark Should I Use?
It makes sense to use watermarks to protect your documents but actually implementing them requires a few decisions to be made. First, you need to decide on a type of watermark. Let’s look at two types and their purpose:
- Text: Choose text watermarks for dynamic elements such as timestamps and user IDs. They’re best for direct context or quick, simple protection, like marking a document with “Classified”, “Draft”, or “Do Not Copy”.
- Images: Choose images for elements such as corporate logos or complex security patterns. They’re best for professional branding and visual recognition.
How Should I Implement a Watermark?
Now that we know about text and image watermarks, you’ll need to decide where the watermark will “live.” For example, do you make it a permanent part of the file, or do you overlay it in the browser so it can be dynamic? This decision relies on what your watermark needs to achieve.
Note: Regardless of the method you choose, you’ll need the Security Package add-on.
Client-Side: Dynamic Overlays in WebViewer
In WebViewer, the watermark is drawn on a canvas layer on top of the PDF. Sometimes you just want to show a sample watermark while the user is viewing a template and then have the final download set with a final, clean watermark. This is where setWatermark comes in.
Check out all the details you need to know to get started on the client-side method with WebViewer, including samples for:
- Drawing text as a watermark
- Drawing custom content as a watermark
- Drawing watermark text in custom positions
- Drawing a watermark without DocumentViewer
- Drawing a watermark dynamically
- Adjusting the quality of a watermark
Server-Side: Making it Permanent with the Stamper Method
The Apryse Stamper modifies the PDF content, making the watermark a permanent part of the document. This method can be used for batch jobs or when you’re generating a final version for a client to download.
How to Add a Watermark Using the Stamper Method
In this blog, we’ll be using the server-side Stamper method for our example, and we’ll be using JavaScript. This code is available in other languages as well, including C#, C++, Java, and more.
First, we need to get started with the Apryse Server SDK.
Before we start, we’ll need to:
- Install Visual Studio Code (or your preferred application) to write, edit, and debug source code.
- Install Node.js and npm to use as your runtime environment and package manager. We recommend using the latest Active LTS version of Node.js.
- Download Apryse’s Node.js PDF Library for Windows. See our Windows developer download section for the file you need.
- Get your Apryse trial key.
- Set up a new project.
Here’s a quick video on getting started if you prefer a visual walkthrough.
Now that we have everything set up and ready to go, let’s look at adding a watermark using JavaScript.
Note:
- This example is a cut-down version of the full PDF Stamp / Watermark - Stamper sample with all the options.
- You’ll also need the Security Package add-on.
We’re going to look at how to add both text and image watermarks. First, we’ll start with the text watermark.
Adding a Text Watermark
Here’s our sample document.
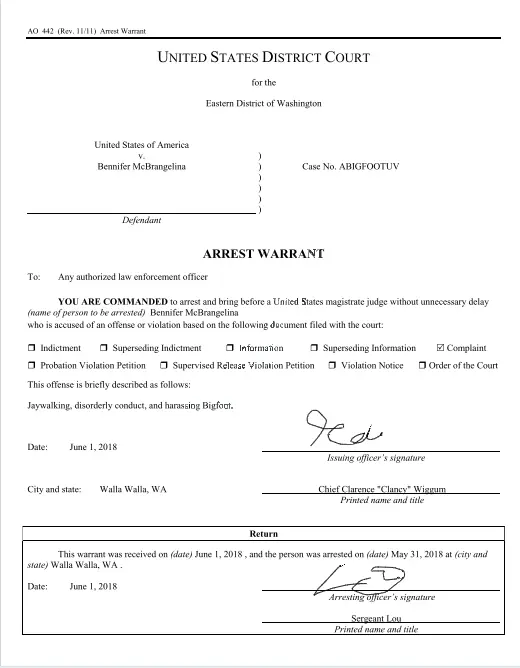
Figure 1: Image of our sample document without any watermarks.
Let’s add a text watermark that says "apryse".
You’ll need to get a trial license key and use that to initialize PDFNet, which is the library that contains the Apryse SDK. You can do that either by calling runWithCleanup or Initialize.
Once you have done that, you’ll need to open a PDFDoc from your input file, create and set the properties for a Stamper object, then call stamper.stampText specifying the text that you want to use and the “pageSet” that the stamp should be applied to. I’ll add the watermark to all of the pages, but you could choose just odd pages, or any other selection. Finally, you’ll save the resulting document.
I won’t include all of the code here, so please see the full sample, which also includes other options that are available.
If we run that code, you’ll also need to set the color and orientation of the stamper text (which I didn't include in the sample code to keep it simple) then you get a PDF with the stamp applied across it that looks like this.
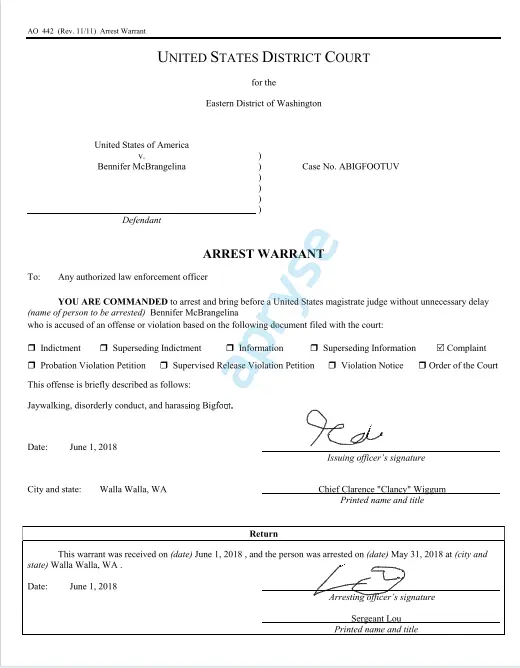
Figure 2: Image of our sample document with a text watermark.
Note: Don’t forget to add your license key and the path for your document before running the project.
Now for our image watermark example.
Adding an Image Watermark
Using the same original sample document, let’s add an image watermark that includes both a logo and “apryse” text.
You’ll need to get a trial license key and use that to initialize PDFNet, same as in the first example.
The other elements are also the same, but this time you’ll call stamper.stampImage and specify the image that you want to use as your watermark.
Again, I won’t include all of the code here to keep it simple.
If we run the code this time, you’ll need to set the location and orientation of the stamper image which I didn't include this time as well, then you get a PDF with the image stamp applied across it that looks like this.
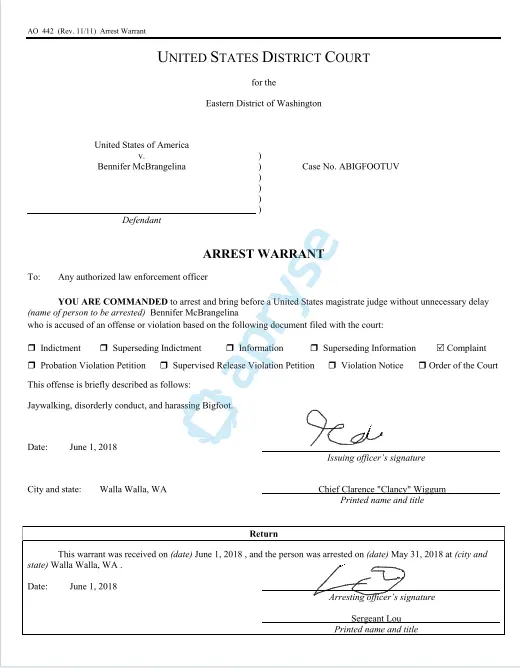
Figure 3: Image of our sample document with an image watermark.
Note: Don’t forget to add your license key and the paths for your document and the image for your watermark before running the project.
FAQ
Is the watermark permanent?
Only if you use the Server Stamper. WebViewer watermarks are overlays, which only become permanent if you make them part of the document during a download or save operation.
Can I stamp images?
Yes. Both methods support it. The Server SDK has a specific StampImage method, while WebViewer handles it through the custom canvas function.
Does this work with encrypted PDFs?
Yes. You’ll need to provide the password to the SDK first, so it can modify the document.
What about the Security Package?
The Stamper API is part of our Security Package. If you're just testing with a trial key, you're good to go. For production, just make sure your key includes it. If it doesn’t include the Security Package, comment out your key to default to trial mode for testing.
Conclusion
Today, we looked at two types of watermarks and two methods of implementing them. You could even have a hybrid method where you use WebViewer to show a dynamic Viewer-Specific watermark for security during the session and then use the Server Stamper to make it a permanent "Final" stamp once the document is officially signed.
Regardless of the option you choose, Apryse SDKs have you covered, making it easy to protect your documents with minimal coding needed.
Check out our WebViewer demo and the watermarking capabilities.
You can also contact our sales team for any questions and support.
Suggested Reads
- Blog: Protecting your PDFs by adding watermarks using JavaScript
- Blog: How Apryse PDF SDK Helps Developers Protect Sensitive Data Out of the Box
- Blog: Adding stamps to a PDF Using JavaScript with Stamper


